Scheduler for ASP.NET AJAX supports categories created at run time through the Master Categories List dialog box or by adding code to the form at design time. Once added to the master list, the category can be assigned to an appointment.
To add a category at run time:
1. Add a new or open an existing appointment.
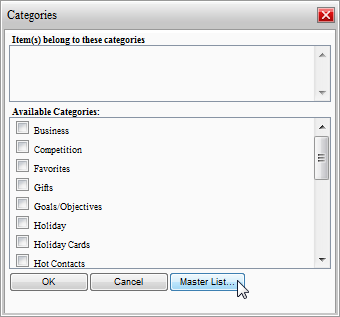
2. Click the Categories button in the Appointment dialog box. The Categories dialog box appears.
3. Click the Master List button:

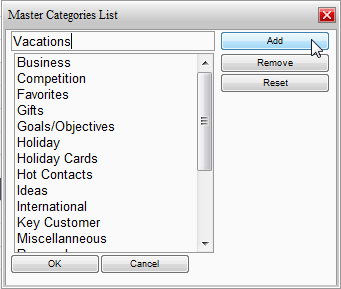
4. In the Master Categories List dialog box, enter a name in the text box and click Add:

The new category is added at the end of the list.
5. Click OK to close the Master Categories List dialog box.
To add a new category programmatically:
The following code, added to the Page_Load event, creates a new Vacations category.
' Create a new Vacations category.
Dim newCat As C1.C1Schedule.CategoryCollection
newCat = Me.C1Schedule1.DataStorage.CategoryStorage.Categories
Dim category As New C1.C1Schedule.Category
category.Text = "Vacations"
'Insert the new Vacations category at the top of the Master Categories List.
newCat.Insert(0, category)
• C#
// Create a new Vacations category.
C1.C1Schedule.CategoryCollection newCat;
newCat = this.C1Schedule1.DataStorage.CategoryStorage.Categories;
C1.C1Schedule.Category category = new C1.C1Schedule.Category();
category.Text = "Vacations";
// Insert the new Vacations category at the top of the Main List of Categories.
newCat.Insert(0, category);
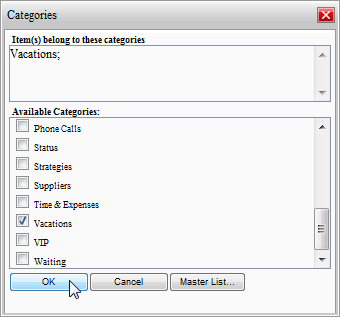
When you run the application, the new category appears in the Categories dialog box when the Categories button is clicked in the Appointment dialog box:

|
