In the previous step you created a new ASP.NET AJAX-Enabled Web Site and added the C1Schedule control to create a basic scheduling application. In this step you'll customizing the scheduling application's appearance without any code.
Complete the following steps:
1. Click on the C1Schedule control's smart tag to open the C1Schedule Tasks Menu.
2. In the C1Schedule Tasks menu, select the drop-down arrow next to Visual style and select Vista.
This will set the VisualStyle property and apply the Vista style to the schedule. For more information on available built-in styles, see Visual Styles.
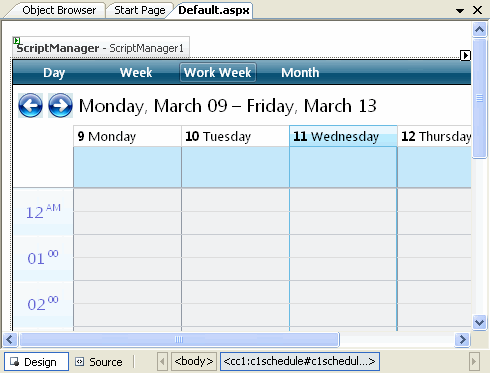
3. In the Tasks menu, click the drop-down arrow next to View type and select WeekViewWorkWeek.
This will set the ViewType property and the schedule will now display the work week. For more information about available data views, see Data Views.
4. Click once on the C1Schedule control to select it.
5. Navigate to the Properties window and locate the TitleText text box and replace the current text with {0:dddd, MMMMM dd} – {1:dddd, MMMMM dd}, one of the standard .NET DateTime format specifiers. This changes the format of the starting and ending dates in the navigation bar to show the day of the week, month, and day.
6. In the Properties window, set the ShowViewSelectionBar property to False. This will hide the Day, Week, and Month navigation controls at the top of the schedule.
The schedule will now appear similar to the following:
In this step you added the schedule to a page and customized its appearance. In the next step you'll run your scheduling application and add an appointment at run time.
|
