In this quick start, we will use the built-in datasource, an XML file named C1ScheduleData.xml, by default, to save an appointment added to the schedule. This file is created automatically when the C1Schedule control is added to the form; nothing additional needs to be done in order to use it.
Complete the following steps to observe C1Schedule's run-time interaction:
1. Click the Start Debugging button to run the project.
2. Choose a day of the work week and double-click the 9AM block in the day's column.
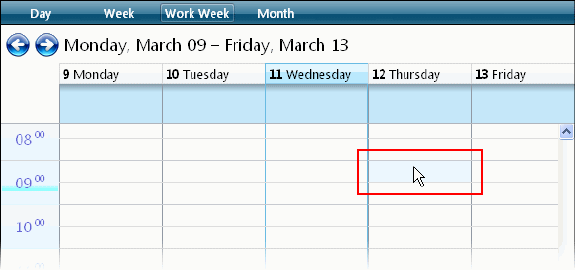
The Appointment dialog box appears:
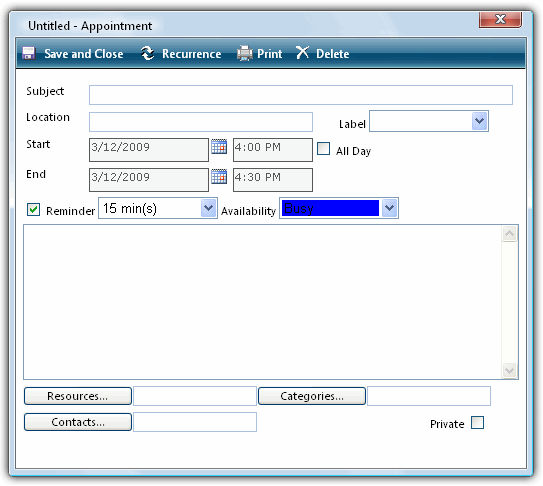
3. Click the Label drop-down arrow and choose a label, for example Must Attend.
Notice the Availability status is already set to Busy.
4. Add a Subject for the appointment, for example "Meeting".
5. Add Location for the appointment, for example "Conference Room".
6. Change the appointment's End time to 10:00 AM.
7. Click the Categories button.
8. In the Categories dialog box, check the Business and Goals/Objectives check boxes and click OK. The categories are now listed in the Appointment dialog box.
9. Click Save and Close. The appointment is added to the schedule. Note that you can edit the appointment by double-clicking it on the schedule.
10. Click the bottom edge of the appointment, and drag the appointment's end time to 11:00 AM:
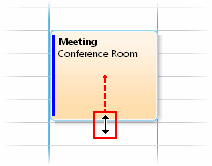
This allows you to change an appointment's duration at run time.
11. Click the appointment and drag it to another day and time:
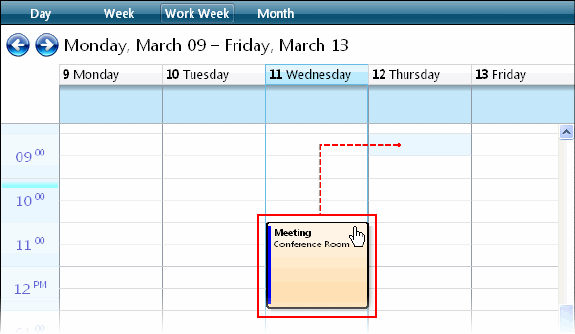
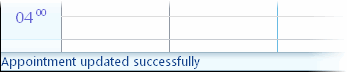
Note that when you adjust the appointment, text appears in the schedule's footer indicating that the appointment has been updated:
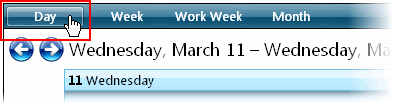
12. Switch to another data view, for example DayView, by clicking the button in the navigation bar:
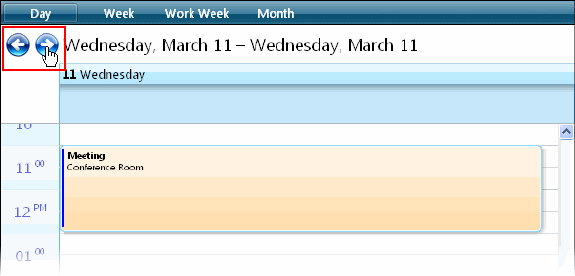
13. Click the left and right (or Previous and Next) arrow navigation buttons in the navigation bar to move to the previous or next day until you locate your appointment.
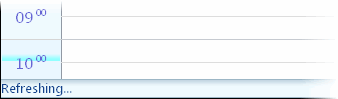
Note that when you click a navigation button, text appears in the schedule's footer indicating that the schedule is refreshing:
Also, notice that the advancement is smooth; there is no interruption on the screen. This is because AJAX is being used instead of postbacks, so the entire page is not reloaded. C1Schedule does not require any extra effort from you to use AJAX.
Congratulations – you've completed the C1Schedule quick start! You've added the C1Schedule control to your project, customized the appearance of the control, and observed some of the run-time interactions possible with your scheduling application. For more things you can do with schedule, see the Scheduler for ASP.NET AJAX Task-Based Help topic.
|
