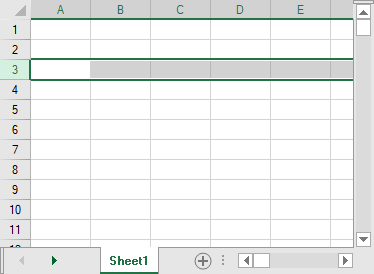
You can select a row and set properties for all the cells in that row. To select a row or column, click on the header in the work area as if you are in a spreadsheet. The selected row is highlighted as shown here.
Also, you can add or remove rows or columns by using the options in the right-click menu. The Spread Designer shows the row or column is selected by highlighting all the cells in that row or column.
Note: There is a difference between a row (or column) locked and a cell locked; the toolbar buttons and context menu selections represent the status of the row, column, or cell selected. Having the Locked property set for a row is different than having it set for a cell in that row.
For information on how to set properties for a row of cells, refer to Setting Row Properties in Spread Designer.
For information on other selectable items, return to Selecting an Item in the Spread Designer.