This section describes how to add a FlexPie control to your MVC web application and add data to it.
This topic comprises of four steps:
- Step 1: Create an MVC Application
- Step 2: Create a Datasource for FlexPie
- Step 3: Add a FlexPie control
- Step 4: Build and Run the Project
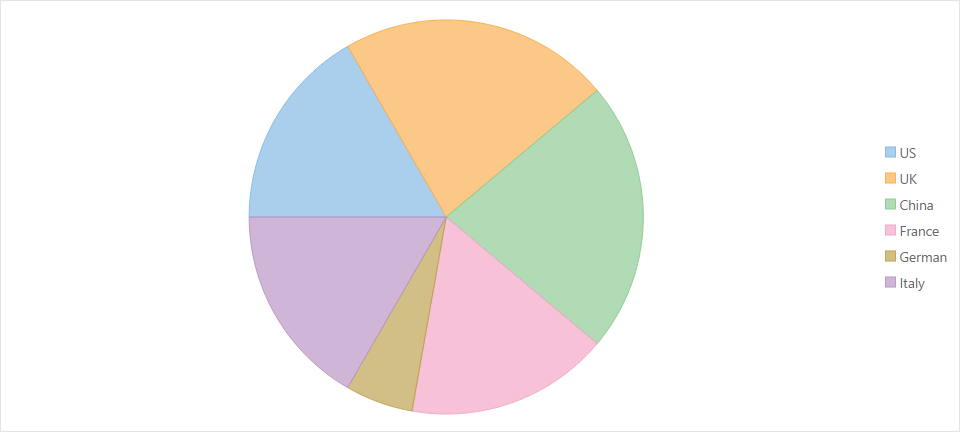
The following image shows how FlexPie appears after completing the steps above:
Step 1: Create an MVC Application
Create a new MVC application using the ComponentOne or VisualStudio templates. For more information about creating an MVC application, see Configuring your MVC Application topic.
Step 2: Create a Datasource for FlexPie
- Add a new class to the folder Models (for example:
FlexPieDataSource.cs). See Adding controls to know how to add a new model. - Add the following code to the new model to define the classes that serve as a datasource for the FlexPie control.
Step 3: Add a FlexPie control
Complete the following steps to initialize a FlexPie control.
Add a new Controller
- In the Solution Explorer, right click the folder Controllers.
- From the context menu, select Add | Controller. The Add Scaffold dialog appears.
- Complete the following steps in the Add Scaffold dialog:
- Select Empty MVC Controller template.
- Set name of the controller (for example:
Default1Controller). - Click Add.
- Include the MVC references as shown below.
C# Copy Codeusing C1.Web.Mvc; using C1.Web.Mvc.Serializition; using C1.Web.Mvc.Chart;
- Replace the method
Index()with the following method.
Add a View for the Controller
- From the Solution Explorer, expand the folder Controllers and double click the controller
QuickStartControllerto open it. - Place the cursor inside the method
QuickStart(). - Right click and select Add View. The Add View dialog appears.
- In the Add View dialog, verify that the view name is QuickStart and View engine is Razor (CSHTML).
- Click Add. A view is added for the controller.
- Instantiate a FlexPie control in the view QuickStart as shown below.
Step 4: Build and Run the Project
- Click Build | Build Solution to build the project.
- Press F5 to run the project.
Append the folder name and view name to the generated URL (for example: http://localhost:1234/QuickStart/QuickStart) in the address bar of the browser to see the view.
See Also