You can specify the displayed date of a C1DateTimePicker control by setting the C1DateTimePicker.SelectedDate property in XAML, from the Properties window, or in code.
In XAML
To change the date displayed at run-time, add SelectedDate="4/15/2010" to the <c1:C1DateTimePicker> tag. The markup will resemble the following:
<c1:C1DateTimePicker SelectedDate="04/15/2010">
From the Properties Window
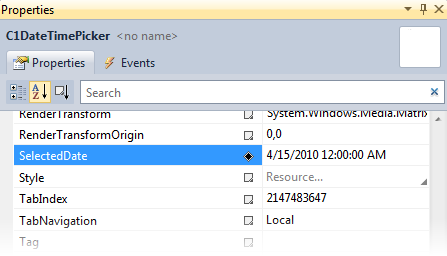
Locate the SelectedDate property in the application's Properties window. Enter a new date in the property setting textbox as in the following image:
In Code
1. Add x:Name="C1DateTimePicker1" to the <c1:C1DateTimePicker> tag so that the control will have a unique identifier for you to call in code.
2. Open the MainPage.xaml.cs page by right-clicking on your project and selecting View Code from the menu.
3. Insert the following using statement at the top of the page.
Imports C1.Phone
•C#
using C1.Phone;
4. Place the following code after the InitializeComponent() method:
C1DateTimePicker1.SelectedDate = New DateTime(2010, 4, 15)
•C#
C1DateTimePicker1.SelectedDate = new DateTime(2010, 4, 15);
5. Run your application. The date you chose will be displayed in the Date Picker as in the following image: