To control which users have access to data models and reports, you can set up users and group them by roles. You can assign roles access to each report and data model, and you can designate which roles are able to upload reports.
To set up a user
- In the Security section of the Administrator Dashboard, click Users. The Users list appears.
-
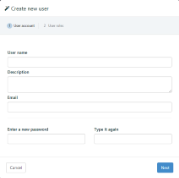
Click the New user button. The Create new user dialog appears.
-
In the dialog, fill in the User Name, Password, Confirm password, E-mail, and Description fields.
- Click Next and then select the check box under any roles to which to assign the user.
- Click Finish. The new user is added to the Users list and any selected roles, and the user can log in to the Report Portal with the user name and password specified.
To set up a role
- In the Security section of the Administrator Dashboard, click Roles. The Roles list appears.
-
Click the Create role button. The Create Role dialog appears.
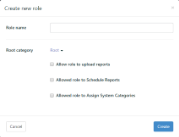
- In the Role Name box, enter a name for the new role.
- If you want to allow the role to upload reports, select the Allow Upload Report check box.
- Click Create role. The new role is added to the list, with an extra command that allows you to delete it. To begin using the role, add users to it.
To add a user to a role
- In the Security section of the Administrator Dashboard, click Roles.
- In the Roles list that appears, to the right of the role to which you want to add a user, click the Manage users button. The Manage users dialog appears.
- In the Manage users dialog, select check boxes next to users to assign them to the role.
Note: To remove a user from the role, clear the corresponding check box.
- Click the Update button to save the changes.
To give a role permissions on a report
- From the Administrator Dashboard, select Reports.
- On the Reports page, select a report from the list, and then click Permissions button.
- In the Change permissions dialog that appears, next to each role, drop down the box to select whether to allow its users Read, Read & Modify, or Full permissions on the report, or None to hide the report from users in that role.
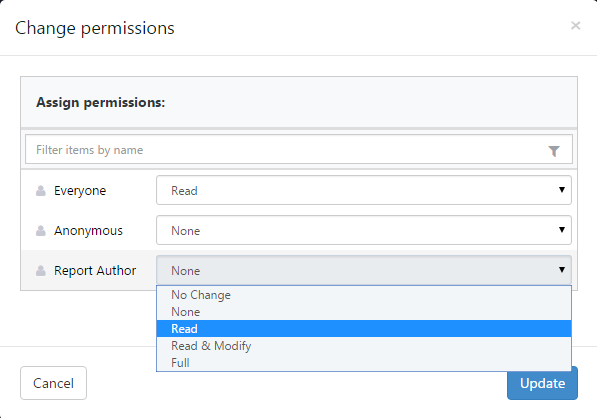
- Read allows users in the role to see the report in the Report Portal Open page and preview the rendered report, but does not allow them to modify it in the Report Portal.
- Modify allows users in the role to modify the report in the Report Portal.
- Change Permissions allows users in the role to modify permissions on the report.
- Click the Apply button to save the changes. All users in the selected roles are granted the specified access.
To give a role permissions on a model
- From the Administrator Dashboard, select Models.
- On the Models page, select a model from the list, and then click the model properties button to display the properties.
- In the Change permissions section, next to each role, drop down the box to select whether to grant Read permission, Create Report, or None to hide the model from users in that role
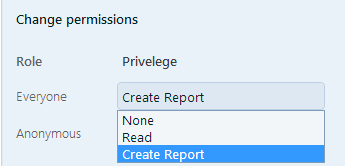
- The selected roles have permission to create reports on the model.
See Also