Follow the steps below to add the GCMultiRow control to the toolbox and use it in a project. These steps are for Visual Studio 2012, but are applicable to Visual Studio 2008, Visual Studio 2010, and Visual Studio 2013.
Adding the Component to the Toolbox
Follow the steps below to register the component in the toolbox.
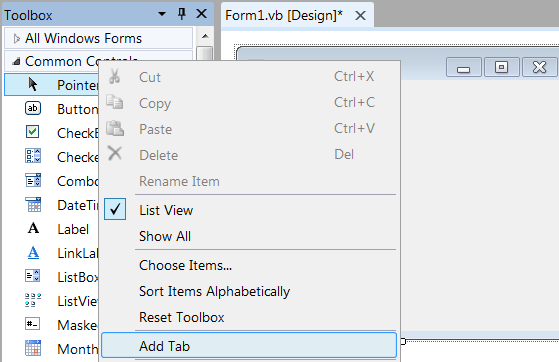
- Right click on the toolbox window and select Add Tab from the context menu.
- Enter MultiRow for WindowsForms 8.0 (or any other desired tab name) as the new tab name.
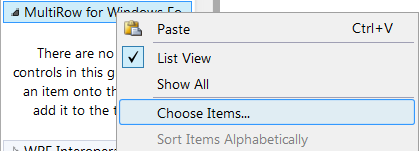
- Right-click the new tab and select Choose Items from the context menu.
- Select .NET Framework components in the Choose Toolbox Items dialog box and check the following component under the assembly name GrapeCity.Win.MultiRow(8.0.yyyy.mmdd).
- GcMultiRow
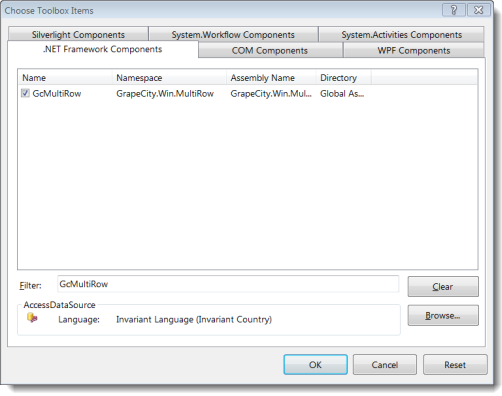
- If the runtime of a previous version still exists, then there may be more than one item displayed with the same component name. In this case, select the item with the latest assembly version (the larger number) from the "version" column ("assembly name" column for Visual Studio 2008 or 2010).
- Click OK.
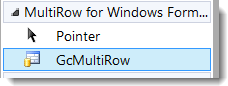
- The component is added to the toolbox.
Adding a Component to the Form
Follow the steps below to add the control to the form.
- Drag and drop the control or component from the toolbox to the form.
- Licenses.licx is updated.
- A reference to the MultiRow assembly is added to the project. Also, since InputManCell and PlusPakCell can be used with this product, a reference to the PlusPak and InputMan assemblies are also added to the project.
Adding a Template to the project
This process is similar to adding a new form in a project.
- Create a new Windows Application project in Visual Studio or open an existing one.
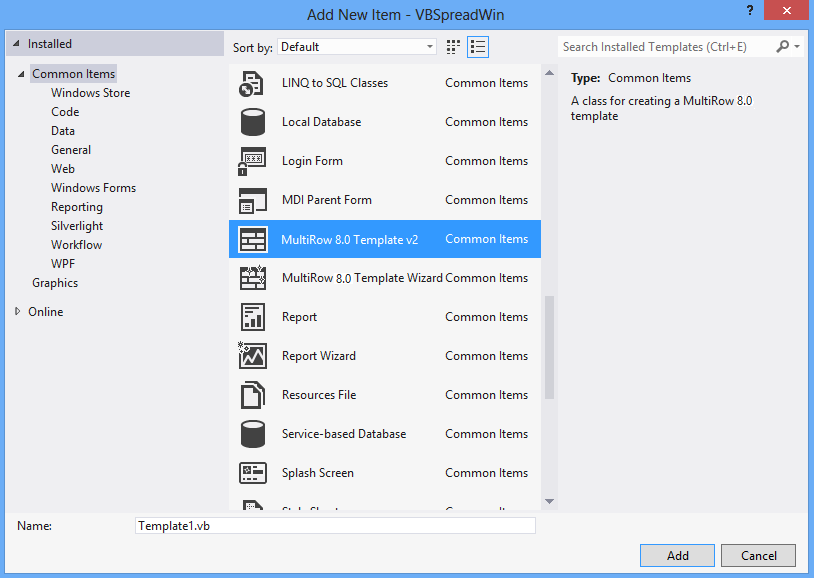
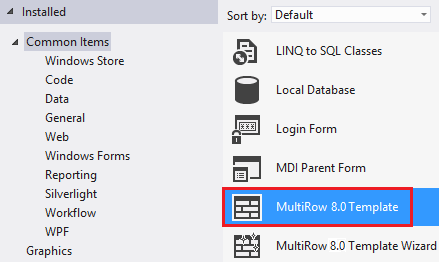
- Select Project - Add New Item.
- Select MultiRow 8.0 Template from the list and click the Add button.
- Verify that the template has been added to the Solution Explorer.

- Build the project to access the template from the form.
Design the layout in the MultiRow designer using the toolbox and property window just like you would in a form designer. Refer to Using the Designer for details on using the template designer.
 |
|
Assigning a Template to the Control
Follow the steps below to assign a template to the GcMultiRow control on the form.
- Select the GcMultiRow control from the toolbox and drag and drop it on the form.
- Select the GcMultiRow control and click on Smart Tag.
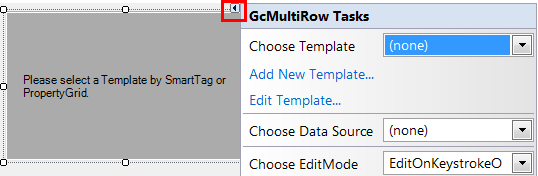
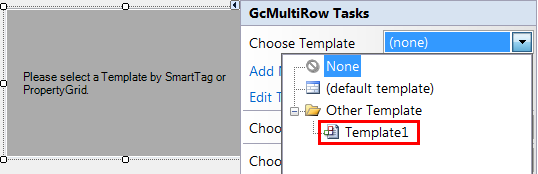
- Open the Choose Template drop-down list in the Smart Tag.

- Select the desired template from the drop-down list.
Build the project if the added template is not displayed in the drop-down list.
The template can also be assigned to the control using the GcMultiRow.Template property.