In this tutorial, you will learn how to bind True DBInput controls to a Visual Basic Remote Data control and create a fully functional database browser without writing a single line of code. You will also learn about the basic properties associated with the Remote Data control and True DBInput. You will then be able to run the program and observe the run-time features of the input controls.
An ODBC Data Source is both a reference to a database file and to a specific ODBC driver that is used to access the data in the database, and is one of the easiest ways to specify the set of records you want to display in the hierarchical grid.
-
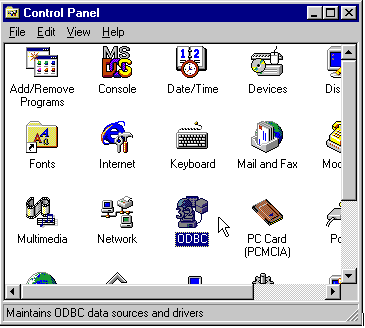
Create an ODBC Data Source. In Control Panel, double-click the ODBC icon. You may have 16-bit and 32-bit ODBC Icons depending on what other software is installed on your system. (You will want to choose the 32-bit icon in such a case.)
-
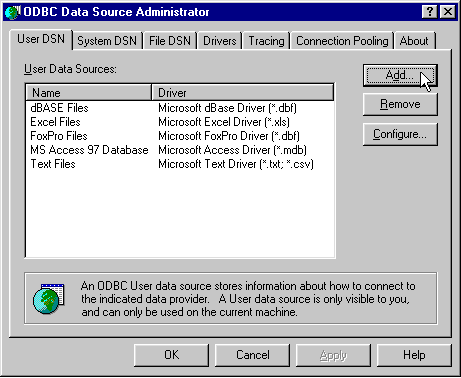
This will display the ODBC Data Source Administrator. You can create ODBC Data Sources that are visible to yourself only, to all users on the system, and so on. The list box in the center of the dialog box shows the Data Source Names for the data sources that have already been defined. In this example, you will create a new User Data Source Name (DSN). Click the Add button to add a new User DSN as shown in the next figure.
-
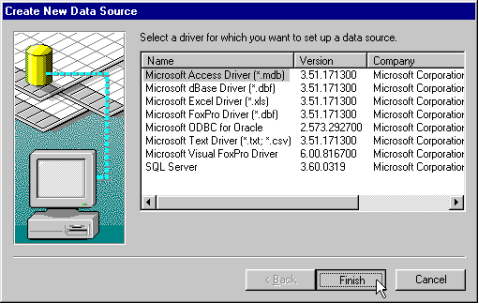
Choose an ODBC Driver to use with your data source. The driver you choose should reflect the type of database file you wish to access. The database used by the rest of this tutorial is a Microsoft Access 7.0 database, so highlight the Microsoft Access Driver (*.mdb) selection and choose Finish.
-
Choosing Finish will display the ODBC Microsoft Access 97 Setup dialog box.
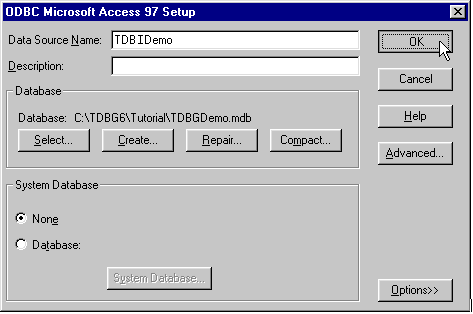

Note: The Microsoft Access ODBC driver is installed by a number of applications, including Access, Visual Basic, Visual C++ 5.0 and others. The next step is to select a database file to work with. Click on the Select button to bring up a file browse dialog box. Locate and select the TDBIDemo.mdb database in the Tutorial subdirectory where you installed True DBInput. When creating your own data sources, you will browse for the database file you wish to work with and select it.
Once you have done that, enter a name for this data source in the Data Source Name box. For this example, the DSN must be called TDBIDemo, because that is the name used in the tutorial code, so enter TDBIDemo in the Data Source Name box. When you are finished, choose OK to close the dialog box.
-
Choose OK to close ODBC Administrator. This concludes the creation of the ODBC Data Source.
Once the ODBC Data Source is created, you can reuse it over and over again—you will not have to repeat these steps to use this database in a different project. In order for the ODBC Data Source to work in conjunction with the hierarchical grid, you must also identify the actual recordsets to be displayed. This is done in code for this tutorial.
-
Start a new project.
-
From the Visual Basic Project menu, select Components, then check the box labeled Microsoft RDO Control 6.0.
-
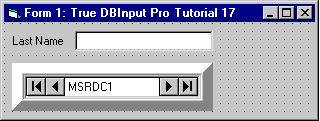
Using similar steps to Tutorial 16 - Binding True DBInput to a Data Control in Steps 3 - 4, place a Remote Data control (Data1) as shown in the figure.
-
Set the DataSourceName property of Data1 to TDBIDemo, and the SQL property to Select * from TimeSheet.
-
Follow Steps 5 through 7 in Tutorial 16 - Binding True DBInput to a Data Control.
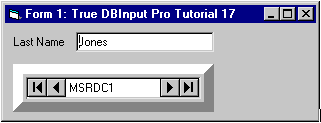
Run the program and observe the following:
Click the Next, Previous, Last and First buttons of the Remote Data control and observe that the record positions on all bound controls are automatically synchronized.
To end the program, press the End button on the Visual Basic toolbar.
This concludes Tutorial 17.