In the last step you created a simple scheduling application. In this step you'll walk through binding a data source to the scheduling application you created in the Creating the Scheduling Application topic.
To bind the C1Schedule control to a data source, complete the following steps:
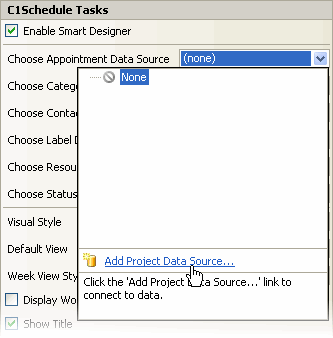
- Click on the C1Schedule1's smart tag to open the C1Schedule Tasks menu. For more information on accessing the C1Schedule Tasks menu, see C1Schedule Tasks Menu.
- In the C1Schedule Tasks menu, click the Choose Appointment Data Source drop-down arrow and select the Add Project Data Source link from the drop-down box.
- The Data Source Configuration Wizard appears. Leave the default setting, Database, selected on the Choose a Data Source Type page, and click Next.
- Click the New Connection button to create a new connection or choose one from the drop-down list. The Add Connection dialog box appears.
- Click Browse. In the Select Microsoft Access Database File dialog box, browse to the NWind.mdb database included with the C1ScheduleDemo sample. Select the C1NWind.mdb file and click OK.
- In the Add Connection dialog box, click the Test Connection button to make sure that you have successfully connected to the database or server and click OK to close the dialog box that appears.
- Click OK to close the Add Connection dialog box. The new string appears in the on the Choose Your Data Connection page.
- Click the Next button to continue. A dialog box will appear asking if you would like to add the data file to your project and modify the connection string. Since it is not necessary to copy the database to your project, click No.
- Save the connection string in the application configuration file by checking the Yes, save the connection as box and leave the default name, C1NWindConnectionString. Click the Next button to continue.
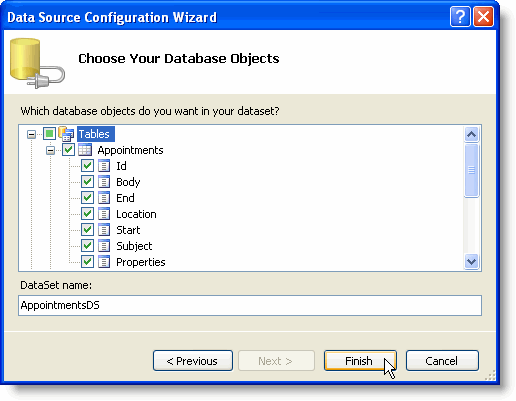
- On the Choose Your Database Objects page, select the Appointments table and include all of the fields. Enter AppointmentsDS in the DataSet name box and click Finish to exit the wizard.
- Switch to Code view and notice that a DataSet and connection string are added to your project. Additionally, Visual Studio automatically creates the following code to fill the DataSet:
To write code in Visual Basic
Visual Basic Copy CodeMe.AppointmentsTableAdapter.Fill(Me.AppointmentsDS.Appointments)
To write code in C#
C# Copy Codethis.appointmentsTableAdapter.Fill(this.appointmentsDS.Appointments);
- Add the following code to the Form_FormClosing event to update the database when the form closes:
To write code in Visual Basic
Visual Basic Copy CodeMe.AppointmentsTableAdapter.Update(Me.AppointmentsDS.Appointments)
To write code in C#
C# Copy Codethis.appointmentsTableAdapter.Update(this.appointmentsDS.Appointments);
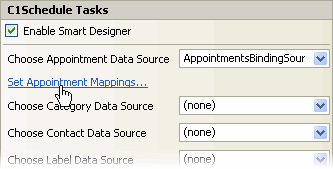
- Return to Design view; in the C1Schedule Tasks menu, a Set Appointment Mappings link will appear after the data source is set. Click the Set Appointment Mappings link to open the Appointment Storage Properties dialog box.
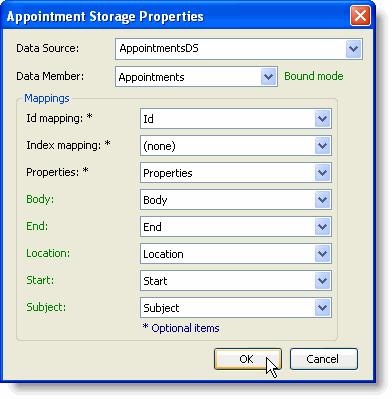
- In the Appointment Storage Properties dialog box, click the Data Source drop-down arrow and select AppointmentDS from the drop-down list.
- Click the Data Member drop-down arrow and select Appointments from the drop-down list.
- Under Mappings, set the following properties:
Mapping Property Id mapping Id Properties Properties Body Body End End Location Location Start Start Subject Subject Note: Required properties will change from red to green when they are properly set. To ensure that all mappings are set, there should not be any red properties; otherwise, a run-time error will occur. - Click OK to close the Appointment Storage Properties dialog box.
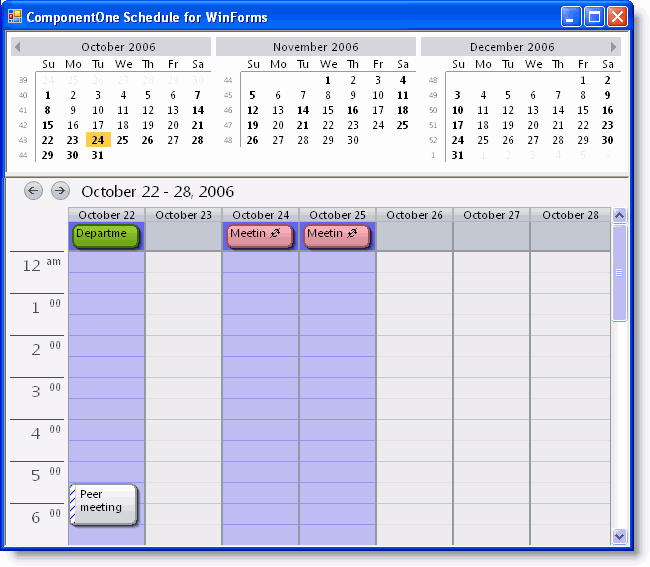
Run the application and observe the following:
Notice that the data from the Appointments table is reflected in both the C1Calendar and C1Schedule controls.
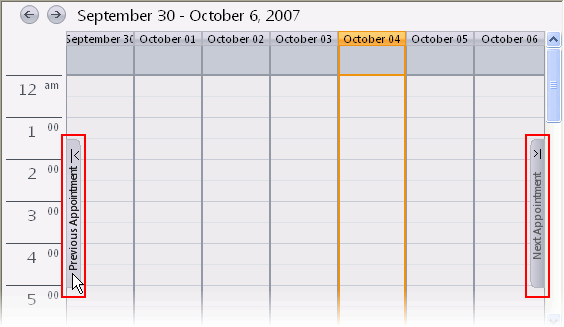
By default, the Office 2007 Visual Style gives you added navigation options by enabling the navigation panels and the browse buttons. If an appointment is not present in the visible range of dates, a navigation panel appears on the left and right sides of the schedule. Clicking on one of the panels changes the current view to the previous or next date with appointments. If there is not a previous or next appointment, the corresponding panel is disabled. In the image below the Previous Appointment panel is enabled and the Next Appointment panel is disabled.
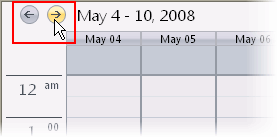
You can also use the navigation buttons to navigate through the schedule. The navigation buttons appear on the Title bar of the C1Schedule control. Clicking on one of the navigation buttons changes the current view to the next or previous range of dates.
You have successfully bound the scheduling application to a data source. In the next topic, you will learn how to customize calendar settings for a 10-hour day, four-day work week.