Now that you've imported a database connection, you can create a simple data schema. Schemas are the basis of DataObjects for .NET and allow you to manipulate the data in very useful ways. As you'll discover, creating a data schema is easy using the DataObjects Schema Designer. For more information about the Schema Designer, see Creating and Customizing the Schema Using the Schema Designer.
To create a simple data schema complete the following steps:
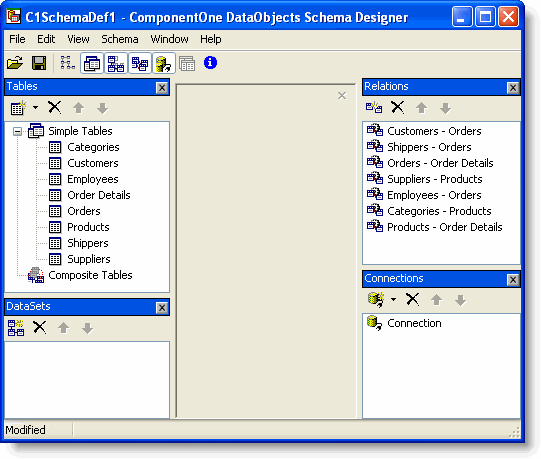
- If the DataObjects Schema Designer is not open, click C1SchemaDef1's smart tag to open the C1SchemaDef Tasks menu, and select Schema Designer.
Notice that the tables you added in step 1 now appear in the Tables window in the Schema Designer and that the relations between these tables appear in the Relations window.
- To add a DataSet, click the Add button on the DataSets toolbar.
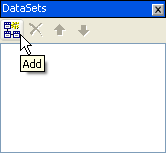
A new DataSet with the default name DataSet will appear in the window and a DataSet tab will appear in the center of the Schema Designer. - To add a table to the DataSet, select the Add tables button in the DataSet tab.
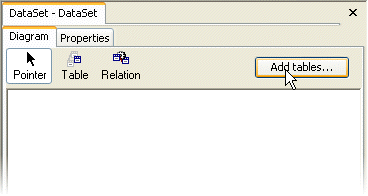
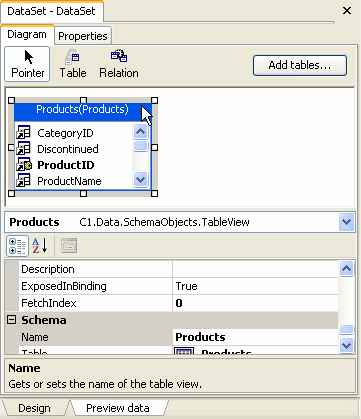
The Add tables dialog box opens. - Select Products from the Existing tables list, click the
 button to add the table to the DataSet, and click OK. The Add tables dialog box closes and the Products table is added to the DataSet.
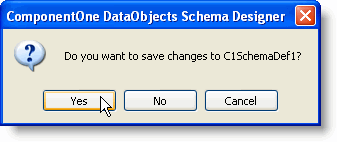
- Close the Schema Designer and click Yes in the dialog box to save the schema.
You've completed step 2 of the quick start guide and created a simple data schema. In the next step you'll bind the data source to the grid.