You can create and add a new logical relation to an entity, or base a new relation on an existing logical relation from the list.
To create a new relation
Follow these steps to create a new logical relation by specifying a target entity, and source and target attributes.
Creating a new logical relation
- In the Models list, select the model that you want to edit and then click Edit model button.

- In the model editor that appears, in the Entities list on the left, select the entity to which you want to add a relation.
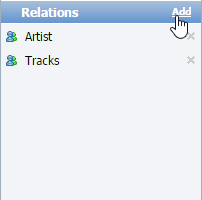
- In the Relations list on the lower right, click Add. The New Relation dialog appears.
- In the New Relation dialog, in the Name box, enter the name for the new relation. This value appears in the list of relations for the model.
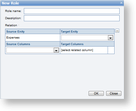
- In the Description box, enter a description that provides users with additional information about the attribute, such as when it is appropriate to use it.
- In the Relation section, the Source Entity is already set (based on the entity you selected to which to add a relation). Drop down the Target Entity list and select a target for the relation. This enables the Target Columns drop-down list below.
- Drop down the Source Columns list and select a source attribute for the relation. This adds a new pair of drop-down lists for additional sources and targets below.
- Drop down the Target Columns list and select a target attribute for the relation.
- Click OK. The new relation appears in the Relations list.
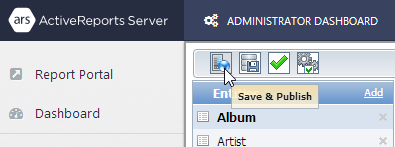
- In the Model Editor toolbar, click the Save & Publish button to save the changes. The new logical relation is available to report creators.
To base a new logical relation on an existing relation
Follow these steps to select a relation to use as a new logical relation.
Base a new attribute on an existing logical column
- In the Models list, select the model that you want to edit and then click Edit model button.
- In the model editor that appears, in the Entities list on the left, select the entity to which you want to add a relation.
- In the Relations list on the lower right, click Add. The New Relation dialog appears.
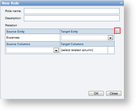
- In the New Relation dialog, in the Relation name box, enter the name for the new relation. This value appears in the list of relations for the model.
- In the Description box, enter a description that provides users with additional information about the attribute, such as when it is appropriate to use it.
- Next to the Relation section, click the ellipsis button.
- In the Select an Existing Relation dialog that appears, select the one that you want to use and click OK.
- In the New Relation dialog, click OK. The new relation appears in the Relations list.
- In the Model Editor toolbar, click the Save & Publish button to save the changes. The new logical relation is available to report creators.
See Also