ActiveReports Server provides you with the ability to create, edit, upload, download or delete data sets from the Administrator dashboard. The server administrator sets up permissions to control who can access data sets uploaded on ActiveReports Server. You can use these server shared data sets to design reports in ActiveReports. See Server Shared Data Sets, for more information.
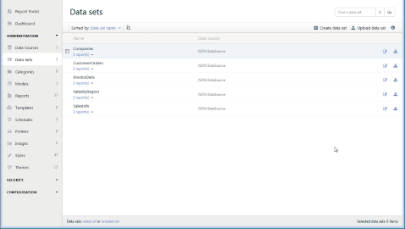
Data sets
Create
- In the Administration section of the Administrator Dashboard, click Data Sets.
- Click Create data set.
- In the Add data set dialog window, enter the Name of the data set and select the Data Source from the drop-down list. The drop-down list contains the data sources available on the ActiveReports Server.
- Enter the query and select a Command Type from the drop-down list - Text (default value) or StoredProcedure.
Note: When you add a data set (stored procedure) with a parameter, and the Command type is set to StoredProcedure, the parameter is created automatically at the query validation.
- Click Validate to validate the query.
- In the Fields section, you can Add or Delete a bound field and/or a calculated field according to your requirements in your data set. Bound fields are populated automatically at the data set query validation.
- Click Next to pass to the second page Settings and Options.
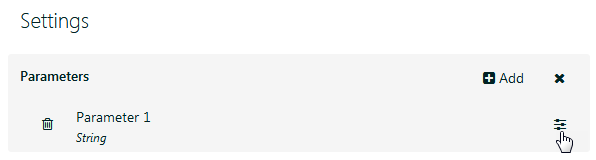
- In the Settings section, you can add or delete a parameter according to your requirements to the data set. The parameter options are available on the Edit Parameter page that you can open by clicking the Edit button. For more information, see Server Shared Data Sets topic.
- In the Settings section, you can also add a filter to your data set. The filter options are available on the Edit Filter page. For more information, see Server Shared Data Sets topic.
- In the Options section, select from the following options:
- Case Sensitivity. Set this value to Auto, True, or False to indicate whether to make distinctions between upper and lower case letters. Auto (by default) causes the report server to get the value from the data provider. If the data provider does not set the value, the report runs without case sensitivity.
- Collation. Choose from Default or a country from the list to indicate which collation sequence to use to sort data. The Default value causes the report server to get the value from the data provider. If the data provider does not set the value, the report uses the server locale. This is important with international data, as the sort order for different languages can be different from the machine sort.
- Kanatype Sensitivity. Set this value to Auto, True, or False with Japanese data to indicate whether distinctions are made between Hiragana and Katakana kana types. Auto (by default) causes the report server to get the value from the data provider. If the data provider does not set the value, the report runs without kana type sensitivity.
- Width Sensitivity. Set this value to Auto, True, or False with Japanese data to indicate whether distinctions are made between single-byte (half-width) characters and double-byte (full-width) characters. Auto (by default) causes the report server to get the value from the data provider. If the data provider does not set the value, the report runs without width sensitivity.
- Accent Sensitivity. Set this value to Auto, True, or False to indicate whether distinctions are made between accented and unaccented letters. Auto (by default) causes the report server to get the value from the data provider. If the data provider does not set the value, the report runs without accent sensitivity.
- Click Finish.
Download
- On the Data Sets page of the Administrator Dashboard, click the Download data set button next to the data set.
- The data set file is downloaded on your system in .rdsx format.
Upload
- On the Data Sets page of the Administrator Dashboard, click the Upload data set button.
- In the Upload an existing data set dialog that appears, you can either drop a data set file or click inside the dotted box to browse to a data set file.
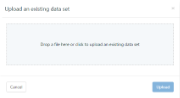
Upload an existing data sets
- In the Open dialog that appears, navigate to the *.rsdx file that you want to upload and click Open. The dialog closes and the file name appears in the dotted box.
- Click Upload to add the data set to the server.
Delete
- On the Data Sets page of the Administrator Dashboard, click the Delete data set button next to the data set. The data set is removed from the list.
Rename
- On the Data Sets page of the Administrator Dashboard, select a data set from the list, and then click the data set properties button to display the data set properties.
- In the Name box, enter the name to update.
Manage permissions
- On the Data Sets page of the Administrator Dashboard, select a data set from the list, and then click the data set properties button to display the data set properties.
- In the Change permissions section, next to each role, drop down the box to select whether to allow its users Read or None to hide the data set from users in that role.
Note: Users should at least have Read permission to access the Server Shared Data Sets in ActiveReports.
See Also