Wijmo UI for the Web
Upload a File
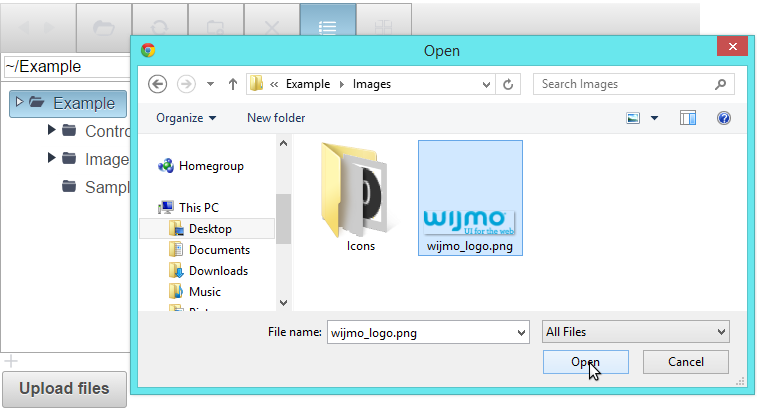
This scenario allows a user to upload a file using the wijupload control. The following section describes how to upload a file to a folder using wijfileexplorer, wijdialog and wijupload.
| Script |
Copy Code |
|---|---|
<script type="text/javascript"> $(document).ready(function () { //initialize wijupload widget $("#upload").wijupload({ }); //initialize wijfileexplorer widget $("#fileexplorer").wijfileexplorer({ actionUri: "fileexplorer.ashx", viewPaths: ["~/Example"], }); }); var upload = $("#upload").wijupload({ complete: closeDialogAndRefresh, totalComplete: closeDialogAndRefresh, action: "./upload.ashx?folder=~/Example", multiple: false }); //initialize wijdialog widget $('#dialog').wijdialog({ autoOpen: false, modal: true, resizable: true, width: 640, height: 400, buttons: { Close: function () { $(this).wijdialog("close"); } }, captionButtons: { pin: { visible: false }, refresh: { visible: false }, toggle: { visible: false }, minimize: { visible: false }, maximize: { visible: false } } }); //add function to upload file function showDialog() { var currentFolder = $("#fileexplorer").wijfileexplorer("option", "currentFolder"); //debugger; var action = "./upload.ashx?folder=" + currentFolder; $("#upload").wijupload("option", "action", action); $('#dialog').wijdialog({ title: "Upload to: " + currentFolder }).wijdialog("open"); } //add function to refresh file explorer function closeDialogAndRefresh() { $("#dialog").wijdialog("close"); $("#fileexplorer").wijfileexplorer("refresh"); } </script> | |
| Markup |
Copy Code |
|---|---|
<div id="fileexplorer"> </div> <div><img id="uploadButton" alt="Upload File" src="UploadFile.png" onclick="showDialog()" /></div> <div id="dialog"> <input id="upload" type="file" /></div> | |