Wijmo UI for the Web
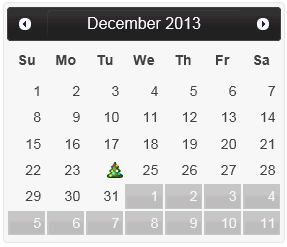
Create a Custom Date
Building on the Quick Start example, you can add gridMajor and gridMinor objects, which contain styles for the axis grid lines.
Drop down and copy code
| Customize Date Script |
Copy Code |
|---|---|
<script id="scriptInit" type="text/javascript">
$(document).ready(function () {
    $("#calendar1").wijcalendar({
        displayDate: new Date('2014/12/1'),
        customizeDate: function ($daycell, date, dayType, hover, preview)
            {
                var $img;
                if (date.getMonth() === 11 && date.getDate() === 24)
                    {
                        $img = $('<div></div>').width(16).height(16).css
                        ('background-image', 'url(http://cdn.wijmo.com/images/xmas.png)');
                        $daycell.attr('align', 'right').empty().append
                        ($img);
                        if ($daycell.hasClass('ui-datepicker-current-day'))
                            {
                                $daycell.css('background-color', '#aaa');
                            }
                        else {
                            $daycell.css('background-color', hover ? 'lightgray' : '');
                        }
                    return true;
                }
            return false;
        }
    });
});
</script>
| |