The data controls have been added to your project and your data set is ready. Now you must set properties for the data controls and the Spread control to finish setting up the data binding.
- If it is not selected, select the BindingSource control in your project.
- In the Properties window, set the DataMember property to the name of the table, Products.
Visual Studio 2013 adds the ProductsTableAdapter control to your project.
- Select the Spread control in your project.
- In the Properties window, set the DataSource property to the name of your data set, DatabindDataSet.
Notice that the column headers in the Spread control change to be the field names from the Products table in your database.
- Save your project.
- Run your project and you should see a form that looks similar to the following:
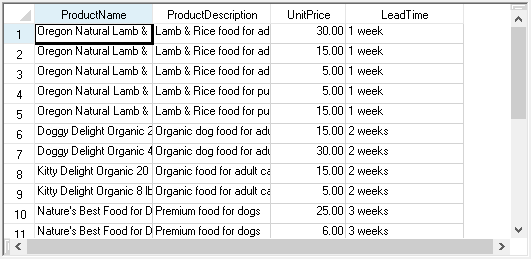
- If your form does not look similar to this form, adjust the size of your Spread control, and re-check the steps you have performed so far.
- Stop the project.