If you want to set properties for a sheet, you must select the sheet by clicking the sheet tab. Or you can select Sheet from the selected item list as illustrated in the figure below. In this figure, the sheet named Sheet1 is selected as the current object.

You can select the entire sheet by clicking on the corner cell, or by using Home (Editing section) > Select All icon > Sheet.
You can select all the cells in the sheet (not the headers) by using Home > Select All > Cells
You can select all the cells in the sheet that have data in them by using Home > Select All > Data.
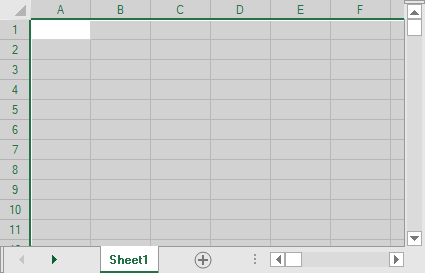
To select the entire sheet, you can click on the sheet corner in the upper left area of the work area of the spreadsheet. This selects and highlights all the cells (corner, headers, and data area cells) in the sheet. You can also select the sheet from the selection box in the Properties window (above the list of properties).
For information on how to set properties for a sheet, refer to Setting Sheet Properties in Spread Designer.
For information on other selectable items, return to Selecting an Item in the Spread Designer.