We will add our standard Form_Resize event handler to make the VSDraw control resize with the form. Here it is:
| Example Title |
Copy Code
|
|---|---|
Private Sub Form_Resize()

  On Error Resume Next

  With vd

      .Move .Left, .Top, _

            ScaleWidth - 2 * .Left, _

            ScaleHeight - .Top - .Left

  End With

End Sub
|
|
Note the error handling to prevent errors in case the user makes the form extremely small and some of the calculated dimensions become negative.
Now, if you run the project and create a chart, you will notice that it resizes with the form. If you resize the form and change its aspect ratio a lot, the charts may look a little distorted.
Our very last touch will give the user the option of keeping the chart size constant and scrolling to see whatever he chooses. This is easy to do with the VSDraw's new properties Zoom, ZoomMode, PageWidth, and PageHeight. Just add the following code to the chk_Click event handler:
| Example Title |
Copy Code
|
|---|---|
Private Sub chk_Click() ' to use actual size, set zoom and drawing size If chkActualSize.Value Then vd.PageWidth = 8000 vd.PageHeight = 8000 vd.Zoom = 100 ' otherwise, just stretch to fill the control Else vd.ZoomMode = zmStretch End If End Sub |
|
The code is quite simple. If the user checks the Actual Size checkbox, the control sets the drawing size to 8000 by 8000 pixels, and the Zoom to 100%. This will add scrollbars to the control, if necessary. If the user unchecks the box, the control sets the ZoomMode property to zmStretch and the drawing stretches to fill the control as usual.
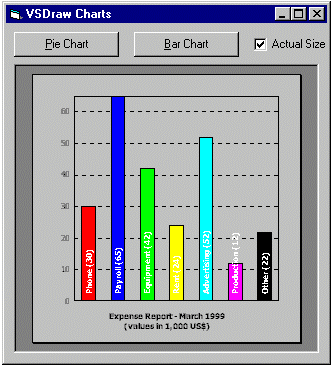
Here is a picture of the final application in action:
This concludes the VSDraw Chart tutorial. You may want to customize the DrawPieChart and DrawBarChart routines or to use them as a starting point to create other chart types (lines, multiple series, and so on) or a VB UserControl-based chart control.