In this tutorial, you will learn how to use the Outlook-Style Grouping feature.
The purpose of outlook-style grouping is to allow you to move grid columns into a new split for enhanced data display capabilities. When in Group mode, a "grouping area" is added to the grid, providing an intuitive interface for creating a columns group.
When DataView is set to 2 - Group, and AllowColMove is set to True, the grid will support the ability to group columns into the grouping area. This action can be performed by users at run time by selecting a column and dragging its header into the grouping area. This action can also be performed in code at run time by invoking the Add method of the GroupColumns collection. Use the Remove method of the GroupColumns collection at run time to remove a column from the grouping area.
See Outlook-Style Grouping for more information.
Note: The DataView property is only supported by the OLE DB version of True DBGrid.
1. Start a new project.
2. From the Visual Basic Project menu, select Components, then check the boxes labeled ComponentOne True DBGrid Pro 8.0 (OLEDB) and Microsoft ADO Data Control 6.0 (OLEDB).
3. Place an ADO Data control (Adodc1) and a True DBGrid control (TDBGrid1) on the form (Form1.)
4. Display the custom property pages for Adodc1. Click the General tab and select the Use Connection String option. Click Build. The 'Microsoft OLE DB Provider for ODBC Drivers option should be highlighted. Click Next. Enter the datasource name (TDBGDEMO.MDB) in the Use Data source name text box. You do not have to enter a user name or password. Test the connection to make sure it works. Close the dialog window.
Click the OK button to close the property page.
5. Set the CommandType property to 2 - adCmdTable.
6. Set the RecordSource property to Composer.
7. Set the DataSource property of TDBGrid1 to Adodc1.
8. Set the AllowAddNew and AllowDelete properties of TDBGrid1 to True (note that the default value of AllowUpdate is True).
9. Set the DataView property of TDBGrid1 to 2 - Group
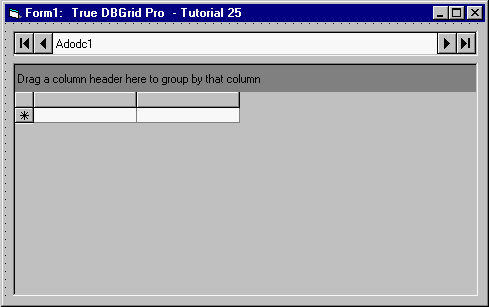
10. Open the Property Pages dialog. Select the Splits property page by clicking the Splits tab. Expand the Splits(00) object and set the AllowColMove property to True. Click the OK button at the bottom of the property page dialog to accept the changes. You have now finished configuring the grid. The grid should look like the one in the following figure.
11. Add the following code to GroupColMove event of TDBGrid1:
| Example Title |
Copy Code
|
|---|---|
Private Sub TDBGrid1_GroupColMove(ByVal Position As Integer, ByVal ColIndex As Integer, Cancel As Integer)


    Dim strSort As String

    Dim Col As TrueOleDBGrid80.Column


    ' Loop through GroupColumns collection and construct the sort string for

    ' the Sort property of the Recordset.

    For Each Col In TDBGrid1.GroupColumns

        If strSort <> vbNullString Then

            strSort = strSort & ", "

        End If

        strSort = strSort & "[" & Col.DataField & "]"

    Next Col


    TDBGrid1.HoldFields

    Adodc1.Recordset.Sort = strSort

End Sub
|
|
Run the program and observe the following:
-
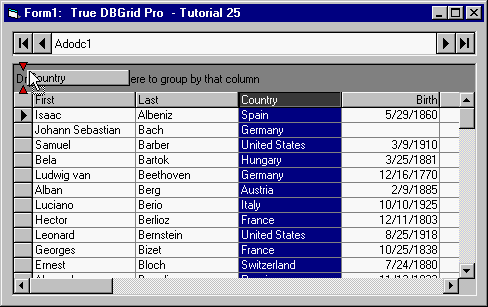
Select the Country column and drag its header to the column group area as in the following picture.
-
Release the mouse button and note the change in the grid's appearance. The rows are now sorted by the Country field. In addition, the grid will automatically group the same values in the grouped column into one cell.

-
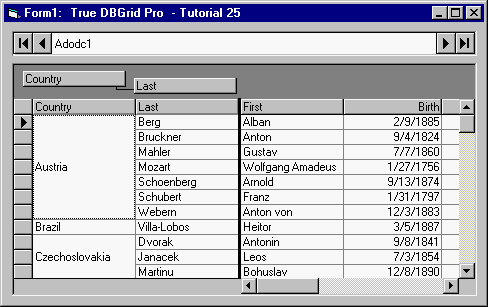
Select the Last column and drag its header to the grouping area.

-
The grid's display should change as in the following picture:
-
Note that this time the data is sorted by both columns. Primary sort is done on Country and secondary sort on Last field. This order corresponds to the following SQL statement:
Example Title Copy CodeSELECT * FROM Composer ORDER BY Country, Last
-
Experiment with different columns.