In this tutorial you will learn how to use True DataControl with memory array data.
-
Start with the project you created in Tutorial 2, and place another TData control (TData2) on the same form (Form1). This time, we will leave its data source properties (the ones available on the DataSource property page) empty. A memory array will be used as the data source.
-
Open the True DataControl property pages dialog by clicking the right mouse button over TData2 and selecting TData Properties. On the DataSource property page, select 1 - MemoryArray in the DataMode combo box.
-
Select the Fields property page. Since there are no predefined fields in memory array mode, you must define the fields yourself, specifying the array structure. Click the right mouse button over the fields list area, and select New Field from the menu (alternatively, you can press the New button). A new field with the default name FIELD_0 appears. Change the name to A by typing it in the Name text box. Select 2 - Integer in the Data Type combo box. Then create two more fields, B and C. Repeat the steps above, but specify different data types: Date for B andCurrency for C. Press the OK button to close the dialog and save changes.
-
Place another DataGrid control (DataGrid2) on the form, and set its DataSource to TData2, and AllowAddNew toTrue.
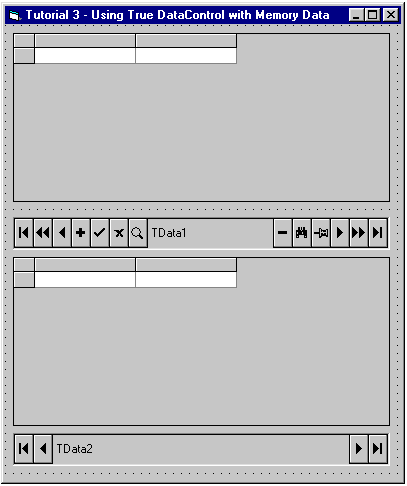
Run the Program and Observe the Following:
-
DataGrid2 shows the contents of an array with three fields: A (Integer), B (Date) and C (Currency). Initially the grid is empty, but data may be added. If you add data and then close and re-run the program, you will notice that the data you entered has disappeared. This is because it is stored in memory. There are provisions in True DataControl to populate a memory array with data before showing it to the user, and to save the entered data. Refer to the Array property and to the OpenData event.
-
Try to enter an incorrect number (for example, 1a) in field A, or an incorrect date in field B (anything other than date in month/day/year format would be incorrect). An error message will appear indicating the affected field and the expected data type. This is just one of True DataControl’s many useful features. True DataControl not only detects the error immediately after you have entered the wrong value, it also gives you information about the field and its data type. True DataControl even returns focus to the bound control where the invalid value has been entered (it is a DataGrid in our case, but it may be any other control such as TextBox, for example). It provides the same validation functionality for other constraints as well as for data type validation, as you will see in other tutorials.
-
-
Close the program, and place another TData control (TData3) on the same form (Form1). Also create three TextBox controls (Text1, Text2, and Text3), and three labels (Label1 to 3).
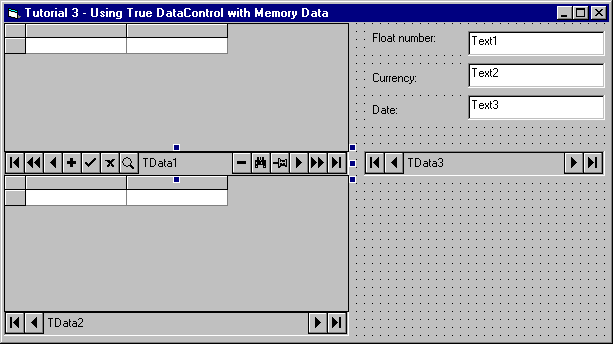
Set properties as follows:
Example Title Copy CodeTData3.ConnectionString Provider=Microsoft.Jet.OLEDB.3.51;Persist Security Info=False;Data Source=C:\Program Files\ComponentOne Studio\Common\TDDEMO.MDB TData3.CommandType 2 – adCmdTable TData3.RecordSource Test Text1.DataSource TData3 Text1.DataField FLOAT Label1.Caption Float number: Text2.DataSource TData3 Text2.DataField CURRENCY Label2.Caption Currency: Text3.DataSource TData3 Text3.DataField DATE Label3.Caption Date:
Run the Program and Observe the Following:
-
A TData control can serve as a Data Source for any bound control that works in accordance with the Microsoft OLE DB data binding specification. In previous examples we used DataGrid, now we will try TextBox. You can navigate through the Test table by pressing the navigation buttons of the TData3 control. Note that the Next and Previous buttons have repeat functionality: they move current row repeatedly when the mouse button is held pressed.
-
Here you can observe the same data type validation feature as in the TData2 example. Upon entering an incorrect number or date, you will receive an error message with the field name and expected data type. Focus returns to the TextBox control where the error occurred.
Close the program. Congratulations, you have successfully completed Tutorial 3!