Begin by creating a new C1 ASP.NET MVC 4 Mobile Application . It will be automatically styled with built-in views. Complete the following steps:
- In Visual Studio, select File | New | Project.
- Under Installed Templates, select Visual C#. The .NET Framework 4 should be selected in order to create an C1 ASP.NET MVC 4 Mobile Application application.
- Select C1 ASP.NET MVC 4 Mobile Application (if you haven't installed this, see Installing the MVC Tools Template), enter a name for the application, and click OK.
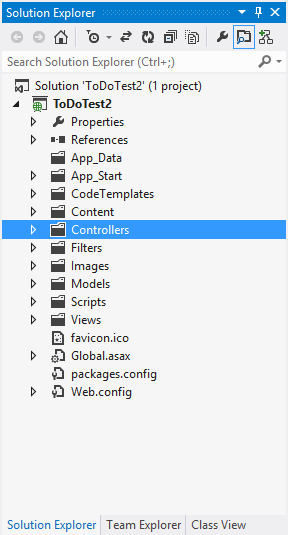
- Your Wijmo project is created. You'll notice it contains the Models, Views, and Controllers folders. With MVC scaffolding, a CodeTemplates folder is also created:
- In the Solution Explorer, expand the Views | Shared node and open the _Layout.cshtml. Notice that the application format is already set up with defined wijappview and wijlistview widgets. Locate the following markup:
<div data-role="menu" class="ui-body-a">
    <ul data-role="listview" data-theme="a">
        <li>@Html.ActionLink("About", "About", "Home")</li>
        <li>@Html.ActionLink("Contact", "Contact", "Home")</li>
    </ul>
</div>
And change it so that it resembles the following markup. This will add a ToDo item to your menu:
<div data-role="menu" class="ui-body-a">
    <ul data-role="listview" data-theme="a">
        <li>@Html.ActionLink("ToDo", "Index", "ToDo")</li>
        <li>@Html.ActionLink("About", "About", "Home")</li>
        <li>@Html.ActionLink("Contact", "Contact", "Home")</li>
    </ul>
</div>
Next, you will add a model for the project.
See Also