Step 1 of 1: Create an Application
Complete the following steps to create an ASP.Net application and add a Map control to your Web Form.
- In Visual Studio, create a new ASP.Net Web Application and add a new Web Form.
- Locate the C1Maps control in the toolbox and place it onto the Web Form.
If you cannot locate the control in the toolbox, right click and select Choose items. The Choose Toolbox Items dialog appears. Locate the control and click OK.
Step 2 of 2: Configure the control
Complete the following steps to configure the control.
In the Designer
- Right click the control and select Properties from the context menu, to open the Properties window.
- Set the Height to 500px and Width to 600px.
- Click the smart tag to open the C1Maps Tasks Menu.
- Set the Center to -80.0852, 42.1296 and Zoom to 10.
- Set the Source to BingMapsRoadSource.
- Run the project.
In Source View
Set the Height, Width, Center, Zoom and Source properties within the <c1:C1Maps> tag, as shown below:
| Source View |
Copy Code
|
|---|---|
<c1:C1Maps ID="C1Maps1" runat="server" Center="-80.0852, 42.1296" Height="500px" Source="BingMapsRoadSource" Width="600px" Zoom="10"> </c1:C1Maps> |
|
In Code
- Add the following code to the Page_Load event:
C# Copy CodeC1Maps1.Height = 500; C1Maps1.Width = 600; C1Maps1.Center=new PointD(-80.0852d,42.1296d ); C1Maps1.Zoom = 10; C1Maps1.Source = MapSource.BingMapsRoadSource;VB Copy CodeC1Maps1.Height = 500 C1Maps1.Width = 600 C1Maps1.Center = New PointD(-80.0852D, 42.1296D) C1Maps1.Zoom = 10 C1Maps1.Source = MapSource.BingMapsRoadSource - Run the project.
What You've Accomplished
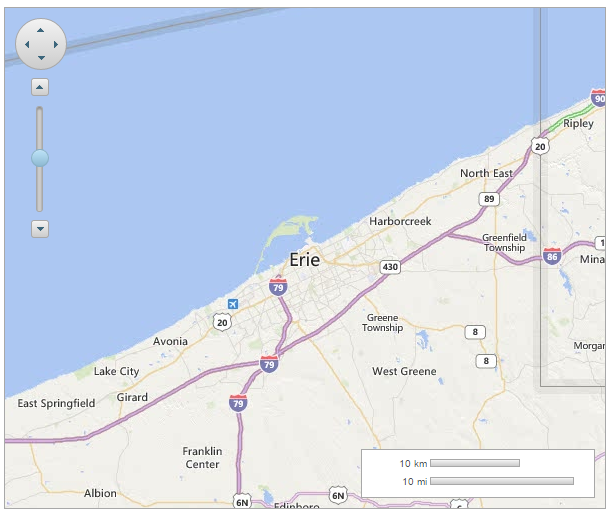
The following image depicts a C1Maps control that displays the city Erie, Pennsylvania as its center, on a Bing Maps Road Source.

See Also