To bind to an ADO.NET data source, complete the following steps:
- Create a new Windows Application project.
- Place the following components on the form as shown in the figure:
- C1Label1-2 (C1.Win.C1Input.C1Label)
- C1PictureBox1 (C1.Win.C1Input.C1PictureBox)
- C1TextBox1 (C1.Win.C1Input.C1TextBox)
- C1DbNavigator1 (C1.Win.C1Input.C1DbNavigator)
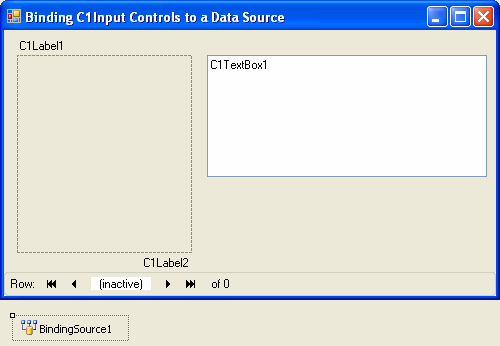
- Add a BindingSource component (located on the Data tab of the Toolbox) to the form.
- In the Properties window, locate the DataSource property and expand the drop-down. Select Add Project Data Source.
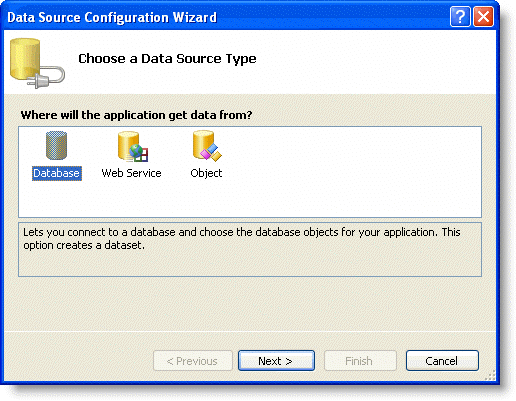
The DataSource Configuration Wizard opens.
- Select Database on the Choose a Data Source Type page, and click Next.
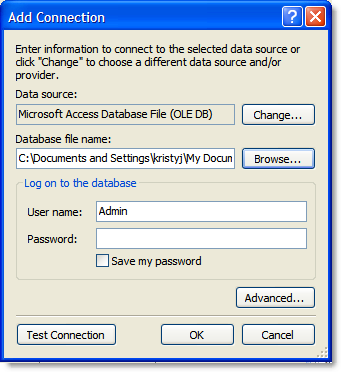
- Click the New Connection button to create a new connection or choose one from the drop-down list.
- Click the Browse button to specify the location of the C1NWind.mdb database. Click the Test Connection button to make sure that you have successfully connected to the database or server and click OK. The new string appears in the on the Choose Your Data Connection page.
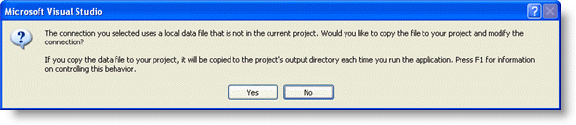
- Click the Next button to continue. A dialog box will appear asking if you would like to add the data file to your project and modify the connection string. Click No.
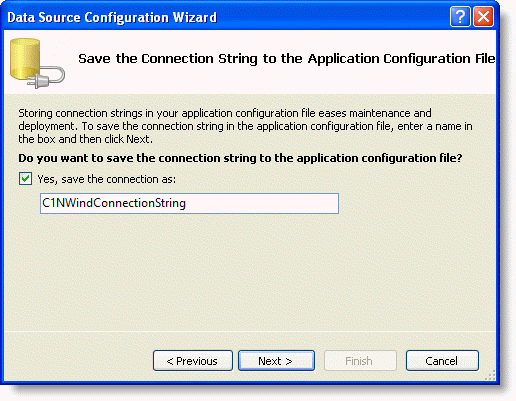
- Save the connection string in the application configuration file by checking the Yes, save the connection as box and entering a name. Click the Next button to continue.
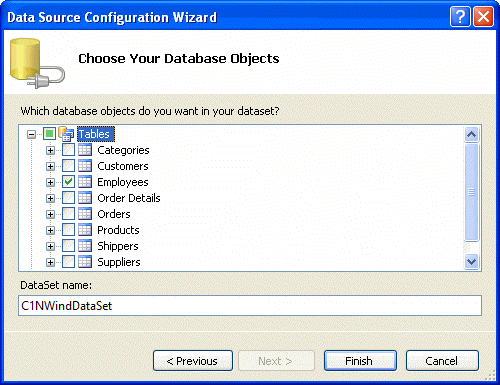
- On the Choose your database object page, select the Employees table. Click Finish to exit the wizard.
A DataSet and connection string are added to your project.
- In the Properties window, set the DataMember property for BindingSource1 to Employees. A DataTableAdapter is added to the form and automatically adds the following code to the Form_Load event:
To write code in Visual Basic
Visual Basic Copy CodeMe.EmployeesTableAdapter.Fill(Me.NwindDataSet.Employees)
To write code in C#
C# Copy Codethis.EmployeesTableAdapter.Fill(this.NwindDataSet.Employees);
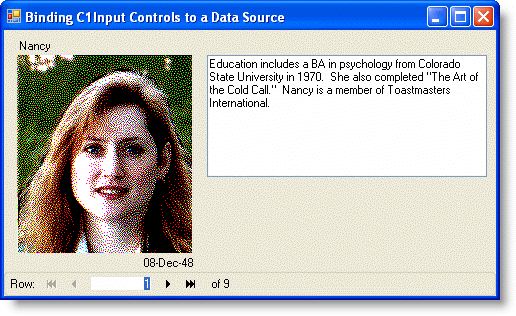
Bind C1Input controls to the data source
Suppose we want to show the first name, date of birth, notes, and photo for each employee. The first name and date of birth will be displayed in a C1Label control, notes in C1TextBox, and photo in C1PictureBox. Binding the C1Input controls to the data source involves the following operations:
- For the C1Label1 control, go to the Properties window, select NwindDataSet from the drop-down list for the DataSource property.
- Then select Employees.FirstName from the list for the DataField property.
Note: To change the Label's Size property, you must set its AutoSize property to False.
- As in the steps above, from the Properties window, bind the C1Label2 DataSource property to NwindDataSet and the DataField property to Employees.BirthDate.
- Bind the C1TextBox1 DataSource property to NwindDataSet and the DataField property to Employees.Notes.
After binding the controls, complete the following tasks:
- Notice that the C1Label2 DataType property is set to the field type, DateTime. Now, change the format for C1Label2 so that it will not show time with the date of birth (showing time is the default). To change the format, select the FormatType property, open its combo box and select MediumDate.
- Set the C1TextBox1.Multiline property to True.
Next, bind the C1PictureBox control to the Photo field.
- First select NwindDataSet in the DataSource property combo box of the C1PictureBox control.
- Then open the DataField property combo box and select Employees.Photo from the list of available fields.
Next, set up the C1DbNavigator1 control allowing the user to navigate through the data set. To bind the navigator control to the data source:
- First select dataSet11 in its DataSource property combo box.
- Then select Employees in its DataMember property combo box.
- To dock the navigator control to the bottom of the form and separate it from the rest of the form with a three-dimensional line, set the following properties:
- C1DbNavigator1.Dock = Bottom
- C1DbNavigator1.BorderStyle = Fixed3D
Run the program and observe the following:
C1Input controls show data in Employees records. You can navigate between Employees records using the four DVD-style buttons of the navigator control. You can also go directly to a certain record by typing the record number in the navigator control record number edit field, or set the input focus to the record number field and use mouse wheel to scroll through the records.