To create a new LightSwitch HTML project, complete the following steps:
- In Visual Studio, select File | New | Project.
- Under the Installed Templates, expand the Visual Basic or Visual C# nodes and select LightSwitch | LightSwitchHTML application option.
- Enter a name for the application, and click OK. Your LightSwitch project is created containing the Server and HTML Client folders.
- In the Solution Explorer, right-click the project node, for instance, D3ControlQuickStart, and select Properties. The Properties dialog box appears.
- In the Properties dialog box, select the Extensions tab and select the LightSwitch HTML Edition and D3 Controls for LightSwitch HTML extensions. Note that when you check the extension named LightSwitch HTML Edition, it will give you access to the screen templates and custom controls at design time. You can also select the Use in new projects fields if desired.
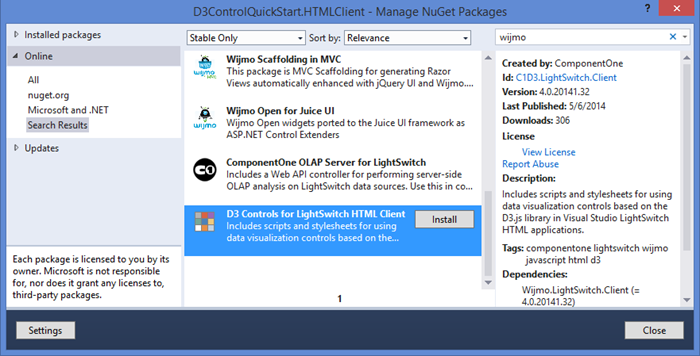
- In the Solution Explorer, right-click the HTML Client project and select Manage NuGet Packages.
- In the Manage NuGet Packages dialog box expand Online node and then enter Wijmo in the Search textbox.
- Install the package named D3 Controls for LightSwitch HTML Client and accept the licenses when prompted to do so.
- If you get the File Conflict warning dialog box, click the Yes to All button and then click the Close button to exit the Manage NuGet Packages dialog box
See Also