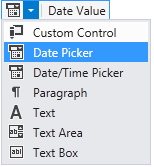
Out of the box, the LightSwitch HTML Client lets you replace a built-in control such as a List, Text Box, or Date Picker with custom JavaScript code that inserts new DOM elements or creates an instance of a third-party control. First, in the designer, change the control type to Custom Control.
Next, in the Properties window, click the Edit Render Code link to generate code for the custom control. This opens the JavaScript code-behind file for the current screen, which contains the newly-created render function:
| JavaScript |
Copy Code
|
|---|---|
myapp.ScreenName.DateValue_render = function (element, contentItem) {
    // Write code here.

};
|
|
Now what? In order to make this work, you need to know how to:
- Create the third-party control and attach it to the DOM element.
- Initialize the control's value based on the associated data item.
- Handle the control's change event and update the associated data item.
- Implement data binding so that the control responds to changes in the underlying data.
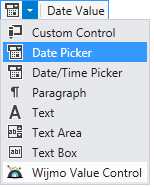
Or, you can use the extensibility features of LightSwitch HTML Edition to create a fully functional data-bound control without coding. Getting back to our Date Picker example, you would first change the control type in the designer to Wijmo Value Control.
Next, in the Properties window, change the value of the Widget property from Text Input to Calendar, since we are working with a Date value.
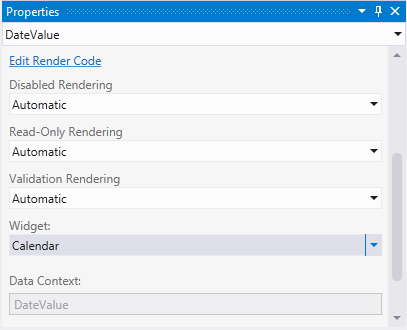
Then, click the Edit Render Code link just as you would for a regular custom control. Now the render function looks something like this:
| JavaScript |
Copy Code
|
|---|---|
myapp.ScreenName.DateValue_render = function (element, contentItem) {

    $.wijmo.wijcalendar.prototype.options.wijCSS.stateDefault = "ui-btn-up-a";
    $.wijmo.wijcalendar.prototype.options.wijCSS.content = "ui-body ui-body-a";

    var div = $("<div data-role='wijcalendar'/>");
    div.appendTo($(element));

    div.wijcalendar({
        selectionMode: {day: true},
        displayDate: contentItem.value
    });

    div.wijcalendar("selectDate", contentItem.value);
    var displayDate = true;

    div.wijcalendar({
        selectedDatesChanged: function (e, args) {
            var newValue = div.wijcalendar("getSelectedDate");
            if (contentItem.value != newValue) {
                displayDate = false;
                contentItem.value = newValue;
                displayDate = true;
            }
        }
    });

    contentItem.dataBind("value", function (newValue) {
        div.wijcalendar("unSelectAll");
        if (displayDate) {
            div.wijcalendar({ displayDate: newValue });
        }
        div.wijcalendar("selectDate", newValue);
    });
};
|
|
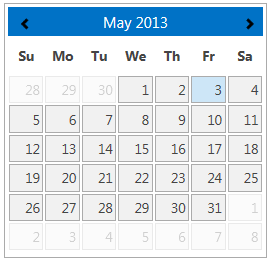
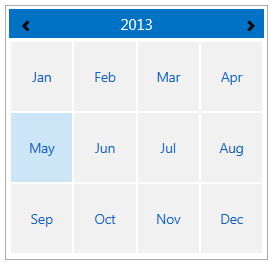
Press F5 to run the project and view the new calendar control. Use the angle brackets in the header to navigate to the next or previous month. Click the header text to quickly navigate to any month in the current year.
Also, implement the following steps to understand the functionality of the above given code:
- Create a new Browse Data Screen, but don’t specify a data source. Make it the home screen.
- Click Add Data Item and add a new local property named DateValue of type Date.
- Drag the DateValue property onto the design surface twice.
- Bind one instance to the standard Date Picker control.
- Bind the other instance to a Wijmo Value Control and make it a Calendar widget as described previously. Do not forget to click the Edit Render Code link.
- Add the following code to the screen to initialize the local property to today’s date:
JavaScript Copy Codemyapp.ScreenName.created = function (screen) { screen.DateValue = new Date(); };
Run the application and note that both controls are set to today’s date. When you change the selected date in the Wijmo calendar, the Date Picker control is updated. When you change any of the month/day/year values in the Date Picker control, the Wijmo calendar is updated.
All of the other Wijmo Value Control widgets are designed to work in this fashion. They handle their own change events as appropriate, and use LightSwitch data binding to remain in sync with the underlying data elements. Best of all, no coding is required, although advanced users can modify the generated code to suit their needs.