Complete the following steps to add the FileExplorer to the Web Form and add the initial folder path.
Step 1 of 2: Add Control to the Form
- In Visual Studio, create a new ASP.Net WebApplication and add a new Web Form.
- In the Toolbox, locate the FileExplorer control and drag it onto the Web Form. If you cannot find the control in the ToolBox, right click and select Choose Items to locate the FileExplorer control in the Choose ToolBox Items dialog box.
Step 2 of 2: Add Initial Folder Path
- Right click the FileExplorer control and select Properties.
- In the Properties Window, add the folder location to the ViewPaths property.
In Source View
Add the folder path to the ViewPaths property, in the <cc1:C1FileExplorer> tag:
<cc1:C1FileExplorer ID="C1FileExplorer1" ViewPaths="Example\A_Folder" runat="server" ></cc1:C1FileExplorer>
In Code
Add the following code to the Page_Load event, to add the folder path to the ViewPaths property:
To write code in C#
string[] viewpaths = { "Example\\A_Folder" };
C1FileExplorer1.ViewPaths = viewpaths;
To write code in Visual Basic
Dim viewpaths As String() = { "Example\\A_Folder"  }
C1FileExplorer1.ViewPaths = viewpaths
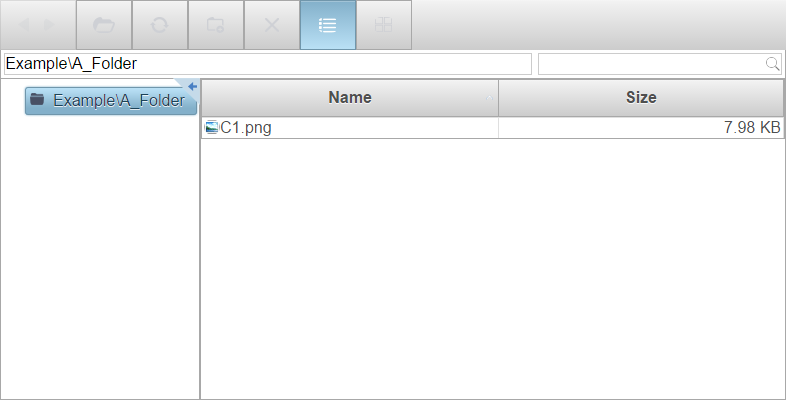
What You've Accomplished
When you run the project, notice that the FileExplorer displays the contents within the Example\A_Folder.