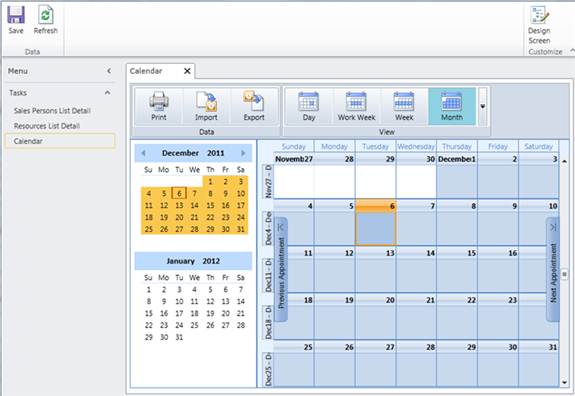
When you run the application, a fully functional schedule will appear. Users can double-click dates and/or times to create appointments, add resources and contacts to the appointments, change the calendar views, and more.
- Press F5 to run the application. Notice youhave a calendar, a Sales Persons list, and a Resources list.
- Under Tasks, double-click Sales Persons List Detail and use the Add button to add new sales people to the list. Click the Save button in the LightSwitch ribbon to save the new contacts.
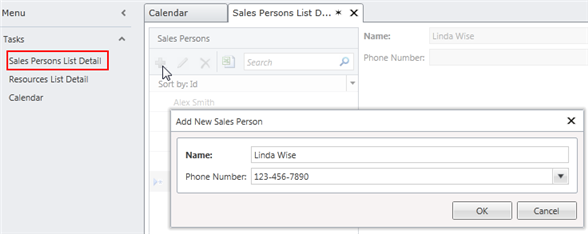 You can add resources to the Resources List Detail in the same way.
 - Go back to the calendar and double-click a day or time to open the Appointment or Event dialog box. If the Contacts and Resources buttons are not appearing in the dialog box, click the Refresh button and open the appointment again.
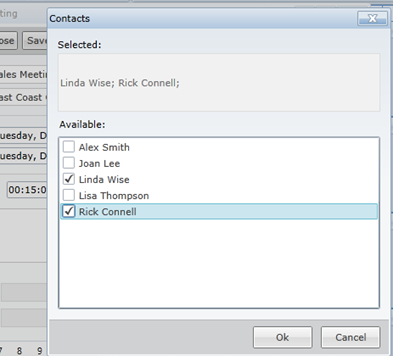
- Create an appointment and click the Contacts button. You can select the necessary contacts and click Ok. They will appear in the Appointment or Event dialog box.