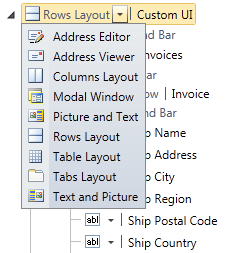
Start by adding a new screen using an appropriate screen template. An Editable Grid Screen is a good choice because it contains a single data collection and a minimal number of UI elements to replace. In this example, the screen was renamed to CustomUI and its data source was set to the Invoices collection. In the designer, select the dropdown menu for the root element (Rows Layout) and change it to Columns Layout.
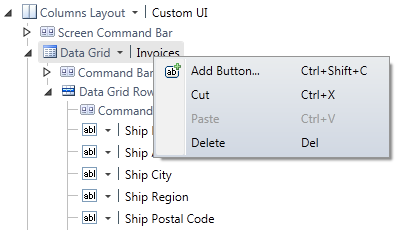
Next, right-click the Data Grid element and select Delete from the context menu. The screen will retain its data source (Invoices), and we will replace the Data Grid with OLAP for LightSwitch controls.
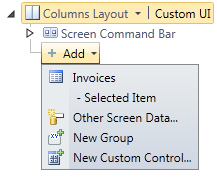
Select the root element (Columns Layout). Click the Add dropdown below the Screen Command Bar element and select New Custom Control from the menu.
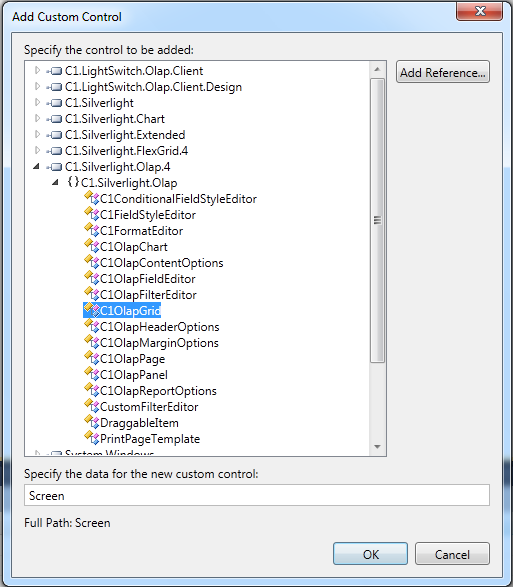
In the Add Custom Control dialog, expand the top-level node C1.Silverlight.Olap.4, then expand its only child node, then select the C1OlapGrid control and click OK.
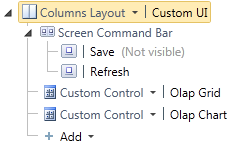
Repeat the previous steps to add the C1OlapChart control. Rename the grid control to OlapGrid, and the chart control to OlapChart. For the grid, keep the default alignment settings in the Properties window, but for the chart, change the horizontal and vertical alignments to Stretch. For both the grid and chart, change the Label Position setting to None.
Expand the Screen Command Bar element and select the Save button. In the Properties window, clear the Is Visible check box since the modified screen will not contain any controls that allow the underlying data source to be modified. When you are finished, the screen layout should look something like this: