Once you have a data source, you can add a screen to bind to it. The Calendar Screen template will create the schedule for you, so you don't have to enter a single line code. It will be mapped to the Holiday table you created in step 2.
- In the Solution Explorer, right-click the Screens folder and select Add Screen.
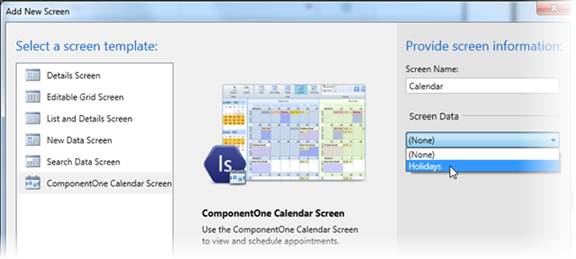
- Select Calendar Screen in the list of screen templates.
- Use the default name Calendar under Screen Name, select the Holidays data source from the Screen Data list, and click OK.
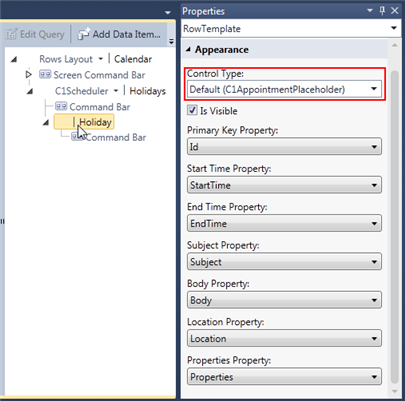
- Select the Holiday item in the calendar designer, notice it is a C1AppointmentPlaceholder control, and set the properties as in the following image. These properties map to the properties you added in the Holiday table.
Now it's time to run the application and check out the schedule!