In this sample project, we will create a standard Data Grid, convert it to a C1FlexGrid, and do a few customizations, including merging cells.
Creating a standard Data Grid
- In the Solution Explorer, double-click on NORTHWINDData and add the Customers table.
- Right-click on the Screens folder and choose Add Screen. The Add New Screen window opens.
- Select Editable Grid Screen.
- Under Provide screen information, select NORTHWINDData.Customers from the Screen Data drop-down list.
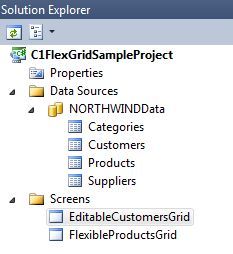
The Solution Explorer will look like this:
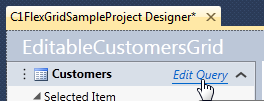
- Open the Designer and click Edit Query.
- Choose Sort and set the following criteria:
Sort by: Country Ascending
Sort by: City Ascending
Sort by: CompanyName Ascending - Return to the Designer and further edit the screen layout.
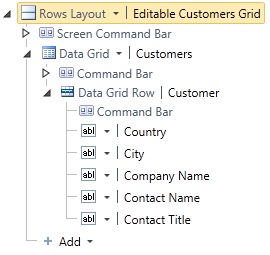
- Drag the Country field to the top.
- Drag the City field under it.
- Delete the CustomerID field, and all of the fields under Address.
Converting the built-in Data Grid
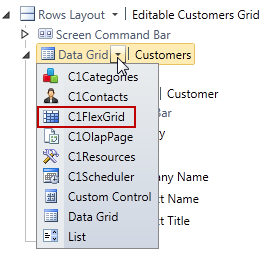
- Click the drop-down next to Data Grid and choose C1DataGrid.
- Now click the drop-down next to Country, City, Contact Name, and Contact Table and switch it to a FlexGrid Text Column. Switch Company Name to a FlexGrid Link Column.
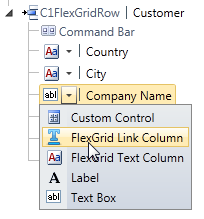
- Select the Country element. In the Properties area, click on Appearance and select the Allow Merging check box. Set the Background Color to C0EAEFF4.
- Do the same for the City element.
- Choose C1FlexGrid and in the Properties area, click on Advanced and select the Merge Cells check box. Click the Show Grid Lines drop-down and choose All. Choose the Grid Lines Color drop-down and choose a medium gray.
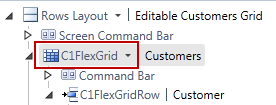
- Run the Application.
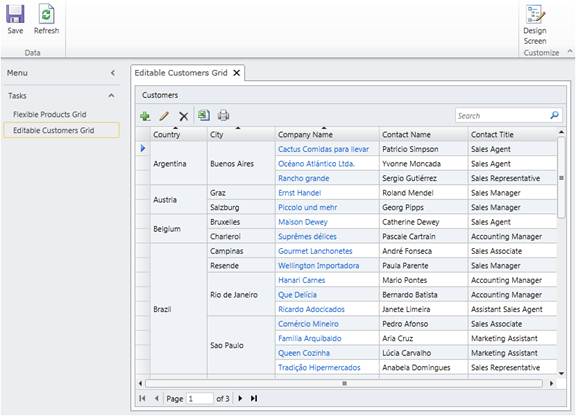
The Country and City fields are merged, and the proper background colors have been applied. Clicking a Company Name link will open a new tab for editing the data row for that customer.