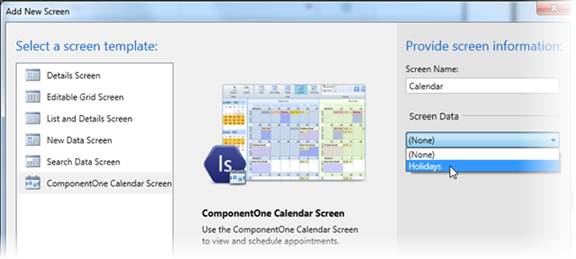
Calendar Screen is a screen template that includes a properly configured instance of the C1Scheduler control extension. This is the easiest way to use the product.
Once you have created a table to hold the data for the C1Scheduler extension, you can add a screen template that will be bound to the table.
To do this, follow these steps:
- In the Solution Explorer, right-click the Screens folder and select Add Screen.
- Select Calendar Screen in the list of screen templates.
- Enter a name for the screen under Screen Name, select the data source, Holidays in this example, from the Screen Data list, and click OK.

The screen is created. The table properties must be mapped to the storage model for the schedule to be properly displayed. See Mapping to the Primary Data Source.