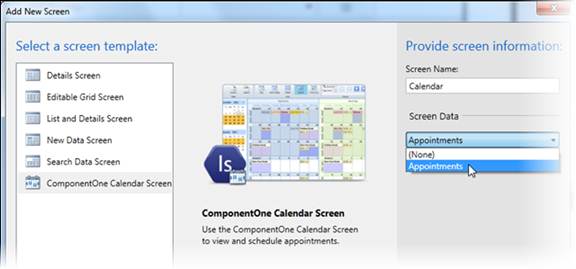
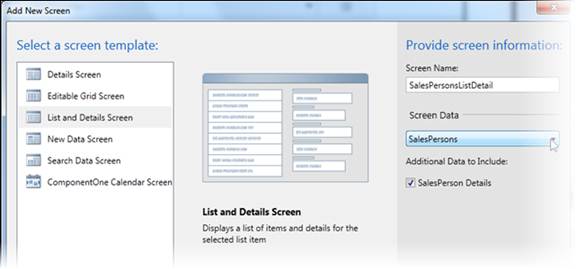
Once you have the data sources, you can add a screen template for each. The Calendar Screen template will create the schedule for you, so you don't have to enter a single line code. It will be mapped to the Appointments table you created in step 2. You'll use the List and Details Screen template for the SalesPerson and Resource tables so users can edit the contacts and resources lists as needed.
- In the Solution Explorer, right-click the Screens folder and select Add Screen.
- Select Calendar Screen in the list of screen templates.
- Use the default name Calendar under Screen Name, select the Appointments data source from the Screen Data list, and click OK.
- Repeat these three steps for the remaining two tables, only select the List and Details Screen template and use the SalesPerson and Resource tables for the Screen Data.
In the next step, you will map the primary appointments table to the Calendar Screen to create the schedule.