You can use the FlexGrid Screen template to add an editable data grid to your project.
To add a FlexGrid Screen to your project, follow these steps:
- In the Solution Explorer, right-click the Screens folder and select Add Screen.
- In the list of screen templates, select FlexGrid Screen.

If you do not see the FlexGrid Screen option, make sure you have installed LightSwitch Desktop Edition and included the extension in the project. - Under Provide screen information, enter a Screen Name and select a data source from the list under Screen Data.
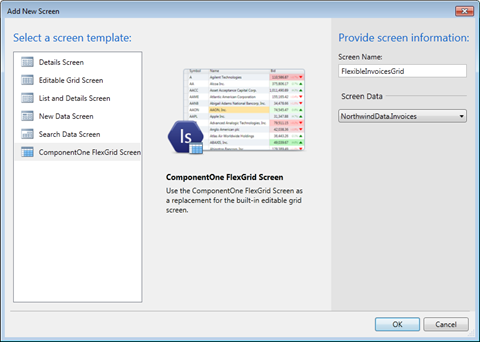
- Click OK. The C1FlexGrid control is automatically added to the screen and bound to the selected data.
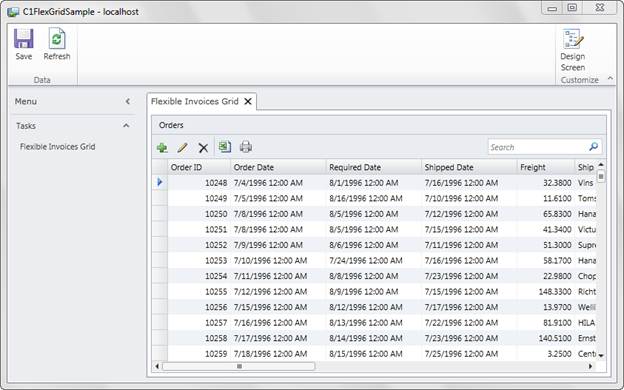
- Run the project, and the application will look similar to this example.
|
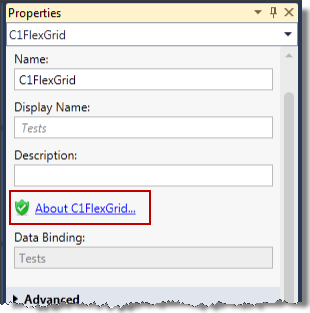
Even if you activate your license during installation, the first time you run a new FlexGrid application, a reminder screen will appear. To prevent that from happening, open the LightSwitch screen designer, select the C1FlexGrid node, and save the screen. In the Properties window, you should see a green shield icon next to the About C1FlexGrid link. This indicates that C1FlexGrid is licensed. You need to do this for every FlexGrid screen you create, and every Data Grid that you replace with C1FlexGrid |