The quick start guide familiarizes you with rendering a report in the FlexViewer control. In this section, you learn to load and render FlexReport to the FlexViewer control.
To create a simple WPF application using the FlexViewer control, follow these steps:
Step 1: Loading the Report
To load a report definition from a file, follow these steps:
- Create a new WPF Application in Visual Studio.
- Add the Button and C1FlexViewer controls to the XAML design. Set the Name of C1FlexViewer control as Viewer and adjust it height and width accordingly.
- Add FlexReport to your project. In our case, we have used a report named TelephoneBillReport.flxr, available in the FlexReport samples installed on the machine.
- Add the reference to C1.WPF.FlexReport.4.dll to the application.
- Add the following namespace in the code:
- C1.WPF.FlexReport
- Add the following code in the Button_Click event in code view to load the report:
Step 2: Rendering the Report
To render a report, you need to load the report first. Once the report definition has been created, a data source is defined, and the report definition is loaded, you can render the report to the FlexViewer control.
Add the following code to the Button_Click event in the code view to render the FlexReport in FlexViewer control:
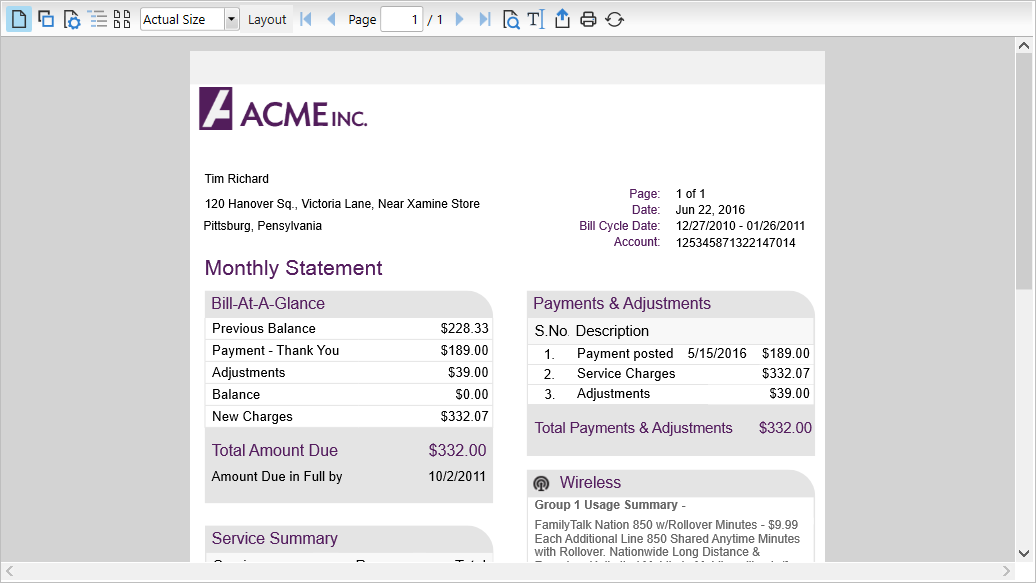
This is how the report appears on rendering to FlexViewer.