Now that you've created a UWP-style application and customized the application's appearance and behavior, the only thing left to do is run your application. To run your application and observe FlexGrid for UWP's run-time behavior, complete the following steps:
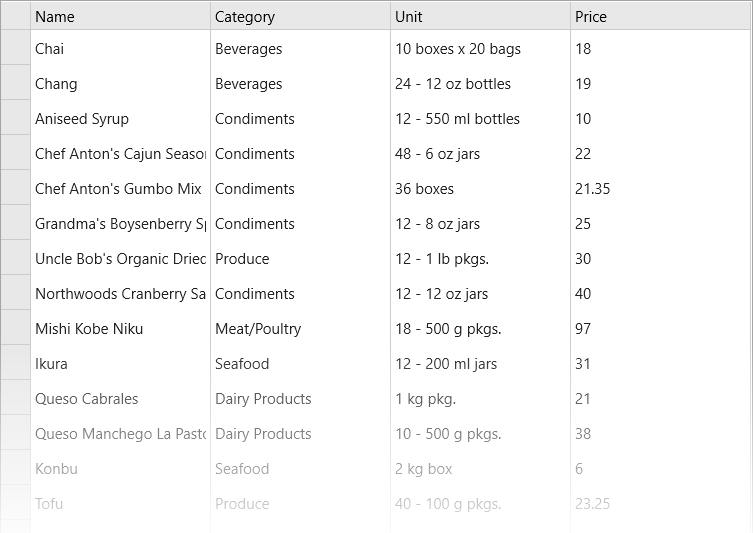
- From the Debug menu, select Start Debugging to view how your application will appear at run time. Notice that product data appears in the grid:
- Tap a column header, for example Category, and drag it before or after another column header, for example Price, to change the location of the column.
- Similarly, tap a row header and drag it before or after another row header to change the location of the row.
- Tap the left or right edge of a column header, for example Name, and drag the edge of the column to resize it.
- Similarly, tap the upper or lower edge of a row header and drag the edge of the row to resize the row.
Congratulations!
You've completed the FlexGrid for UWP quick start and created a FlexGrid for UWP application, customized the C1FlexGrid control, and viewed some of the run-time capabilities of your application.