Now that you've created a UWP style application and customized the application's appearance and behavior, the only thing left to do is run your application. To run your application and observe Calendar for UWP Edition's run-time behavior, complete the following steps:
- From the Debug menu, select Start Debugging to view how your application will appear at run time.
The application will appear similar to the following:
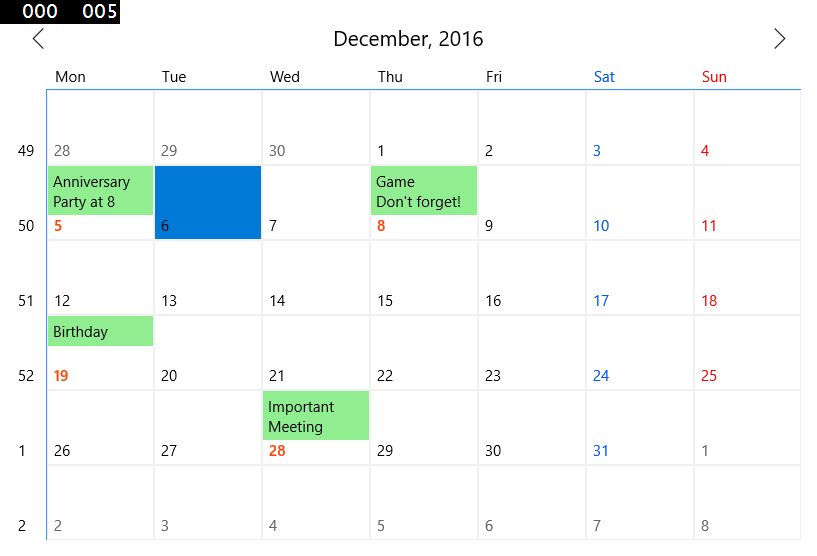
Notice how the formatting and events defined in your application appear.
- Navigate to a previous or next month by clicking the Previous or Next arrow buttons at the top of the calendar.
- To select multiple days, hold the CTRL or SHIFT key and click items.
- Tap the month header to switch to the year mode. Tap the year header to switch to the decade mode.
- In the decade mode, select a year to switch back to the year mode and in the year mode select a month to switch back to the month mode.
![]() What You've Accomplished
What You've Accomplished
Congratulations! You've completed the Calendar for UWP quick start and created an application using the Calendar control and viewed some of the run-time capabilities of your application.
See Also