You can import and export C1Schedule data to several common formats including iCal, binary, and XML. This makes it convenient for users to then import exported C1Schedule data into Outlook or another scheduling application. In the following steps, you'll add two buttons to the Page: one to export and one to import data from a defined location.
Complete the following steps:
1. Navigate to the Visual Studio Toolbox and add two Button controls to the form. This control can be found on the Standard tab. If necessary, right-click the Toolbox and select Show All to view all tabs.
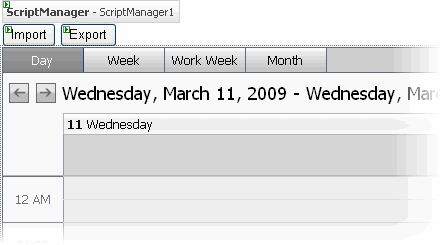
2. In the Properties window, set Button1's Text property to "Import" and Button2's Text property to "Export".
The form will look similar to the following image:
3. Double-click the Import button to switch to Code view and add the Button1_Click event.
4. Add the following code to the Button1_Click event:
Me.C1Schedule1.DataStorage.Import("C:\temp\Schedule.xml", C1.C1Schedule.FileFormatEnum.XML)
• C#
this.C1Schedule1.DataStorage.Import(@"C:\temp\Schedule.xml", C1.C1Schedule.FileFormatEnum.XML);
5. Return to Design view and double-click the Export button to switch to Code view and add the Button2_Click event.
6. Add the following code to the Button2_Click event:
Me.C1Schedule1.DataStorage.Export("C:\Schedule.xml", C1.C1Schedule.FileFormatEnum.XML)
• C#
this.C1Schedule1.DataStorage.Export(@"C:\Schedule.xml", C1.C1Schedule.FileFormatEnum.XML);
You can now import and export your scheduling data at run time using the Import and Export buttons.
![]() What You've Accomplished
What You've Accomplished
You've learned how to import and export schedule data in code. You can adjust the code above to change the location and format of your data.
Run your application and observe:
1. Add some appointments to your schedule.
2. Click the Export button. The schedule data will be exported to the file location indicated in the code above.
3. Delete the appointments you just created.
4. Click the Import button. The data you exported will be imported from the saved location, and the appointments you created will be restored.
|
