By default, the C1DateTimePicker control doesn't allow users to enter null values, but you can force the control to accept a null value by setting the AllowNull property to True. In this topic, you will learn how to set the AllowNull property to True in XAML, from the Properties Window, and in code.
In XAML
To allow Null values, place AllowNull="True" to the <c1: C1DateTimePicker> tag so that the markup resembles the following:
<c1:C1DateTimePicker AllowNull="True"> </c1:C1DateTimePicker>
From the Properties Window
1. From the Visual Studio toolbar, select View | Properties.
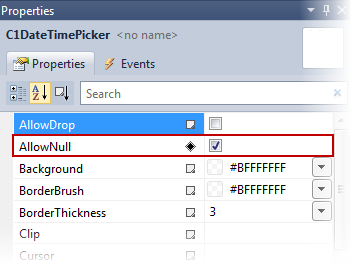
2. Locate the AllowNull property and check the check box to allow null values as in the following image:
In Code
1. Add x:Name="C1DateTimePicker1" to the <c1:C1DateTimePicker> tag so that the control will have a unique identifier for you to call in code.
2. Open the MainPage.xaml.cs page by right-clicking on your project and selecting View Code from the menu.
3. Insert the following using statement at the top of the page.
Imports C1.Phone
•C#
using C1.Phone;
4. Add the following code after the InitializeComponent() method:
•Visual Basic
C1DateTimePicker1.AllowNull = true
•C#
C1DateTimePicker1.AllowNull = true;