ComponentOne Basic Library for UWP
Wrapping and Formatting Items with C1WrapPanel
UWP Edition Basic Library > Layout Panels for UWP > Layout Panels for UWP Task-Based Help > Wrapping and Formatting Items with C1WrapPanel

You can wrap items using the C1WrapPanel.BreakLine Attached property. In this example, HyperlinkButtons are used. Complete the following steps:

  1. In your project, drag a C1WrapPanel control from the Toolbox and place it before the closing </Grid> tag in the .xaml page.
  1. Place your cursor in between the <Xaml:C1WrapPanel> tags and press ENTER.
  1. Add the following XAML to wrap HyperlinkButtons:
Markup
Copy Code
<Border Margin="2" BorderBrush="Black" BorderThickness="2" Background="Orange">
    <HyperlinkButton Foreground="White"  Content="Example Text" FontSize="25" />
</Border>
<Border Margin="2" BorderBrush="Black" BorderThickness="2" Background="Green" Xaml:C1WrapPanel.BreakLine="After">
    <HyperlinkButton Foreground="White" Content="Break After" />
</Border>
<Border Margin="2" BorderBrush="Black" BorderThickness="2" Background="Blue">
    <HyperlinkButton Foreground="White" Content="C1WrapPanel" FontSize="16"/>
</Border>
<Border Margin="2" BorderBrush="Black" BorderThickness="2" Background="Red">
    <HyperlinkButton Foreground="White" Content="Wrap Vertically" />
</Border>
<Border Margin="2" BorderBrush="Black" BorderThickness="2"  Background="Purple">
    <HyperlinkButton Foreground="White" Content="Wrap Horizontally" FontSize="20" />
</Border>

Notice the C1WrapPanel.BreakLine property is set to After for the second HyperlinkButton. This will add a break after the button.

  1. Run your project. The C1WrapPanel will resemble the following image:

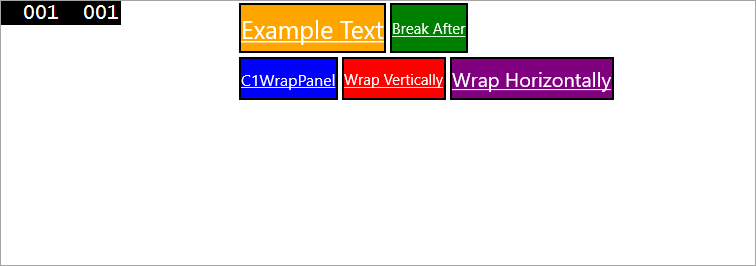
Notice there is a break after the second HyperlinkButton.

See Also