ComponentOne Basic Library for UWP
Wrapping Items Vertically with C1WrapPanel
UWP Edition Basic Library > Layout Panels for UWP > Layout Panels for UWP Task-Based Help > Wrapping Items Vertically with C1WrapPanel

By default, items are wrapped horizontally. However, in some cases you may need them to wrap vertically. You can set the C1WrapPanel.Orientation property to specify vertical wrapping. In this example, HyperlinkButtons are used. Complete the following steps:

  1. In your project, drag a C1WrapPanel control from the Toolbox and place it before the closing </Grid> tag in the .xaml page.
  1. In the <Xaml:C1WrapPanel> tag, set the Orientation property to Vertical; the XAML will look like the following:
Markup
Copy Code
<Xaml:C1WrapPanel Orientation="Vertical">
  1. Place your cursor in between the <Xaml:C1WrapPanel> tags and press ENTER.
  1. Add the following XAML to wrap HyperlinkButtons:
Markup
Copy Code
<Border Margin="2" BorderBrush="Black" BorderThickness="2" Background="Orange">
    <HyperlinkButton Foreground="White" Content="Example Text" FontSize="25" />
</Border>
<Border Margin="2" BorderBrush="Black" BorderThickness="2" Background="Green" Xaml:C1WrapPanel.BreakLine="After">
    <HyperlinkButton Foreground="White" Content="Break After" />
</Border>
<Border Margin="2" BorderBrush="Black" BorderThickness="2" Background="Blue">
    <HyperlinkButton Foreground="White" Content="C1WrapPanel" FontSize="16"/>
</Border>
<Border Margin="2" BorderBrush="Black" BorderThickness="2" Background="Red">
    <HyperlinkButton Foreground="White" Content="Wrap Vertically" />
</Border>
<Border Margin="2" BorderBrush="Black" BorderThickness="2"  Background="Purple">
    <HyperlinkButton Foreground="White" Content="UWP" FontSize="20"/>
</Border>
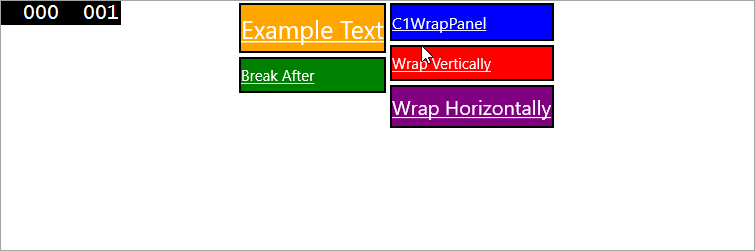
  1. Run your project. The C1WrapPanel will resemble the following image:
See Also