This topic explains how to create a basic tabular report. This process consists of the following tasks:
- Logging on to ActiveReports Server
- Creating a new report
- Adding attributes to the table and resizing
- Saving the report
- Opening an existing report
- Rendering a report
To log on to ActiveReports Server
- From the Start menu, select All Programs, GrapeCity, ActiveReports Server, Report Portal.
- In the Welcome to the Designer dialog that appears in your default Web browser, in the User Name field, enter your registered user name.
- In the Password field, enter your password.
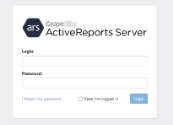
- Click Login. The ActiveReports Server Report Portal appears.
To create a new report
- On the ActiveReports Server Report Portal, click New Report
 to create a new report.
 - Click the data model that you want to use, in our example, ActiveTunes (Sample).
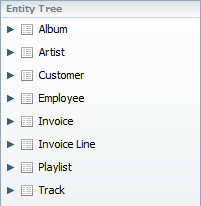
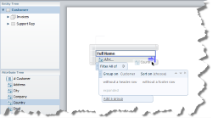
- The Design tab appears, displaying the toolbar along the top, the Entity Tree and Attribute Tree on the left, and the design surface on the right. This is the ActiveReports Server Report Portal.

-
The Entity Tree displays a list of entities in the data model. From the Entity Tree, drag the Customer entity to the report surface.
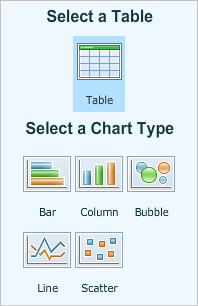
- In the Select wizard that appears, select Table.
- The Entity Tree expands the Customer entity, and the table appears on the report surface populated with some of the Customer attributes and with its adorners showing along the top, left, and bottom edges.
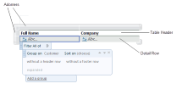
- Click the table to reveal the adorners if they are not visible. Hover the pointer between the left adorner and the edge of the table to reveal arrow buttons.
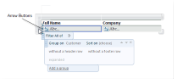
- Click the center arrow that appears on the left, and in the menu that appears, select Toggle Table Footer. A table footer is added.
Note: Each time you click Toggle Table Header or Toggle Table Footer, you switch the table header or footer on or off. - Hover the pointer above a column and click the arrow button that appears. In the context menu that appears, select Delete Column. The column is deleted.
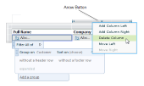
- You can add or delete other columns in the table using the Add Column Left, Add Column Right, and Delete Column menu items.
To add an attribute to the table and resize it
- From the Attribute Tree, drag the Country attribute onto the table and drop it to the right of the Full Name column detail row so that a blue arrow appears. A new Country column is added to the table.
 Note: You can only drop attributes in certain table cells. (See Table Data for details.) Cells in which you can drop an attribute are highlighted blue when you drag an attribute over them.
 - To resize, click the table to reveal its adorner and drag a corner. You can see the table size while changing it.
- the top-right corner changes only the width
- the bottom-left corner changes only the height
- the bottom-right corner changes both width and height

To save the report
- In the right upper corner of the screen, click Save
 .
. - In the Save Report dialog, enter the Report Name and add a revision Comment about the report.
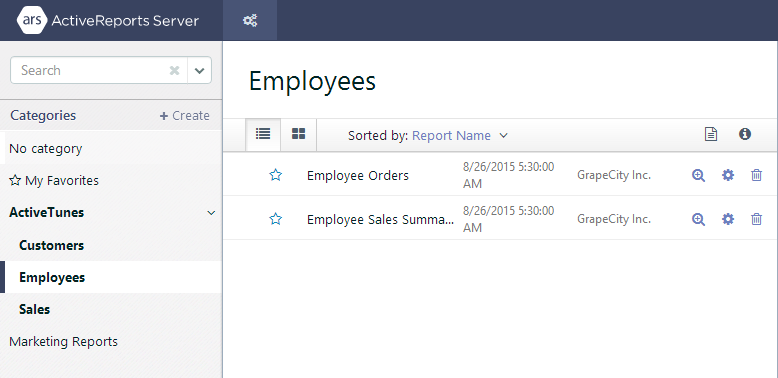
For more details on Report Versions , see Working with Report Version. - The report is saved and added to the list of reports.
- To access the list of reports, see below.
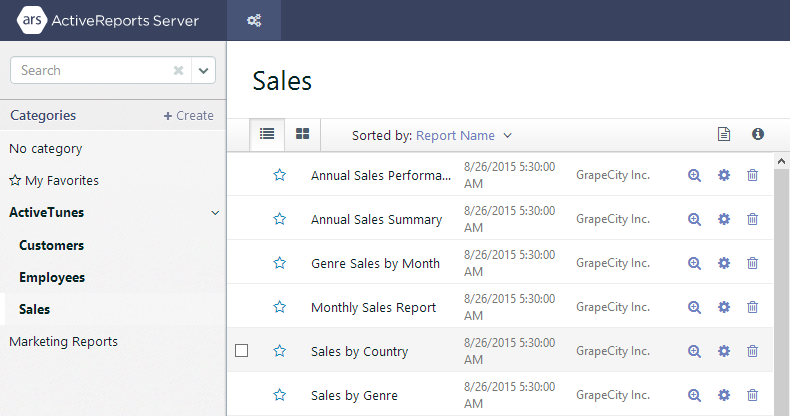
To open an existing report
- On the ActiveReports Server Report Portal, select a report from the Report List.
- Next to the report click Design
 to open the report in Designer.
Note: Click the Preview button to open a report in the Viewer. You cannot edit reports in the Viewer.
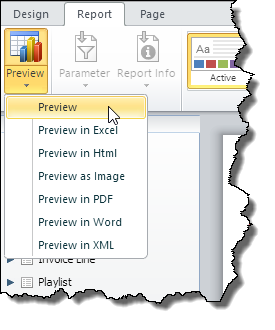
To render a report
- On the Design tab, click the arrow section of the Preview drop-down button. The Preview menu appears.
- Select the format in which you want to render the report.
Note: If you select Preview, or click directly on the Preview button instead of the arrow, it opens the report in the ActiveReports Server Preview tab. For more information, see Previewing Reports.
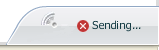
- Your request is added to the queue. In the bottom right corner of the screen, a status bar displays the status of the report rendering.
- While the Sending message appears in the status bar, you can click the Cancel button to cancel the request.
- When the rendering is finished, the Report successfully loaded message appears in the status bar and the report displays in the viewer.
See Also