The topic describes creating Web Designer sample using ASP .NET MVC Core and ASP .NET MVC.
ASP .NET MVC Core
The steps to create a Web Designer sample using ASP .NET MVC Core application are as follows:- Open Microsoft Visual Studio 2017 and create a new ASP .NET Core Web Application project.

- Select .NET Framework - ASP .NET Core 2.1 - Empty project template.

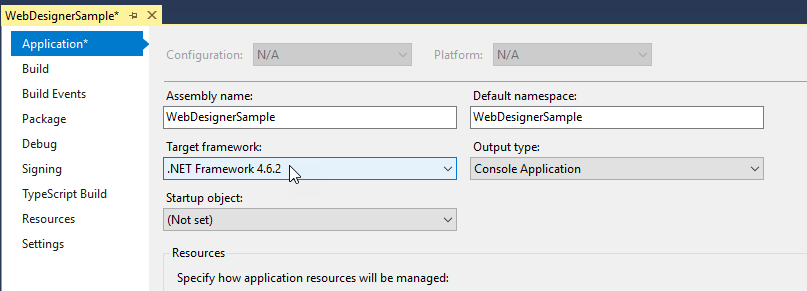
In Project > Properties ensure that Target framework is .NET Framework 4.6.2.
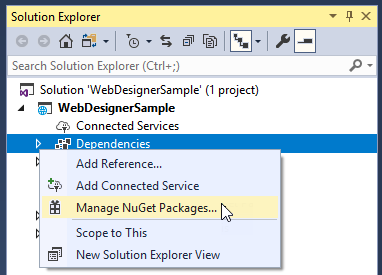
- In Solution Explorer right-click Dependencies and go to Manage NuGet Packages.
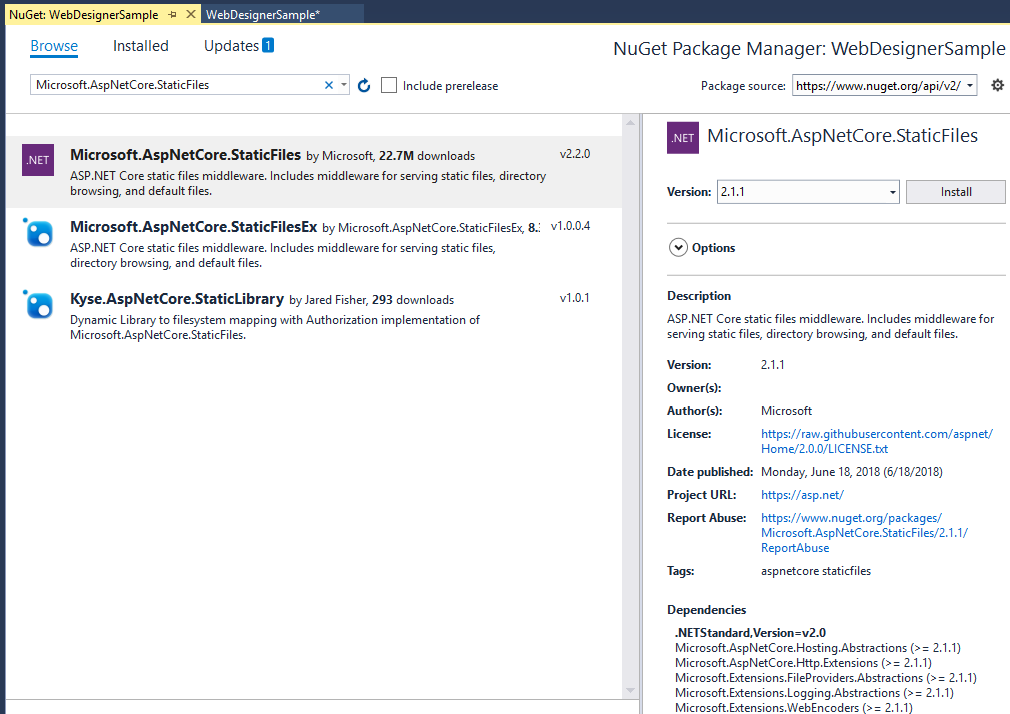
- In the window that appears, go to Browse and input Microsoft.AspNetCore.StaticFiles, select version 2.1.1 and click Install.
- In the Preview Changes dialog that appears, click OK.
- In the License Acceptance dialog that appears, click I Accept.
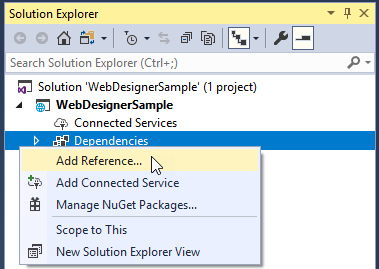
- In Solution Explorer, right-click Dependencies and select Add Reference.
- In the Reference Manager dialog that appears, click Browse and navigate to ActiveReports 13 folder containing assemblies. By default it is C:\Program Files (x86)\Common Files\GrapeCity\ActiveReports 13 on 64-bit Windows.
- Select following assemblies and click Add:
- GrapeCity.ActiveReports.Core.Rdl.dll
- GrapeCity.ActiveReports.dll
- GrapeCity.ActiveReports.Core.Diagnostics.dll
- GrapeCity.ActiveReports.Aspnetcore.Designer.dll
- In the Reference Manager dialog, click OK to confirm the above added assemblies.
- In Solution Explorer, find Startup.cs and modify its content as follows:
Startup.cs Copy Codeusing System.IO; using Microsoft.AspNetCore.Builder; using Microsoft.AspNetCore.Hosting; using Microsoft.Extensions.DependencyInjection; using GrapeCity.ActiveReports.Aspnetcore.Designer; namespace WebDesignerSample { public class Startup { // resources (reports, themes, images) location private static readonly DirectoryInfo ResourcesRootDirectory = new DirectoryInfo(".\\resources\\"); public void ConfigureServices(IServiceCollection services) { // web designer services services.AddDesigner(); } public void Configure(IApplicationBuilder app, IHostingEnvironment env) { // web designer middleware app.UseDesigner(config => config.UseFileStore(ResourcesRootDirectory)); // static files middlewares app.UseDefaultFiles(); app.UseStaticFiles(); } } }
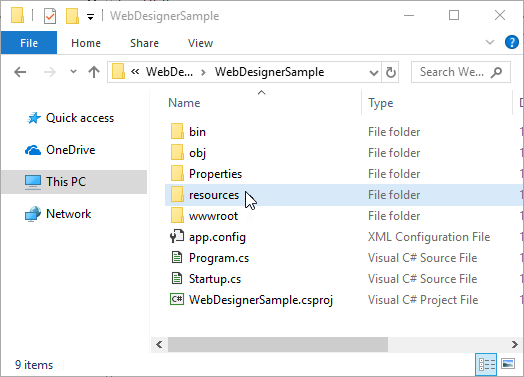
- Create 'resources' folder in your sample project root; you can put your existing reports, themes, and images in this folder.
- Go to C:\Program Files (x86)\GrapeCity\ActiveReports 13\Deployment\WebDesigner folder on a 64-bit Windows.
- Copy following basic WebDesigner-related files/folder and paste it to your sample project wwwroot subfolder:
- baseServerApi.js
- web-designer.css
- web-designer.js
- vendor folder
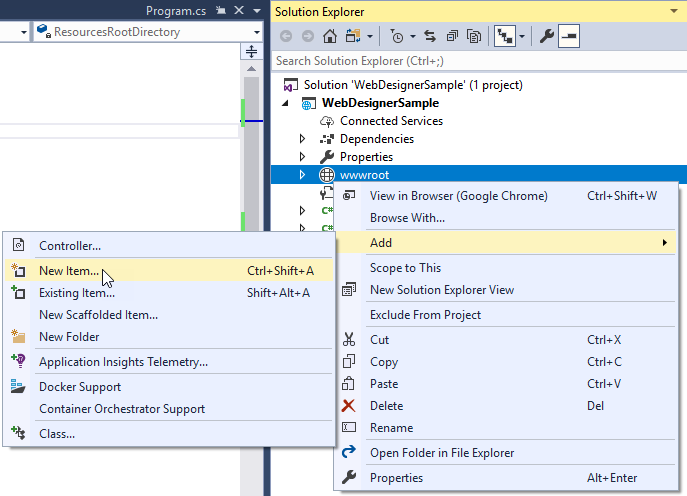
- In Solution Explorer, right-click wwwroot and select Add > New Item.
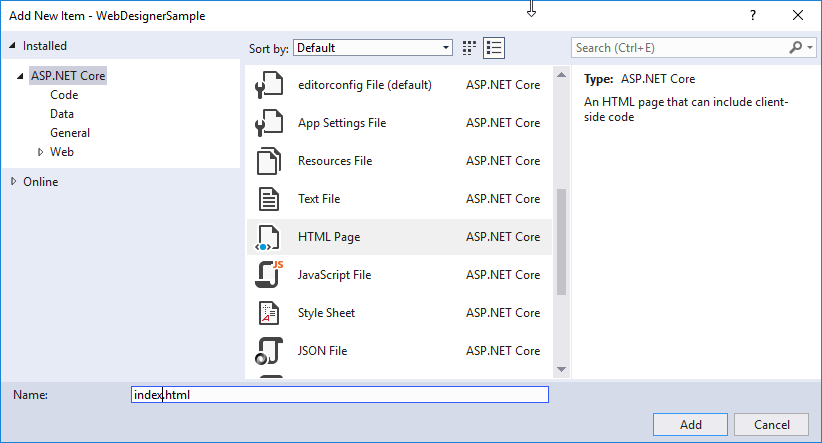
- Select HTML Page item type, input index.html and click Add.
- In Solution Explorer, find newly-added index.html and modify its content as follows:
index.html Copy Code<!DOCTYPE html> <html> <head> <title>Web Designer Sample</title> <meta charset="utf-8"> <meta name="viewport" content="width=device-width, initial-scale=1"> <meta http-equiv="x-ua-compatible" content="ie=edge"> <!-- designer-related css --> <link rel="stylesheet" href="vendor/css/materialdesignicons.min.css" media="all" type="text/css" /> <link rel="stylesheet" href="vendor/css/bootstrap.min.css" /> <link rel="stylesheet" href="vendor/css/font-awesome.min.css"> <link rel="stylesheet" href="vendor/css/ionicons.min.css"> <link rel="stylesheet" href="vendor/css/fonts-googleapis.css" type="text/css"> <link rel="stylesheet" href="web-designer.css" /> </head> <body class="theme-blue"> <!-- designer-related js --> <script src="vendor/js/jquery.min.js"></script> <script src="vendor/js/bootstrap.min.js"></script> <script src="baseServerApi.js"></script> <script src="web-designer.js"></script> <!-- designer root div --> <div id="designer-id" style="width: 100%; height: 100%;"></div> <script> // create designer options var designerOptions = GrapeCity.ActiveReports.WebDesigner.createDesignerOptions(baseServerApi); // render designer application GrapeCity.ActiveReports.WebDesigner.renderApplication('designer-id', designerOptions); </script> </body> </html>
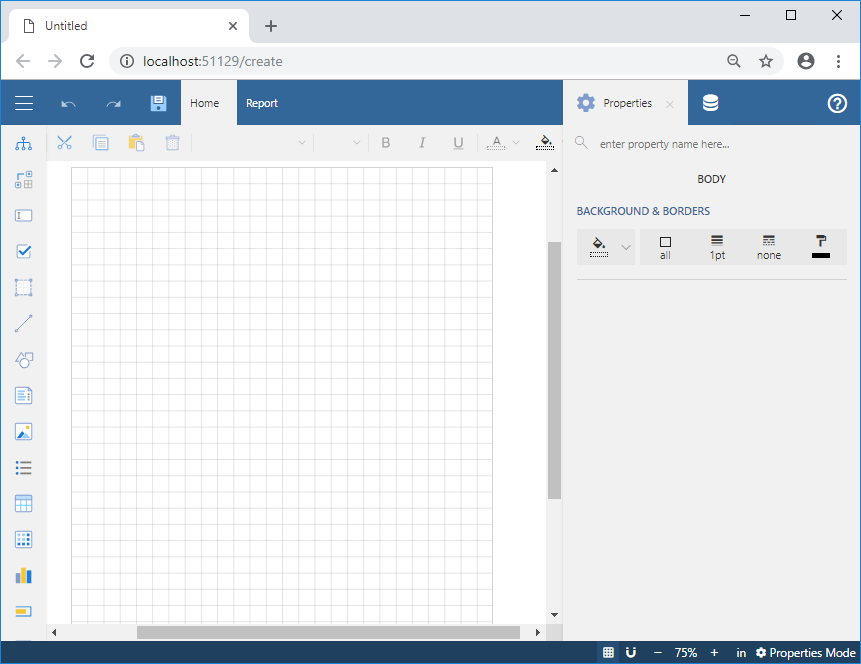
- Build your solution (Build> Build Solution) and run it. WebDesigner with a blank RDL report opens in your browser.
- If you would like to open not a blank report but one of your existing reports in resources subfolder (added above in step 12), you will need to add the following line with your report name in index.html after createDesignerOptions() function call:
index.html Copy CodedesignerOptions.reportInfo.id = "MyReport.rdlx";
- In case you copied file-dialog.css and file-dialog.js to the sample project wwwroot subfolder in step 14., you can plug-in our sample dialog for saving reports.
Following steps are required to be performed in index.html to plug-in the dialog component:
i. In <head> tag, add file-dialog.css near web-designer.css:
Copy Code<link rel="stylesheet" href="file-dialog.css" /> <link rel="stylesheet" href="web-designer.css" />
ii. In <body> tag, add file-dialog.js near web-designer.js:Copy Code<script src="file-dialog.js"></script> <script src="web-designer.js"></script>
iii. Near designer root div and dialog root div:
Copy Code<!-- designer root div --> < div id="designer-id" style="width: 100%; height: 100%;"></div> <!-- save as dialog root div --> < div id="save-as-dialog-id" style="position: absolute; top: 0; left: 0; width: 100%; height: 100%; display: none; z-index: 9999;"></div>
iv. Modify <script> tag contents where designer application is rendered:Copy Code<script> var showElement = function (id) { if (!id) return; ($('#' + id)).css('display', 'block'); }; var hideElement = function (id) { if (!id) return; ($('#' + id)).css('display', 'none'); }; var designerId = 'designer-id'; var saveAsDialogId = 'save-as-dialog-id'; function onSaveAs(options) { showElement(saveAsDialogId); // render save-as dialog fileDialog.createSaveReportAsDialog(saveAsDialogId, { locale: options.locale, api: { getReportsList: function () { return baseServerApi.getReportsList() .then(function (reportsList) { return reportsList.map(function (reportInfo) { return { path: reportInfo.Name }; }); }); }, saveReport: function (saveOptions) { return baseServerApi.saveNewReport({ name: saveOptions.path, content: options.reportInfo.content, }).then(function (saveResult) { return { id: saveResult.Id }; }); }, }, reportInfo: { path: options.reportInfo.name, }, onSuccess: function (saveResult) { hideElement(saveAsDialogId); options.onSuccess({ id: saveResult.id, name: saveResult.path }); }, onClose: function () { hideElement(saveAsDialogId); }, }); }; // create designer options var designerOptions = GrapeCity.ActiveReports.WebDesigner.createDesignerOptions(baseServerApi); // enable showing save-as button designerOptions.saveAsButton.visible = true; // specify behavior on save-as designerOptions.onSaveAs = onSaveAs; // render designer application GrapeCity.ActiveReports.WebDesigner.renderApplication(designerId, designerOptions); </script>
You get a designer with plugged-in sample save-as dialog. Such minimalistic designer can be used for editing the existing reports without adding new data sets.
However, in case you need to create brand-new reports, add data sets and preview reports from designer, please refer to ActiveReports Web Designer API documentation as described in the Designer Options Object topic.
ASP .NET MVC
The steps to create a Web Designer sample using ASP .NET MVC application are as follows:
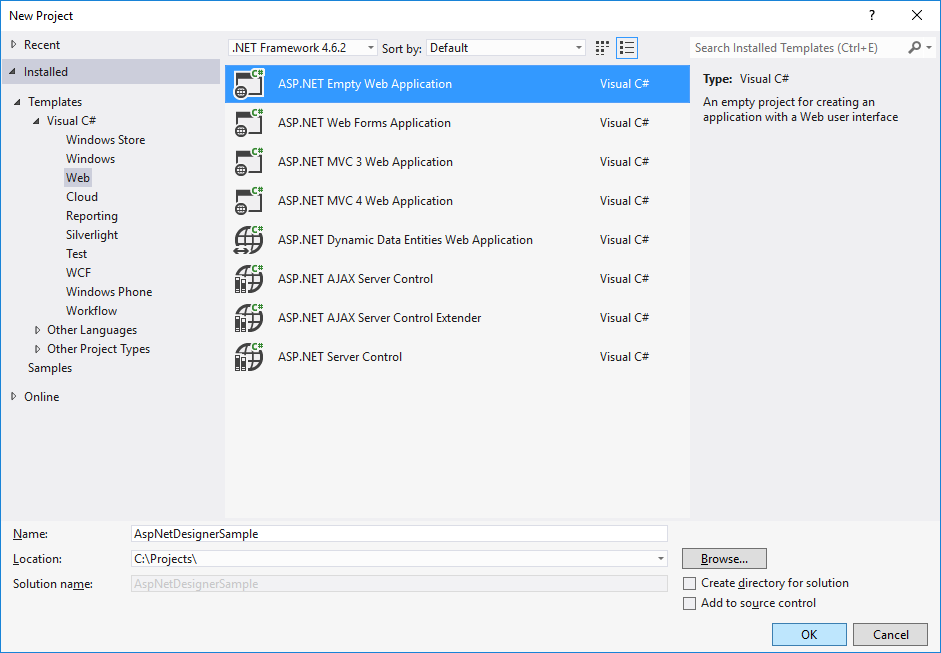
- Open Microsoft Visual Studio 2012 and create a NET Framework 4.6.2 ASP .NET Empty Web Application project.
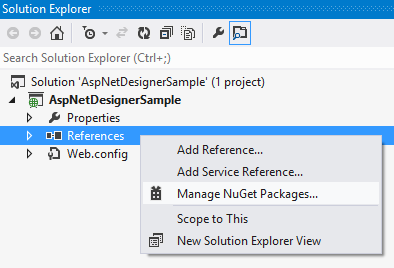
- In Solution Explorer, right-click References and go to Manage NuGet Packages.
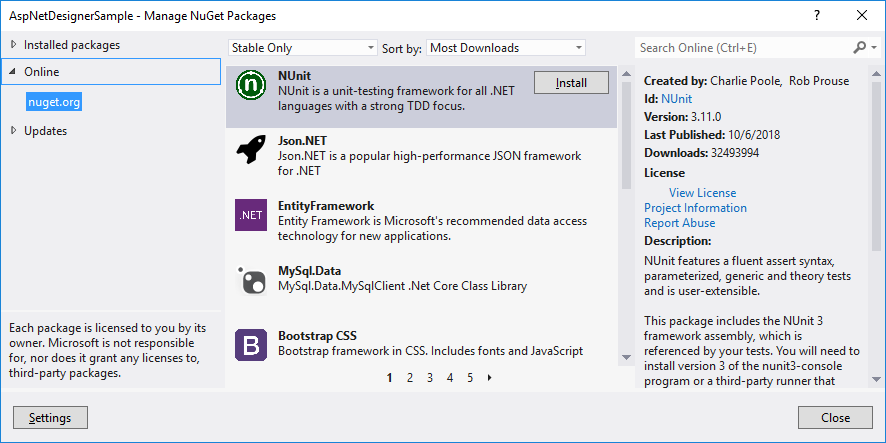
- In the window that appears, go to Online > nuget.org.
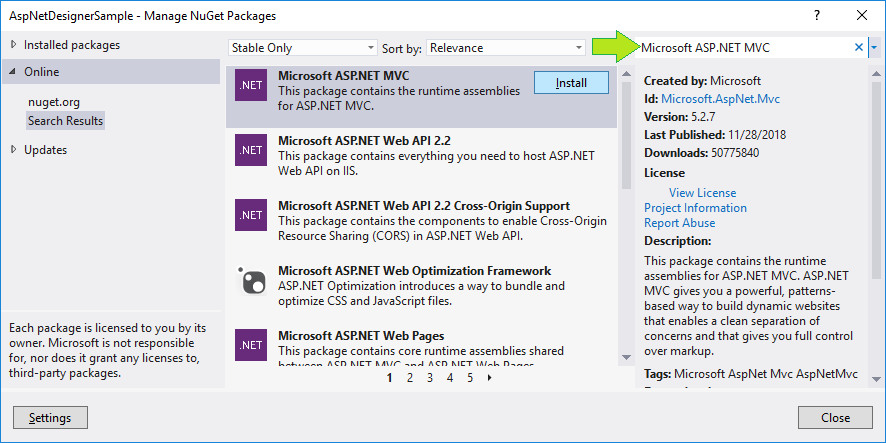
- In the right-upper corner search box, input Microsoft ASP.NET MVC and install this package.
In the License Acceptance dialog that appears, click I Accept.
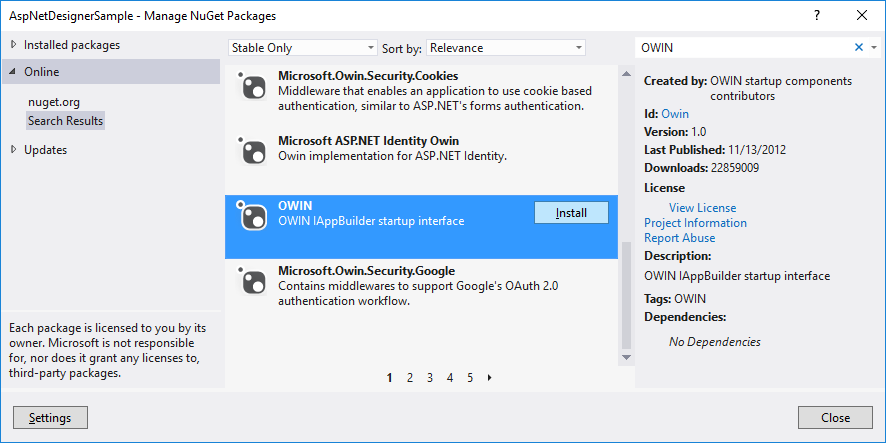
- In search box input OWIN, find 'OWIN' in search results and install this package:
- In search box input Microsoft.Owin and install this package.
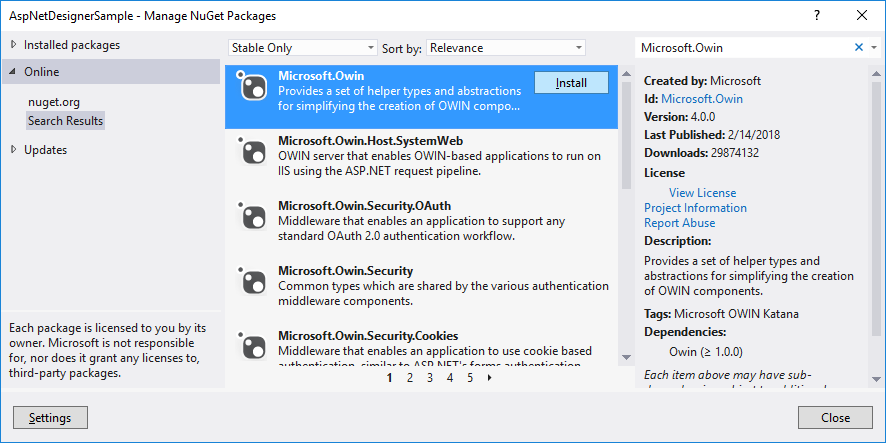
In the License Acceptance dialog that appears, click I Accept:
- In search box input Microsoft.Owin.Host.SystemWeb and install this package.
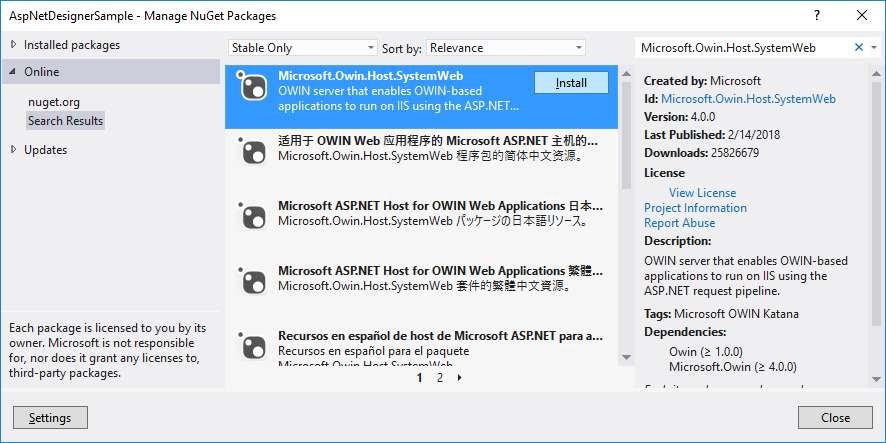
In the appeared License Acceptance dialog click I Accept:
- In search box input Microsoft.Owin.StaticFiles and install this package.
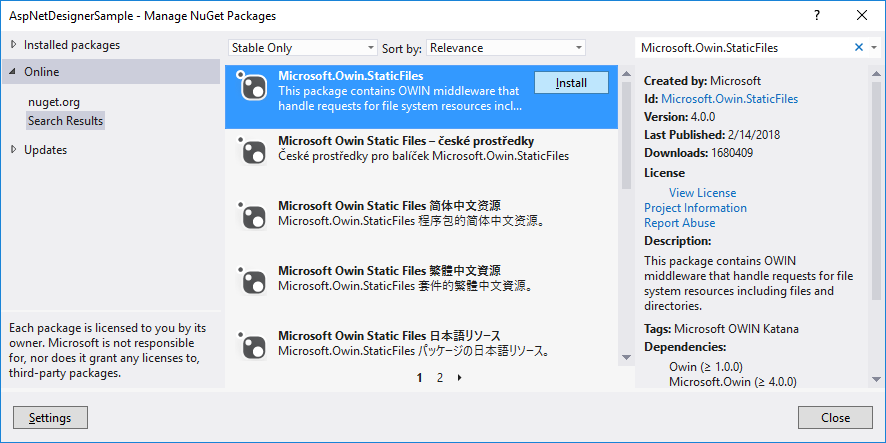
In the License Acceptance dialog that appears, click I Accept.
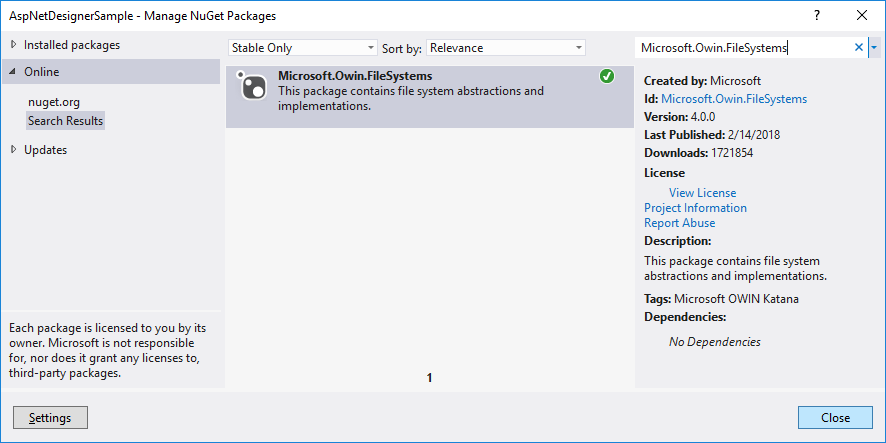
- In search box input Microsoft.Owin.FileSystems.
However, this package should be already installed together with Microsoft.Owin.StaticFiles in the previous step.
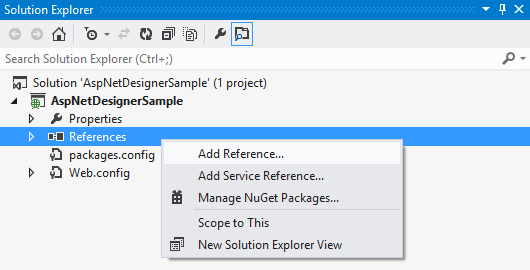
Therefore, all the needed packages are installed. Now, close NuGet Package Manager. - In Solution Explorer right-click References > Add Reference...:
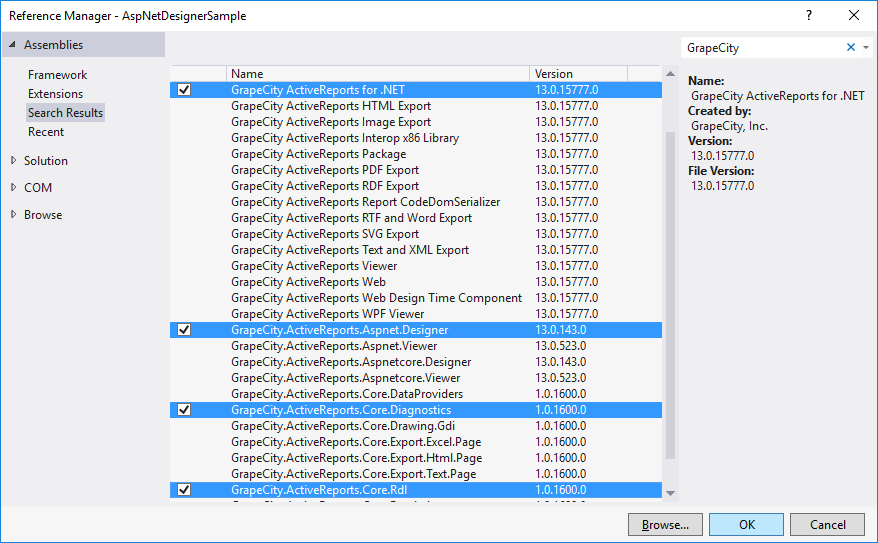
- In the Reference Manager dialog that appears, go to Assemblies, in the right-upper corner search box input GrapeCity.
In search results, select following assemblies and click OK:- GrapeCity ActiveReports for .NET
- GrapeCity.ActiveReports.Aspnet.Designer
- GrapeCity.ActiveReports.Core.Diagnostics
- Grapecity.ActiveReports.Core.Rdl
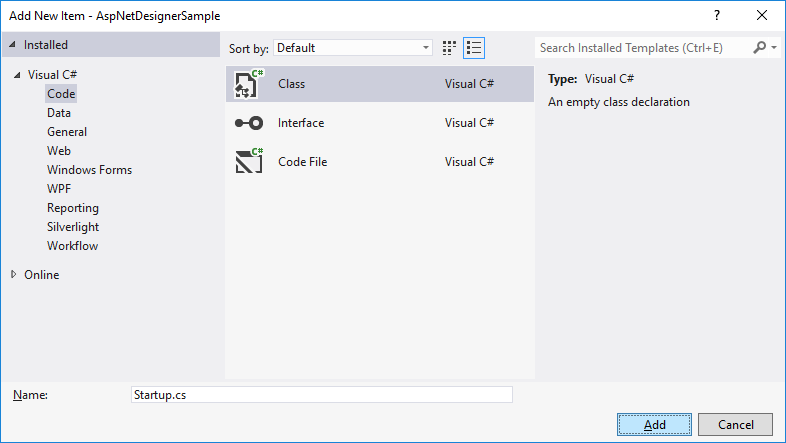
- In Solution Explorer, right-click your project, go to Add > New Item...
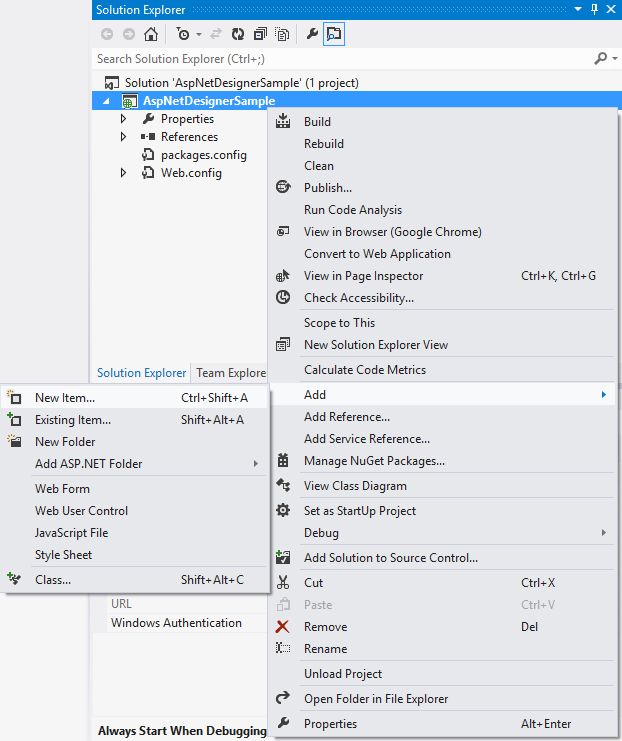
In the window that appears, go to Code > Class, input Startup.cs and click Add.
Modify the contents of newly-added Startup.cs as follows:
Copy Codeusing System; using System.IO; using System.Linq; using System.Web; using GrapeCity.ActiveReports.Aspnet.Designer; using Owin; using Microsoft.Owin; using Microsoft.Owin.StaticFiles; using Microsoft.Owin.FileSystems; using System.Web.Mvc; using System.Web.Routing; [assembly: OwinStartup(typeof(AspNetDesignerSample.Startup))] namespace AspNetDesignerSample { public class Startup { // resources (reports, themes, images) location private static readonly DirectoryInfo ResourcesRootDirectory = new DirectoryInfo(String.Format("{0}.\\resources\\", HttpRuntime.AppDomainAppPath)); public void Configuration(IAppBuilder app) { // web designer middleware app.UseDesigner(config => config.UseFileStore(ResourcesRootDirectory)); // static files middlewares var fileSystem = new PhysicalFileSystem(String.Format("{0}.\\wwwroot\\", HttpRuntime.AppDomainAppPath)); app.UseDefaultFiles(new DefaultFilesOptions { DefaultFileNames = new[] { "index.html" }, FileSystem = fileSystem }); app.UseStaticFiles(new StaticFileOptions { FileSystem = fileSystem }); } } }
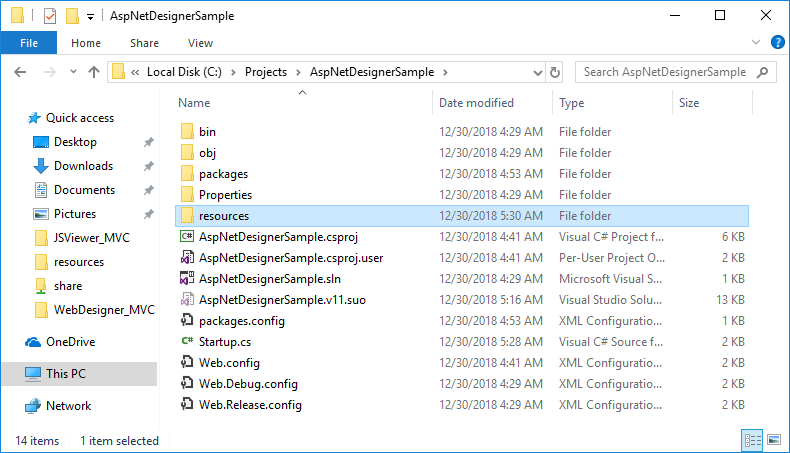
- Create 'resources' folder in your sample project root; you can put your existing reports, themes, and images in this folder.
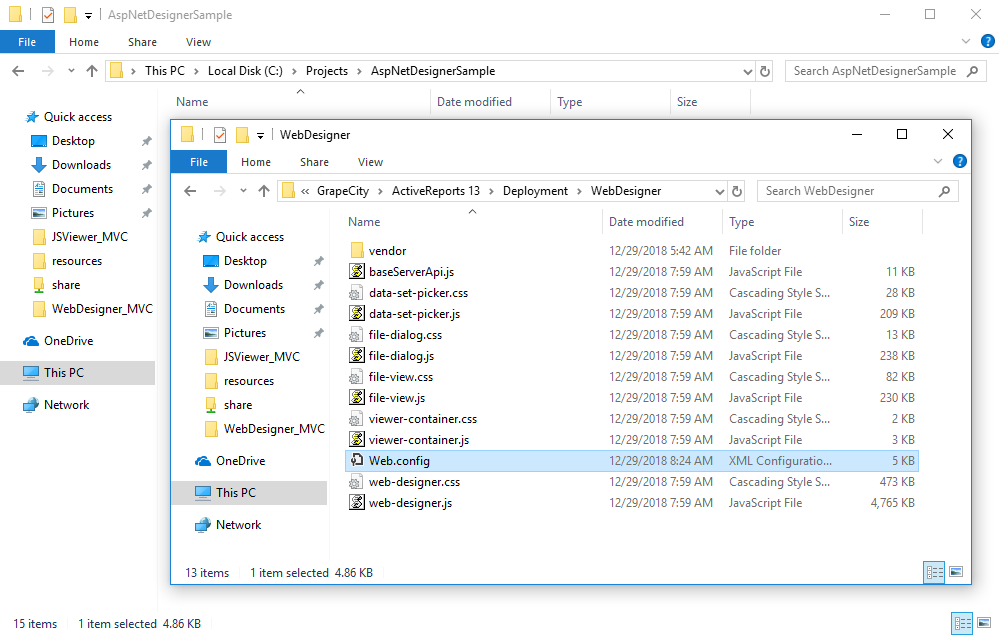
- Go to C:\Program Files (x86)\GrapeCity\ActiveReports 13\Deployment\WebDesigner folder on 64-bit Windows.
a) Copy Web.Config to your sample project root (overwrite the existing Web.config):
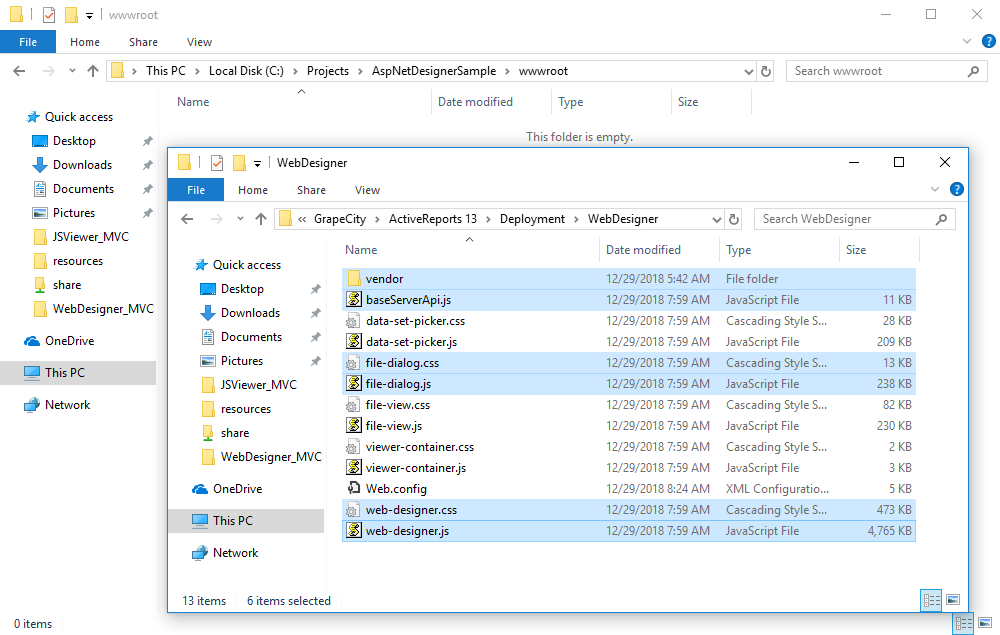
b) Create 'wwwroot' folder in your sample project root. Copy following basic WebDesigner-related files and paste it to your sample project wwwroot subfolder:
- baseServerApi.js
- web-designer.css
- web-designer.js
- vendor
Optionally you can also copy file-dialog.css and file-dialog.js if you would like to use our sample dialog component for saving reports.
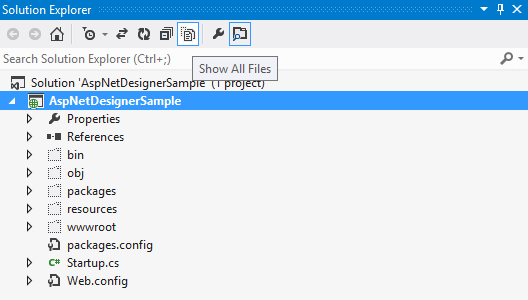
- In Solution Explorer top bar, check Show All Files.
Right-click wwwroot and select Include In Project.
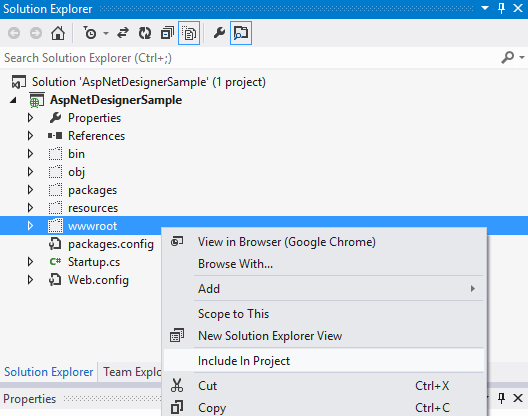
Uncheck Show All Files. - Right-click wwwroot and select Add > New Item...:
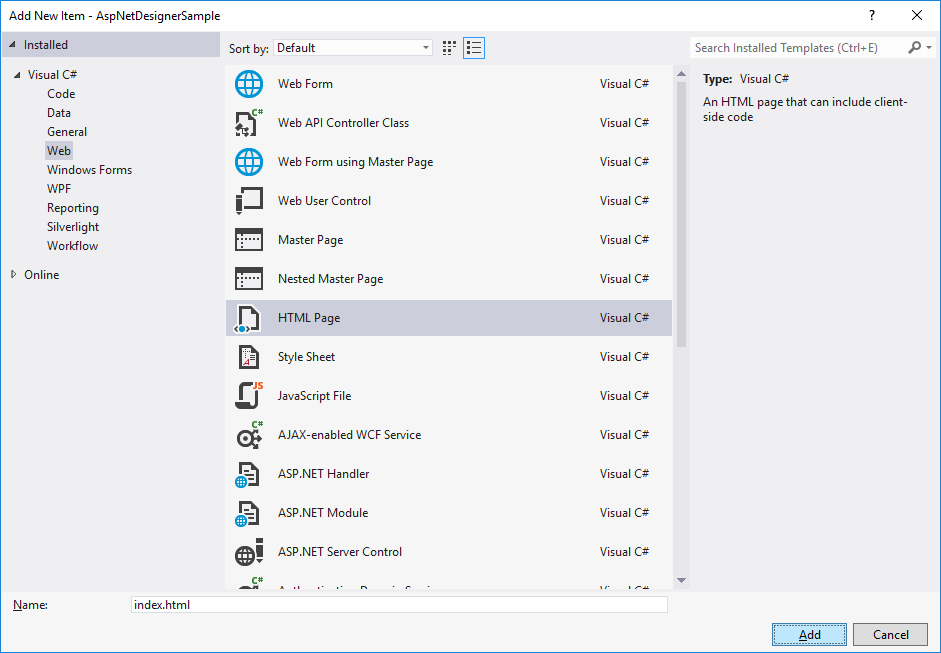
In the window that appears, go to Web > HTML Page, input index.html and click Add.
In Solution Explorer find newly-added index.html and modify its content as follows:
Copy Code<!DOCTYPE html> <html> <head> <title>Web Designer Sample</title> <meta charset="utf-8"> <meta name="viewport" content="width=device-width, initial-scale=1"> <meta http-equiv="x-ua-compatible" content="ie=edge"> <!-- designer-related css --> <link rel="stylesheet" href="vendor/css/materialdesignicons.min.css" media="all" type="text/css" /> <link rel="stylesheet" href="vendor/css/bootstrap.min.css" /> <link rel="stylesheet" href="vendor/css/font-awesome.min.css"> <link rel="stylesheet" href="vendor/css/ionicons.min.css"> <link rel="stylesheet" href="vendor/css/fonts-googleapis.css" type="text/css"> <link rel="stylesheet" href="web-designer.css" /> </head> <body class="theme-blue"> <!-- designer-related js --> <script src="vendor/js/jquery.min.js"></script> <script src="vendor/js/bootstrap.min.js"></script> <script src="baseServerApi.js"></script> <script src="web-designer.js"></script> <!-- designer root div --> <div id="designer-id" style="width: 100%; height: 100%;"></div> <script> // create designer options var designerOptions = GrapeCity.ActiveReports.WebDesigner.createDesignerOptions(baseServerApi); // render designer application GrapeCity.ActiveReports.WebDesigner.renderApplication('designer-id', designerOptions); </script> </body> </html>
Build your solution and run it. WebDesigner with a blank RDL report opens in your browser. - See steps from Step 19 of ASP .NET MVC Core application to complete this sample.