A static report contains static data, that is, the data is not bound to any data source.
What You Will Learn
This tutorial guides you through the steps to create a static report in ActiveReports Web Designer.
- Access the ActiveReports Web Designer
- Create a Report Layout
- Customize the Appearance of the Static Report
- Preview and Save Report
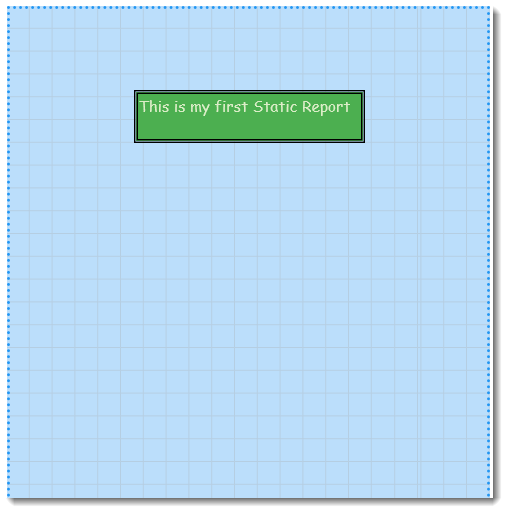
After you complete this tutorial, you will have a report that looks similar to the following.
Access the ActiveReports Web Designer
- On the ActiveReports Server Report Portal, click Create report. The ActiveReports Web Designer opens in a new browser tab.
- Turn on the I will add existing server DataSets or create new embedded DataSets later option and then click Create Report.
The Web Designer is now ready to design your reports.
Create a Report Layout
- On the design area of your report, drag and drop a TextBox control
 from the left pane of the designer.
 - Click the text box to enter the text, for example, 'This is my first Static Report'. Resize the text box accordingly.
Customize the Appearance of the Static Report
- Click the design area of the report.
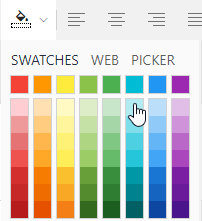
- To change the background color of the report, go to the Properties panel and set Background Color property to a shade of blue color from Swatches.
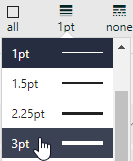
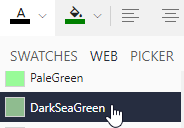
- To change the look of text box in the report, select the text box and set the following properties.
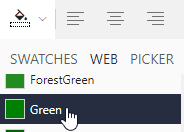
Property Value BACKGROUND - Color Green
BORDER - Style Double
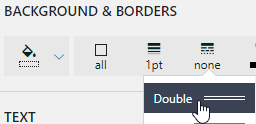
BORDER - Width 3pt
TEXT - Font Size 12pt

TEXT - Font Family Comic Sans MS
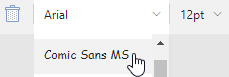
TEXT - Color DarkSeaGreen
Preview and Save Report
- Click Preview
 to view the final output of your report.
 - Exit the preview mode by clicking Back on the left side of the designer.
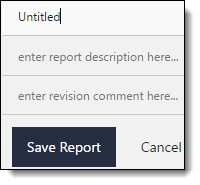
- Switch to the File tab and click Save to open the Save dialog box. Enter the report name and click Save Report. You can also provide a description and a revision comment for the report.
The reports created in the ActiveReports Web Designer are saved in the ActiveReports Server Report Portal under 'No Category'.