What are Layers?
Layers can be understood as a named group of controls. You can lock or unlock, add or remove, show or hide these groups of controls. When you create a new report, a Default Layer is automatically added to it.
Layers are supported in the following types of reports:
- Page Report
- Rdl Report
Why Use Layers?
You can trace the layout of a pre-printed form accurately using Layers. This feature is useful where you use the scanned copy of the form to trace that you can place on one Layer and you want use it to print.
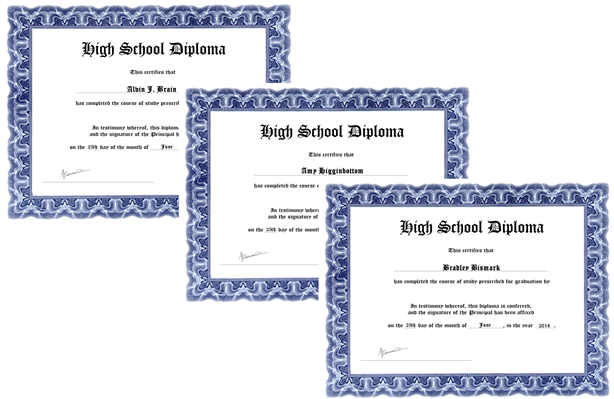
Let us understand this concept with an example of a school diploma certificate. The requirement is to print the name of graduating students on a pre-printed school diploma certificates. We already have a set format for this certificate and a list of names in our data base that need to be printed at the correct location on the certification in the correct style.
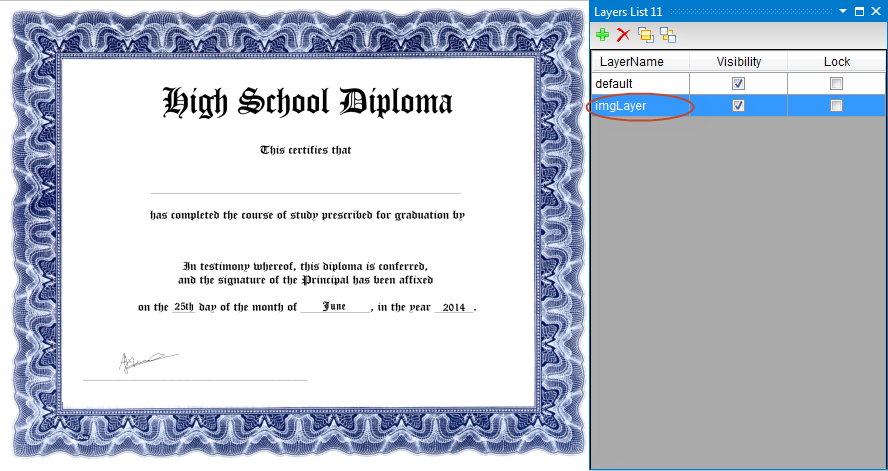
Step1: Scan a copy of the school diploma certificate.
The scanned image is placed on a Layer and acts as the base image to identify the location where the name is to be placed.
As a best practice, avoid placing images of pre-printed forms on the Default Layer because this Layer cannot be deleted. Instead, create a new Layer to place the scanned image so that you can delete the Layer if you want to remove the scanned image from the background.
The Layer with the image of a pre-printed form is now ready for tracing.
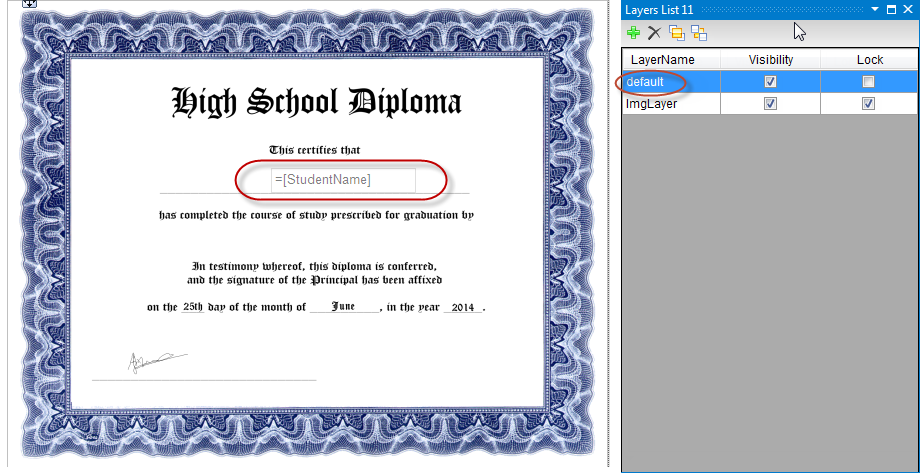
Step 2: Trace a field that contains the names of graduating students.
On the Default Layer, place a TextBox control that is bound to a list of graduating students on the report designer. Placing the StudentName field at the accurate location becomes easy with the scanned image Layer displayed in the background.
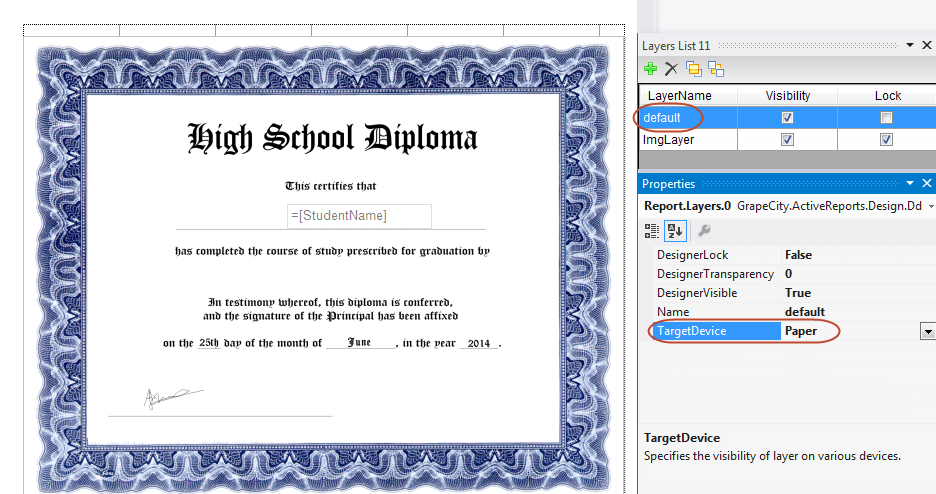
Step 3: Printing the names of graduating students on the school diploma certificate.
Now, that the field has been placed at the correct location and bound to a list of student names, the last step is to print the names on the actual certificates.
Assuming that pre-printed certificates are already placed in the printer, the image Layer that contains the scanned certificate image need not be printed. This can be done using the TargetDevice property in Layers.
The TargetDevice property applies to each layer separately and you can choose from screen, paper, export, all or none options. See View, Export or Print Layers for further details. For this example, set the TargetDevice property of Default Layer to Paper for printing the name field on pre-printed certificates.
In this scenario, Layers are used to trace the layout of a field on a pre-printed certificate.
However, Layers are useful in some other scenarios as well.
Other Advantages
Creating Template Reports
Leverage the advantage of Layers in scenarios where you do not want to make changes to an existing report but want to perform minor modifications to the layout.
With Layers, it is possible to make modifications to the same report without changing the original report layout. Let's take an example of a sales receipt to see how Layers can help in this scenario.
Illustrative Example
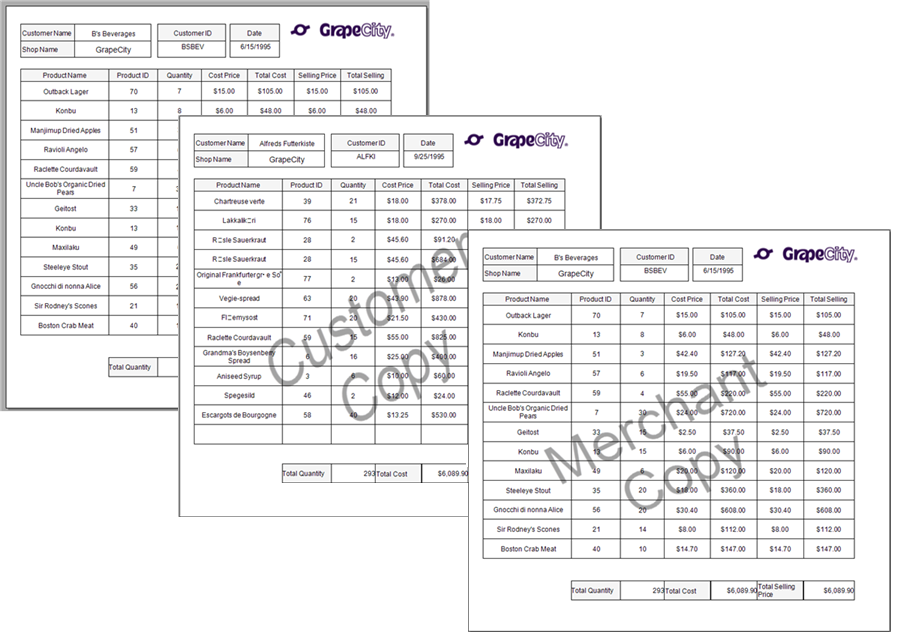
The requirement is that a hard copy of the report is printed with a Customer Copy watermark and the soft copy of the same report is exported in a PDF format with a Merchant Copy watermark.
Lock the Default Layer to use the original sales receipt report as a template. This step is necessary to make sure that the existing layout of the template report is not modified while making changes or adding controls to the layout. Please see Working with Layers for details on how to lock a Layer.
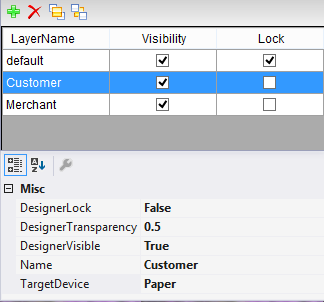
Add two Layers on the existing report template, one for the Customer Copy watermark image and the other for the Merchant Copy watermark image. Set the TargetDevice property of Customer Layer to Paper for printing a hard copy of the sales receipt and Merchant Layer to Export for exporting it to a PDF format. Please see View, Export or Print Layers for details on how to export Layers.
In this scenario an existing report is used as a template to output two different versions of the same report without having to create and save two copies separately.
Replicating a Layout
Layers can be used to replicate the layout of a pre-printed form. This is particularly useful when you want to replicate a layout of a pre-printed form which is either uneditable or unavailable in soft copy.
Let us take an example of an order summary letter sent to the customers to see how Layers can help replicate the Layout of the scanned image easily.
Illustrative Example
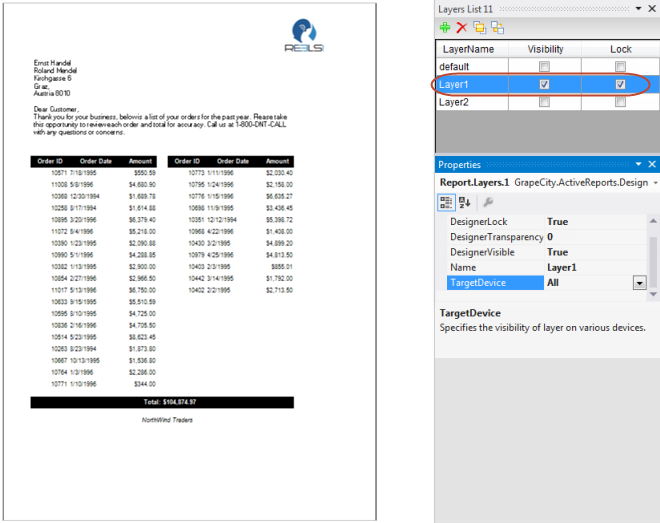
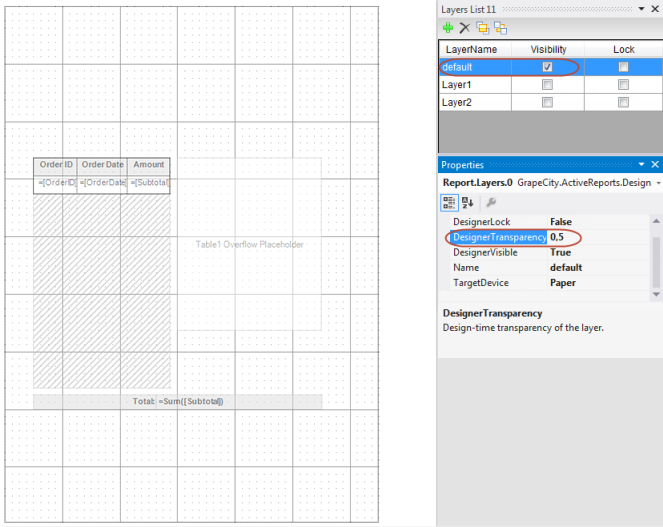
Place the scanned image of the letter that needs to be replicated on Layer1 and set the DesignerLock property of this Layer to True to make sure the image being traced is not modified or changed by mistake. Please see Working with Layers for details on how to lock a Layer.
While designing any report, it is advisable to separate the layout, data and logic of your report. In this example, we have placed all the static labels like the logo, header, footer on Layer2 and data bound fields on the Default Layer. This is particularly useful when designing complex report layouts such as tax forms, regulatory notices or bill of lading forms. Working on different Layers makes report designing easier as you can modify one aspect of the report, such as static labels or bound data fields without modifying the entire report layout.
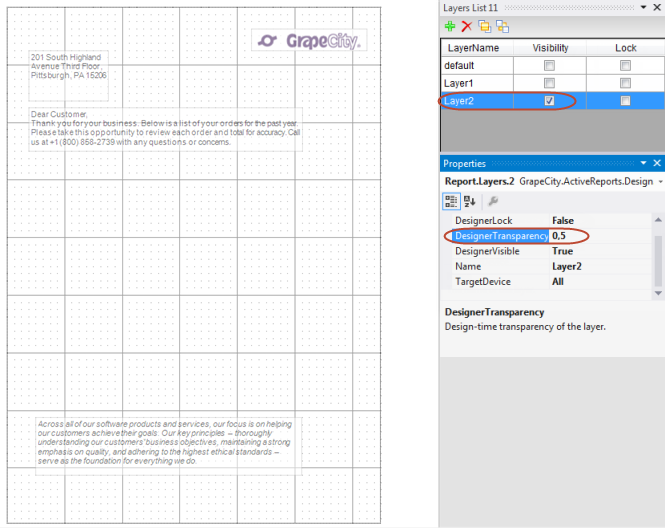
On the Default Layer, place the data bound fields like Order ID, Order Date and Amount. Notice the DesignerTransparency of Layer2 above and the Default Layer below is set to 0.5 to display the scanned image placed on Layer1 in the background.
Once the layout being used to copy the layout (scanned image in Layer1) is no longer required, set the DesignerVisible property of Layer1 to False to hide the Layer or you can also delete this Layer. DesignerVisible property helps in checking the accuracy of the layout by quickly showing or hiding the controls on the selected layer. In this case we have hidden the visibility of Layer1 to verify the layout of the final output.
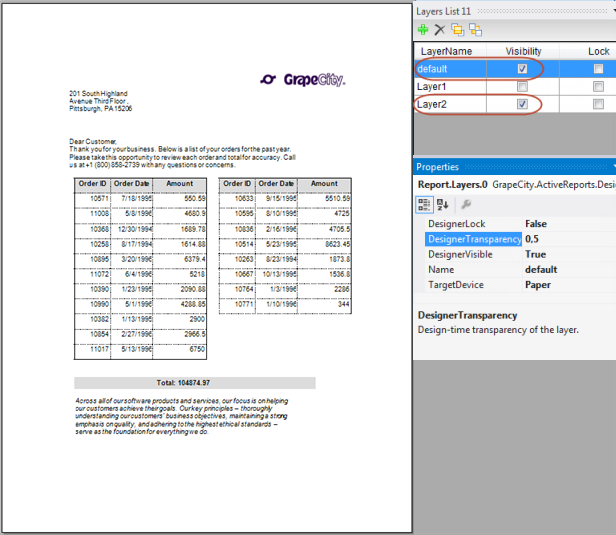
In this scenario, Layers are used to replicate the layout of a scanned image and also separate the layout and the data to help organize our report better.
See Also