You can create a slicer for a table using the Spread.Sheets Designer.
Use the following steps to add a slicer.
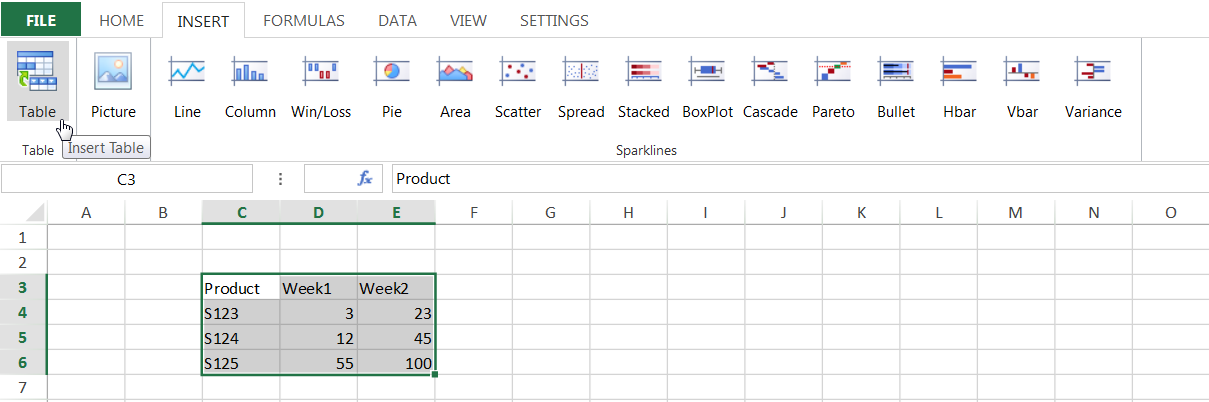
- Add table data and insert a table using the Table option under the Insert tab.
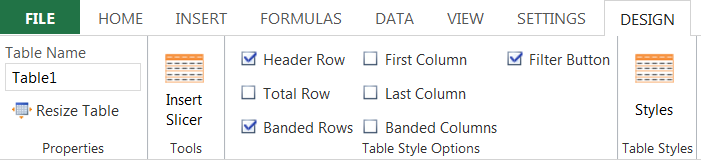
- Select the Insert Slicer option under the Tools section.
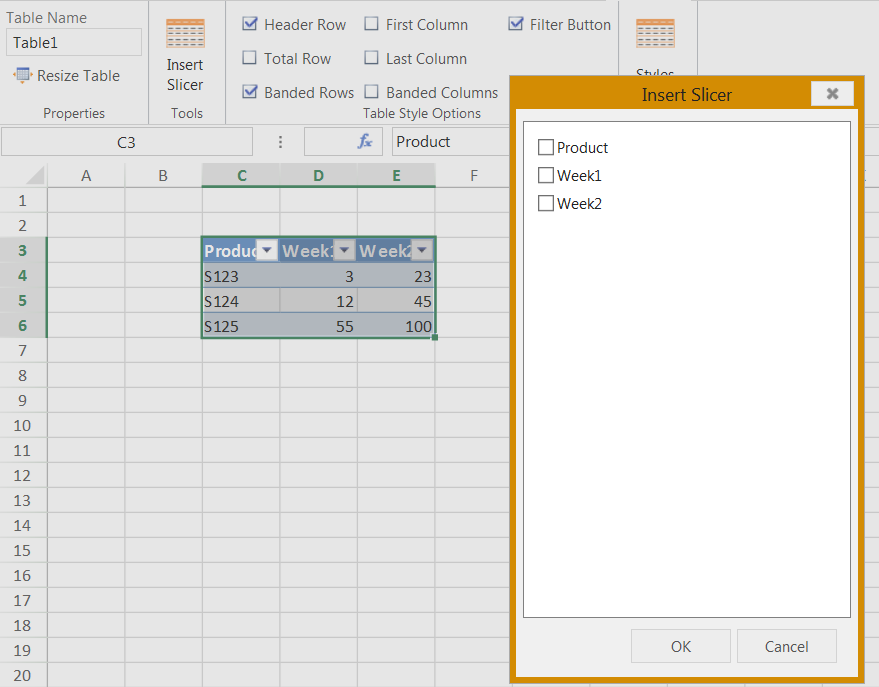
- The Insert Slicer dialog is displayed. Select the column or columns to create a slicer for.
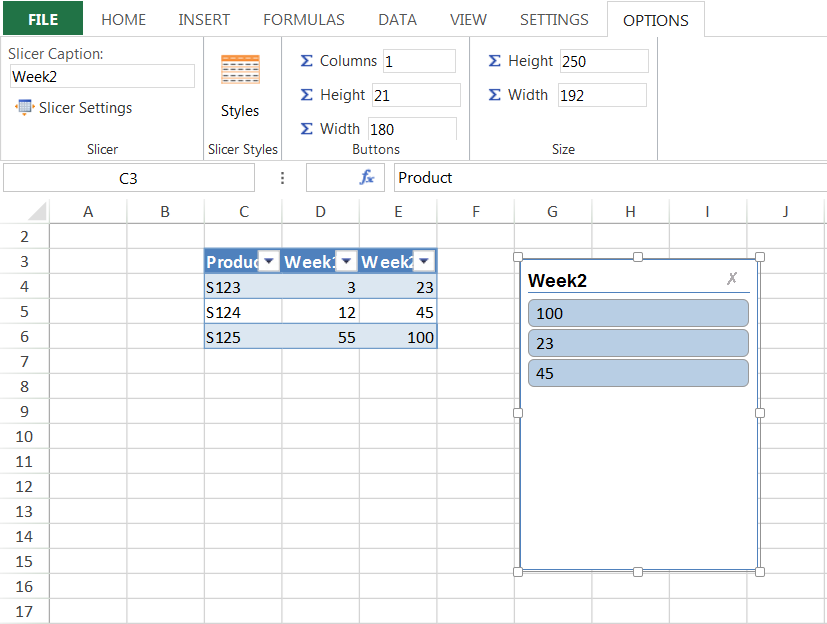
- Use the Options tab to set the caption, height, width, number of columns, and styles.
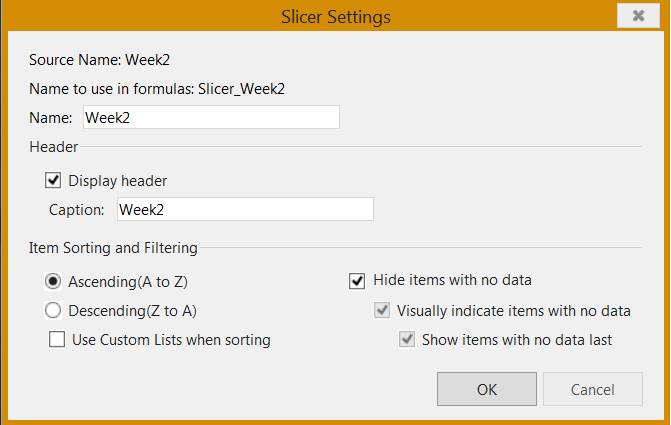
- Use the Slicer Settings dialog in the Slicer section to set additional options for the slicer such as whether to display a header, and so on.
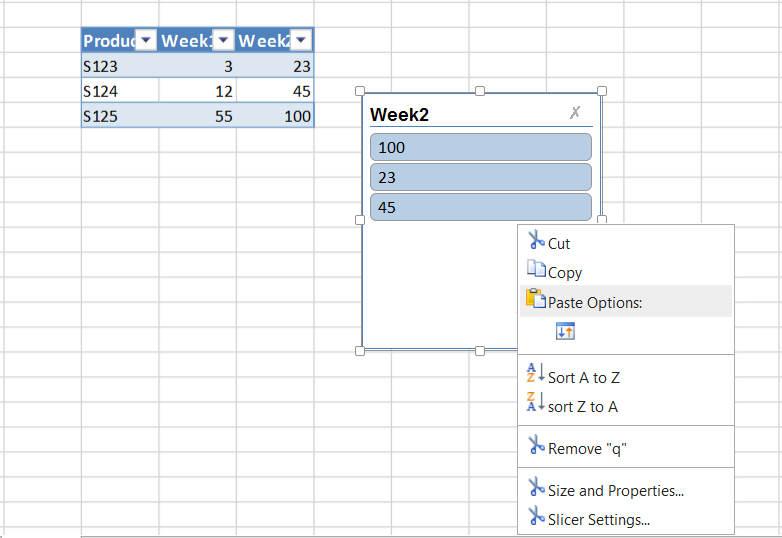
You can also display a context menu for the slicer by right-clicking on the slicer.
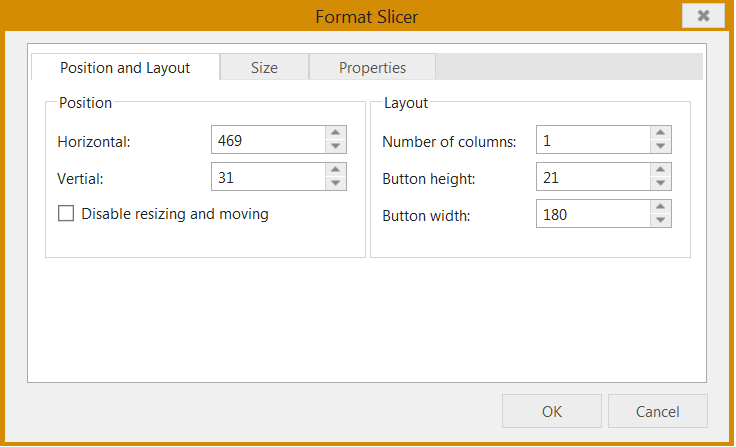
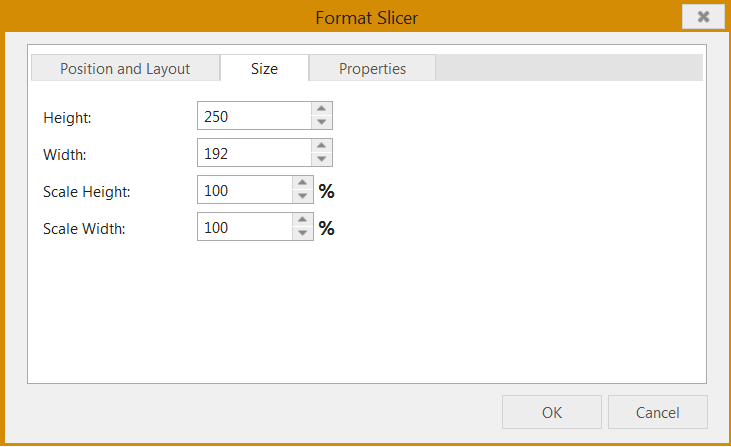
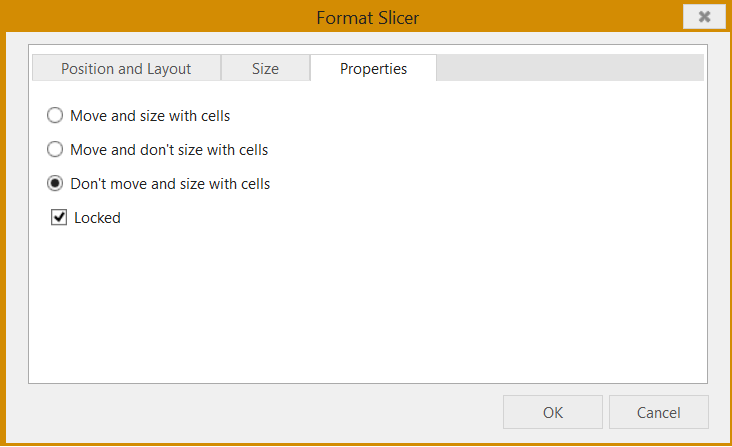
The Size and Properties option in the menu displays the following Format Slicer dialog. The dialog contains Position and Layout, Size, and Properties tabs.
The Format Slicer dialog allows you to set the horizontal and vertical location of the slicer, number of columns, whether to disable resizing and moving the slicer, the scale width and height based on the original size, whether to move and size with cells, and so on.
See Also