You can create nodes in TreeView either by using designer or through code in your application.
Using Designer
To create nodes in TreeView using designer, complete the following steps:
- Click the Smart Tag, and select Edit columns.
C1TreeColumn Collection Editor appears. - Enter the relevant name and header text in the Name and the HeaderText fields respectively.
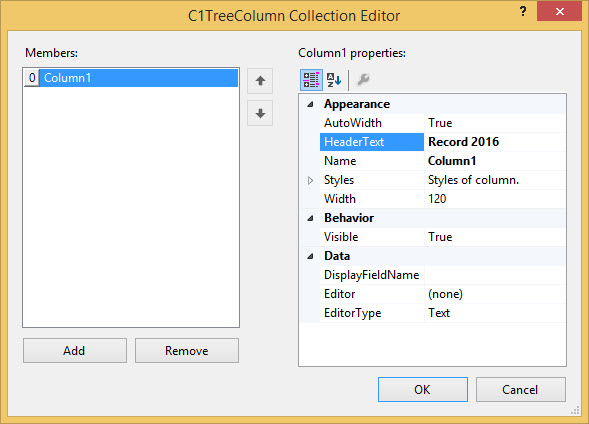
- Close C1TreeColumn Collection Editor.
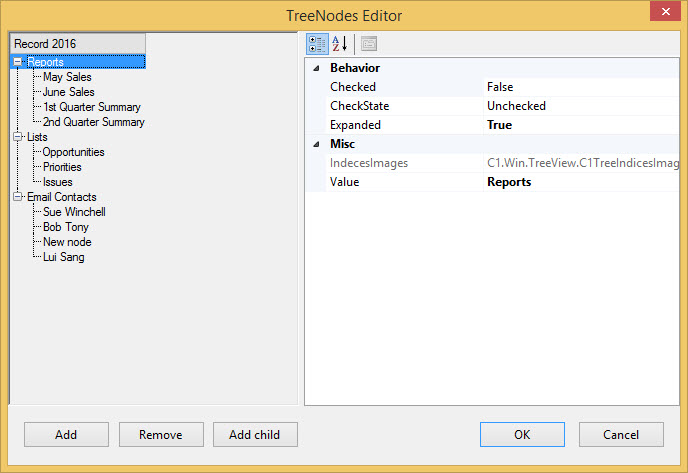
- Click the Smart Tag, and select Edit nodes.
TreeNodes Editor appears. - Click Add to create a top-level node.
- Specify a custom label for the node in the Value property.
- Click Add child to add a child node to the selected node.
- Specify a custom label for the child node in the Value property.
- Repeat steps 7 to 10 as required in the application.
- Click OK to save the changes.
Through Code
To create nodes in TreeView programmatically, complete the following steps:
- Create new instances of a node.
- Add the parent node to the TreeView nodes collection.
- Set the value of the parent node.
- Add the child node to the parent node.
- Set the value of the child node.
- Repeat steps 3 to 7 to add more parent nodes and child nodes.