ASP.NET Web API is a framework that makes it easy to build HTTP services that reach a wide range of clients, including browsers and mobile devices. ASP.NET Web API is an ideal platform for building RESTful applications on the .NET Framework. The C1Studio Web API Edition is a set of API's that enable exporting of FlexChart, Gauge, Image, and import and export of Excel sheets with FlexGrid. The APIs are available as Visual Studio templates with support for Web API 2.2 and ASP.NET Core 2.0 Web API.
This topic demonstrates how to create a Web API service application in Visual Studio. This builds the server side (or endpoint) for a client application. The client application sends a request to the endpoint for accessing its service and gets a response in return.
- In Visual Studio, select File | New | Project to create a new Web API Service Project.
- Under installed templates, select C1 | Web | C1 Web API Application (C# or VB) to create a new C1 Web API Service application.
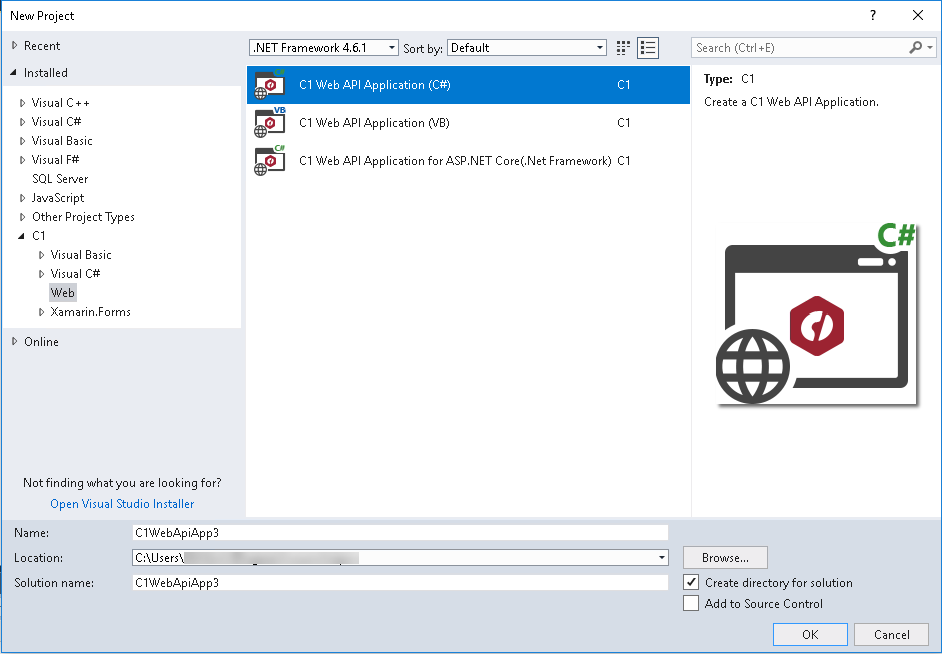
- Set a Name and Location for your application, and then Click OK.
- In the ComponentOne ASP.NET Web API Application Wizard, select the Web API Services according to your project requirements.
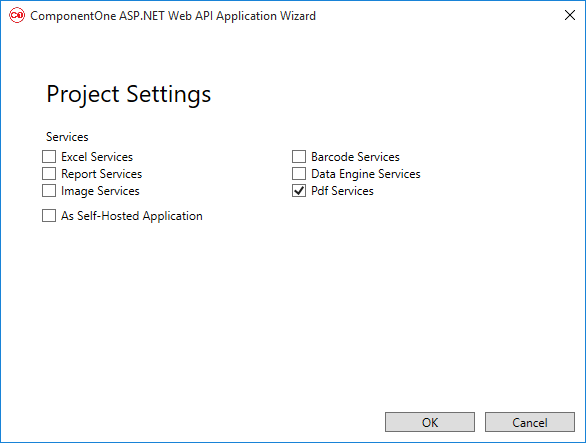
- Once you have selected the Services from the wizard, click OK to create a new C1 Web API Service application. For more information, see Services topic.
In this new project, ComponentOne template adds the references C1.Web.Api.dll, C1.C1Excel.dll, and other related assemblies.Note: license.licx file is automatically added to your application. For more information on how to add licensing to your application, refer to Licensing. - You can also access data from a configured remote or local storage. For more information on how to configure local data storage, see Configuring Storage, Configuring Server-side Data, and Configuring .NET collections.
- You have configured the service project. Deploy the project on IIS (for service application hosted on IIS) or simply run the application (if Self-hosted), and start using it.
- Open Visual Studio, and select File | New | Project to create a new Web API Service Project.
- Under installed templates, select C1 | Web | C1 Web API Application for ASP.NET Core.
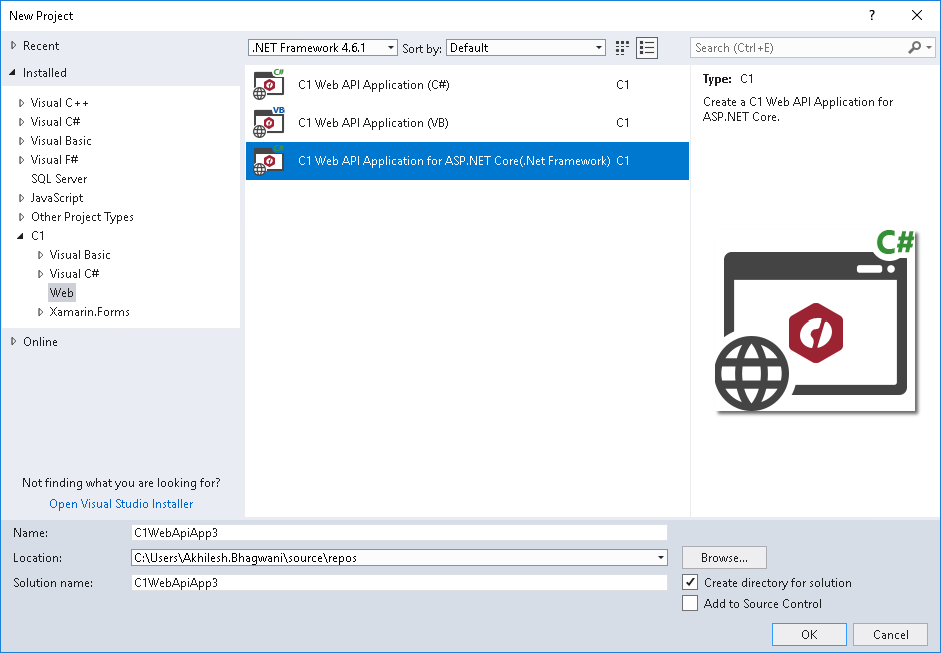
- Set a Name and Location for your application.
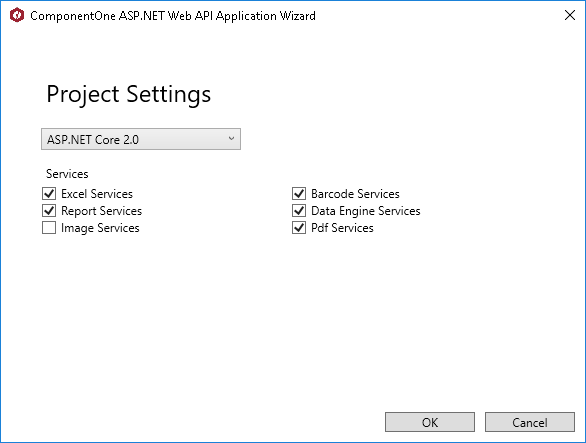
- In the ComponentOne ASP.NET Web API Application Wizard, select the ASP.NET Core Framework version and Web API Services according to your project requirements.
- You can also access data from a configured remote or local storage. For more information on how to configure local data storage, see Configuring Storage, Configuring Server-side Data, and Configuring .NET collections.
- Add runtime license to the application (for more information on how to add license to your WebAPI 3 application, refer to Licensing.
- Run the application in Visual Studio.
In this new project, ComponentOne template adds the references C1.Web.Api.dll, C1.C1Excel.dll and other related assemblies.
Your server-side application is successfully created. You can now use the generated URL of launched Web API service to make a call to the service project from your client application. You can use Web API services such as Report, Excel, Image and Barcode in the client application. For more information, see Services topic.
The following image shows a hosted Web API service application in browser.
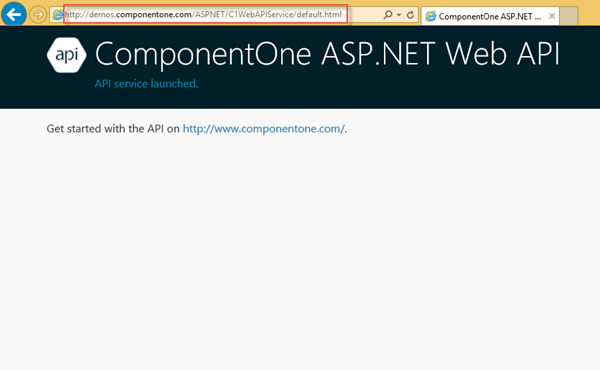
In the example above, the service has been hosted at https://demos.componentone.com/ASPNET/webapi/default.html.
Once you have successfully hosted a Web API URL for Services, you can access and call these Web API service for exporting and importing excel files, excel images, generate excel from given data and template, and generating barcode from a given text. For more information on how to work with Web API Services, see Services topic.