C1Ribbon offers large (32x32) and small (16x16) preset images for the Ribbon items as well as the option to import custom images. You can display a small image for the Ribbon tab. The Ribbon items can display small or large images.
To change the Ribbon item's image, the following options are available:
Note: The following tasks assume that you have added C1Ribbon control to your Ribbon Form and added a Ribbon item (for example, a toggle button) to the group.
Using the Smart Designer
To add an image to the Ribbon item using the smart designer, complete the following steps:
- Click the Ribbon item, for example, the toggle button to activate it and enable the toggle button's floating toolbar:

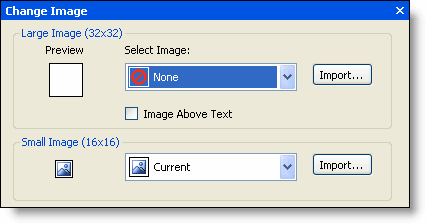
- Click the Change Image button
 . The Change Image dialog box appears.

- Click the Small Image (16x16) drop-down arrow and select the Bold image.
Using the Properties Window
To add an image to the Ribbon item using the Properties window, complete the following steps:
- Click the Ribbon item, for example, the toggle button to activate it and reveal its properties in the Properties window.
- Locate the RibbonItem.SmallImage property, click the drop-down arrow, and click the second drop-down arrow to reveal the list of predefined small images.
- Select Bold.
Using the Collection Editor
To add an image to the Ribbon item using the RibbonGroup Items Collection Editor, complete the following steps:
- Click the group that contains the toggle button item. Clicking the group activates it.
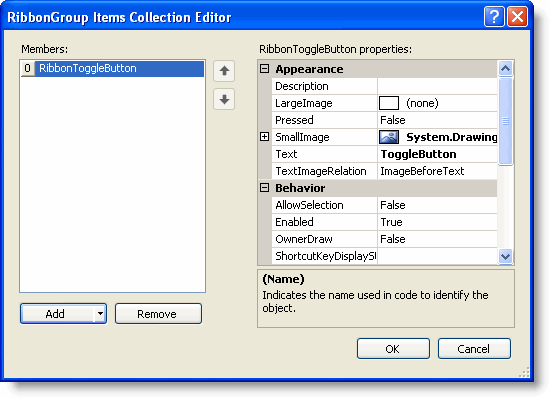
- In the group's Properties window, click on the ellipsis button next to the Items property.
The RibbonGroup Items Collection Editor appears. The editor shows a list of Members and the available properties for each selected member. For this example, the toggle button is highlighted in the Members list:

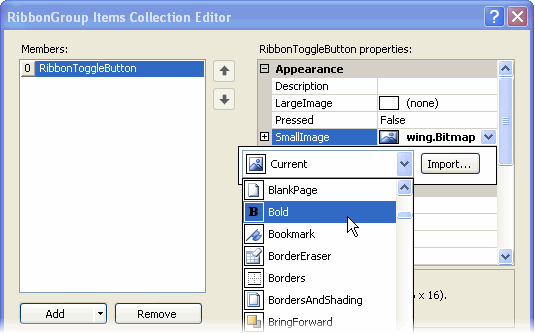
- Locate the RibbonItem.SmallImage property, click the drop-down arrow, and then click the second drop-down arrow to reveal the list of predefined small images.

- Select Bold.