In this topic, we demonstrate how to display items over the maps control by adding an items layer. This topic uses the same scripts and resources that are used in the topic Add Virtual Layers.
In the Designer
- Add C1Maps control onto the Web Form.
- Right click the control and select Properties from the context menu, to open the Properties window.
- Click the ellipsis button (...) next to the Layers property to open the C1Layers Collection Editor.
- Click the drop-down arrow on the Add button and select C1ItemsLayer. A C1ItemsLayer is added to the Layers collection and its properties are displayed on the right side of the C1Layers Collection Editor.
- Set the Request property to requestOffices.
- Click OK to close the C1Layer Collection Editor.
- Press F5 to run the project.
In Source View
Add the following markup between the <c1:C1Maps> </c1:C1Maps> tags to display items over the maps control, using an ItemsLayer.
| Source View |
Copy Code
|
|---|---|
<Layers> <c1:C1ItemsLayer Request="requestOffices"/> </Layers> |
|
In Code
- Add the following code to the Page_Load event to display items over the maps control, using an ItemsLayer.:
C# Copy Codevar il = new C1ItemsLayer(); il.Request = "requestOffices"; C1Maps1.Layers.Add(il);
VB Copy CodeDim il As New C1ItemsLayer il.Request = "requestOffices" C1Maps1.Layers.Add(il)
- Run the project.
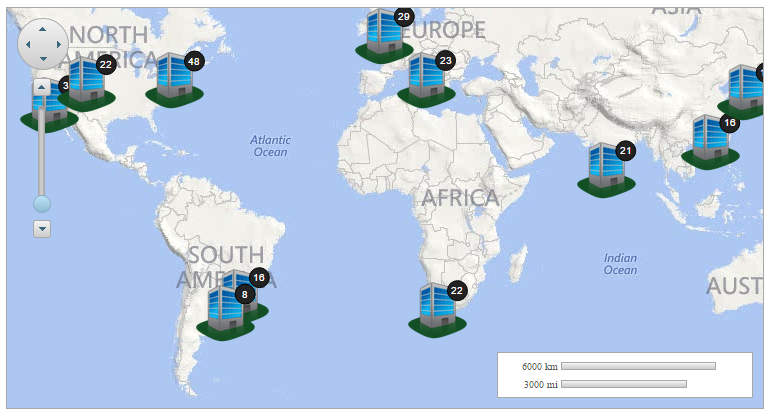
What You've Accomplished
The following image depicts a C1Maps control displaying offices using items layer.