To begin, create an ASP.NET project and add the Input for ASP.NET Web Forms controls to your Toolbox.
To set up your new Web form, complete the following steps:
- Click the Design tab located below the Document window to switch to Design view, if necessary.
- On the page, add a table (select Insert Table from the Table menu) with two columns and three rows. The first column will be used for text and the second column for the Input for ASP.NET Web Forms controls. The table appears on the form.
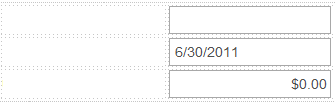
- From the Toolbox, add the following controls to your page by completing a drag-and-drop operation placing each control in a cell in the table’s second column:
The table should look similar to the following image:
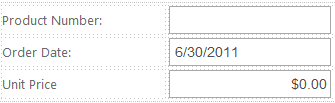
- Add text to the table. For this example, add Product Number:, Order Date:, and Unit Price:, respectively. You can resize and format the table to fit your needs.
- Switch to Source view. You can see the HTML that you created by adding the table and text in Design view.